
- Physical Examination
- Surgical Examination
- Ophthalmology
- Clinical Skills
- Orthopedics
- Surgery Videos
- Laparoscopy
- Pediatrics
- Funny Videos
- Cardiothoracic Surgery
- Nursing Videos
- Plastic Surgery
- Otorhinolaryngology
- Histology and Histopathology
- Neurosurgery
- Dermatology
- Pediatric Surgery
- Urology
- Dentistry
- Oncology and Cancers
- Anatomy Videos
- Health and Fitness
- Radiology
- Anaesthesia
- Physical Therapy
- Pharmacology
- Interventional Radiology
- Cardiology
- Endocrinology
- Gynecology
- Emergency Medicine
- Psychiatry and Psychology
- Childbirth Videos
- General Medical Videos
- Nephrology
- Physiology
- Diet and Food Health
- Diabetes Mellitus
- Neurology
- Women Health
- Osteoporosis
- Gastroenterology
- Pulmonology
- Hematology
- Rheumatology
- Toxicology
- Nuclear Medicine
- Infectious Diseases
- Vascular Disease
- Reproductive Health
- Burns and Wound Healing
- Kidney Zone Podcast
- Other













General Assessment and Vital Signs

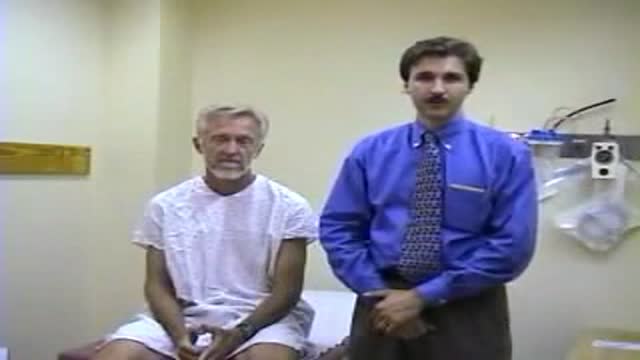
The examination room should be quiet, warm and well lit. After you have finished interviewing the patient, provide them with a gown (a.k.a. "Johnny") and leave the room (or draw a separating curtain) while they change. Instruct them to remove all of their clothing (except for briefs) and put on the gown so that the opening is in the rear. Occasionally, patient's will end up using them as ponchos, capes or in other creative ways. While this may make for a more attractive ensemble it will also, unfortunately, interfere with your ability to perform an examination! Prior to measuring vital signs, the patient should have had the opportunity to sit for approximately five minutes so that the values are not affected by the exertion required to walk to the exam room. All measurements are made while the patient is seated. Observation: Before diving in, take a minute or so to look at the patient in their entirety, making your observations, if possible, from an out-of-the way perch. Does the patient seem anxious, in pain, upset? What about their dress and hygiene? Remember, the exam begins as soon as you lay eyes on the patient. Temperature: This is generally obtained using an oral thermometer that provides a digital reading when the sensor is placed under the patient's tongue. As most exam rooms do not have thermometers, it is not necessary to repeat this measurement unless, of course, the recorded value seems discordant with the patient's clinical condition (e.g. they feel hot but reportedly have no fever or vice versa). Depending on the bias of a particular institution, temperature is measured in either Celcius or Farenheit, with a fever defined as greater than 38-38.5 C or 101-101.5 F. Rectal temperatures, which most closely reflect internal or core values, are approximately 1 degree F higher than those obtained orally. Respiratory Rate: Respirations are recorded as breaths per minute. They should be counted for at least 30 seconds as the total number of breaths in a 15 second period is rather small and any miscounting can result in rather large errors when multiplied by 4. Try to do this as surreptitiously as possible so that the patient does not consciously alter their rate of breathing. This can be done by observing the rise and fall of the patient's hospital gown while you appear to be taking their pulse. Normal is between 12 and 20. In general, this measurement offers no relevant information for the routine examination. However, particularly in the setting of cardio-pulmonary illness, it can be a very reliable marker of disease activity. Pulse: This can be measured at any place where there is a large artery (e.g. carotid, femoral, or simply by listening over the heart), though for the sake of convenience it is generally done by palpating the radial impulse. You may find it helpful to feel both radial arteries simultaneously, doubling the sensory input and helping to insure the accuracy of your measurements. Place the tips of your index and middle fingers just proximal to the patients wrist on the thumb side, orienting them so that they are both over the length of the vessel.
This video in 30 seconds
This video covers general assessment and vital signs measurement as part of a physical examination. It describes preparing the examination room, providing the patient with a gown, observing the patient as a whole before detailed examination, allowing the patient to sit for about five minutes before measurements, and obtaining measurements such as temperature while the patient is seated.
Key points
- Describes preparing a quiet, warm and well-lit examination room and providing a gown
- Covers observing the patient's overall appearance, anxiety, pain, dress and hygiene
- Notes that the patient should sit for approximately five minutes before vital signs are measured
- Covers measuring vital signs, including temperature, while the patient is seated
Video Overview
This video presents “General Assessment and Vital Signs” — The examination room should be quiet, warm and well lit. After you have finished interviewing the patient, provide them with a gown (a.k.a. "Johnny") and leave the room (or draw a separating curtain) while they change. Instruct them to. Whether you are preparing for a procedure, studying the technique, or learning how a condition is assessed, the recording shows the process as it is performed in practice.
From our Physical Examination collection: Watch physical examination videos step by step — cardiovascular, respiratory, abdominal and neurological exams demonstrated for medical students and clinicians. Browse all Physical Examination videos →
Educational content only — not a substitute for professional medical advice.
SORT BY-
Top Comments
-
Latest comments