




Suturing a Wound

The proper way to suture a wound for best healing and cosmetic results
Video Transcript
A narrated suturing tutorial. It works through laceration-repair technique in detail: how to hold the needle holder and forceps, loading the needle at its tip, entering the skin at 90 degrees and following a curvilinear path so the wound edges evert, placing the first stitch at the center of the wound, and tying square knots without strangling the tissue. It finishes with suture-removal timing and the early complications of repair — infection, dehiscence, retained foreign body and scarring.
Read the full transcript
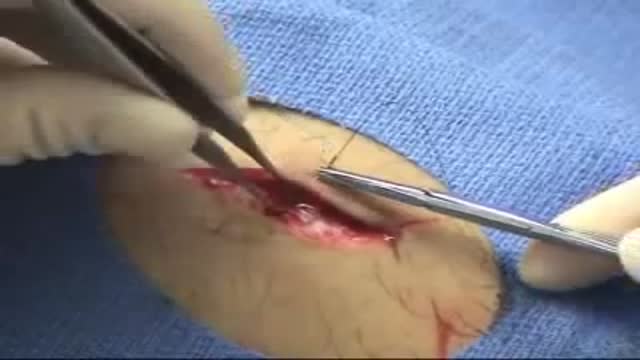
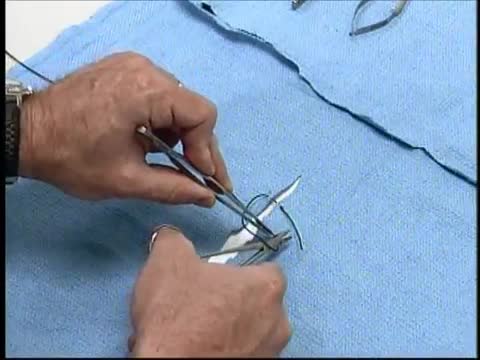
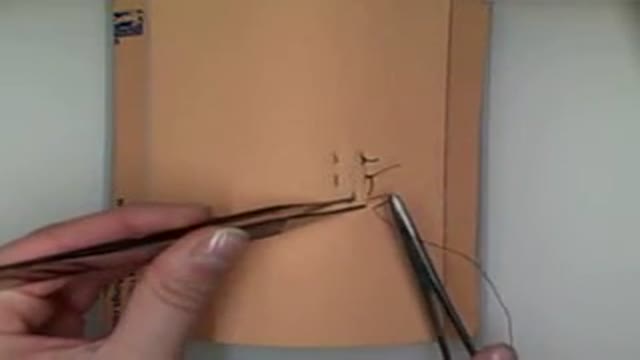
Hold the needle holder in the palm of your dominant hand with your index finger extended. This position allows for maximum control and proper angle of entry. Hold the forceps in your non-dominant hand the way you would hold a pencil. Load the needle at the very tip of the holder at a 90-degree angle. Grasp the needle at the junction of the proximal and middle third of the needle. Keep in mind the following principles during laceration repair. You should insert the needle into the skin at a 90-degree angle and take a curvilinear path through the dermis and subcutaneous tissues.
You should make sure that the bite width and bite depth are the same on each side of the laceration. Ideally the bite depth should be greater than the bite width. By following these principles you will create sutures that follow a curvilinear path through the tissues and result in aversion of the wound edges. Aversion is necessary for proper healing and results in the best possible cosmetic result. Position yourself so that the laceration is parallel to the frontal plane of your body. Place the first stitch in the center of the wound so that it bisects the laceration.
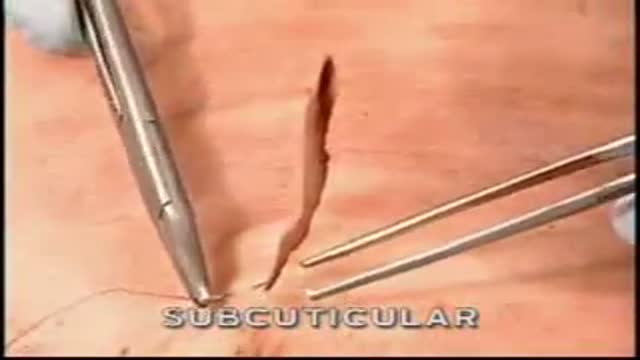
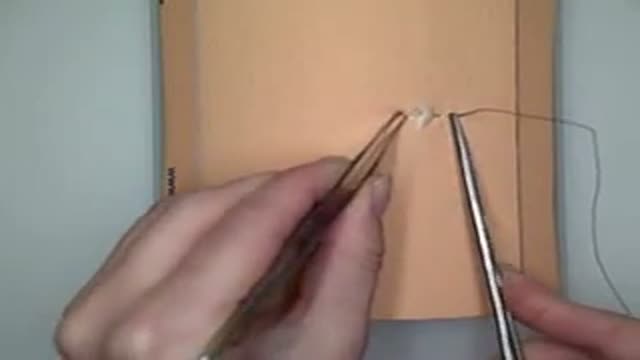
Use the forceps to gently avert the wound edge opposite you. Do not pinch the tissues between the tips of the forceps because this may injure the tissues. Enter the skin at a 90-degree angle and then supinate your wrist to drive the needle through the tissues. Use the forceps and then the needle holder to grasp the needle near its tip being careful not to crush the actual needle tip before supinating your wrist again to complete the first half of the stitch. Repeat the process on the opposite side of the laceration, first averting the wound edge with the forceps
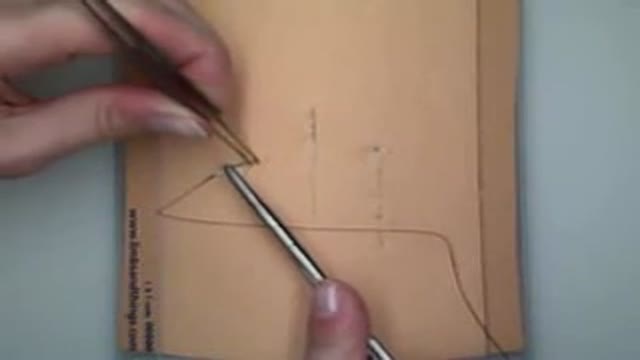
and then driving the needle through the tissues by supinating your wrist. Pull the suture material through the wound so that a 3-centimeter tail remains on the entry side. To begin the first knot, place the needle holder parallel over the wound. Hold the needle end of the suture with your non-dominant hand allowing the needle to rest on the sterile drape. Next, wrap the suture over the needle holder twice. This forms the surgeon's knot which prevents the first throw from loosening. Rotate the needle holder 90 degrees, grasp the free end of the suture and use your hand to pull each end
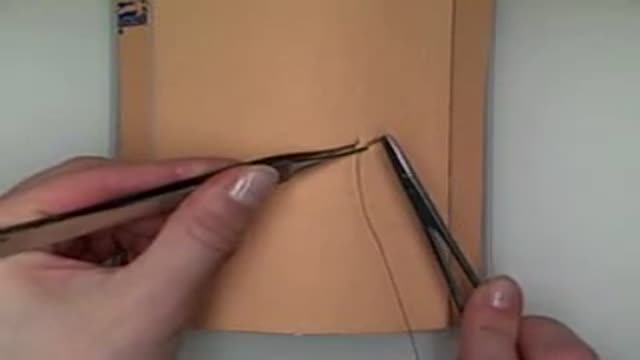
in opposite directions across the laceration tightening the knot only enough to approximate the wound edges. Begin the second throw by again placing the needle holder parallel over the laceration. On this and all subsequent throws, wrap the suture end over the needle holder only once. Grasp the free end with the needle holder and use your hands to pull each end in opposite directions across the wound. Place two more throws in the same fashion. To ensure that all knots you tie are square knots, remember to position the needle driver parallel over the wound.
Draw the sutures over the needle driver and move your hands back and forth across the laceration without crossing each other. After securing the final throw, offset the knot from the center of the wound. Finally, cut the suture ends with the scissors, leaving tails of approximately 1-centimeter. Now, do the repair by placing additional sutures, each time bisecting segments along the laceration. This approach facilitates proper alignment of the wound edges. As the edges become approximated, you may place sutures in a single pass without having to come up through the center of the wound.
No steadfast rules exist regarding the number of sutures required for a given length of laceration. Enough sutures should be placed so that all gaps in the wound edges are eliminated. Generally, the space between sutures is approximately equal to the bite width. Once finished, remove the drape and wipe off the antiseptic solution. Activate safety devices such as the safety caps and dispose of all the instruments and needles in appropriate biohazard containers. Cover repaired lacerations, except those on the face and scalp, with a sterile, non-adherent dressing. The use of topical antibiotics and creams is of limited benefit and is not mandatory.
However, they should be used on uncovered wounds in order to maintain a moist environment. Administer tetanus prophylaxis if the patient's immunization is not current. Prophylaxic antibiotics are not needed for simple, clean lacerations. However, they may be considered in patients with grossly contaminated wounds, crush injuries, or impaired host defenses. Instruct the patient to keep the wound dry for 12 to 24 hours. Subsequently, the patient should be encouraged to wash the wound gently with soap and water, but prolonged immersion should be minimized. Provide the patient with written wound care instructions, including ways to spot signs of infection.
Facial sutures should be removed within five days to prevent scarring. Sutures placed in the scalp, torso, or extremities should be removed within seven to ten days. Suture subject to a substantial degree of tension, such as those overlying joints, benefit from being left for a longer interval and should be removed in ten to fourteen days.
Early complications of laceration repair include infection and wound dehesants. Early follow-up with a wound check in 24 to 48 hours should be arranged if these issues are a concern at the time of primary repair. Additional complications include a retained foreign body, unrecognized deep structure injury, and scar formation.
Transcript auto-generated from the video’s audio for accessibility and study. Educational content only — not medical advice.
Video Overview
From our Emergency Medicine collection: Real ER cases, trauma care, resuscitation and urgent procedures performed under pressure. Browse all Emergency Medicine videos →
SORT BY-
Topkommentarer
-
Seneste kommentarer