
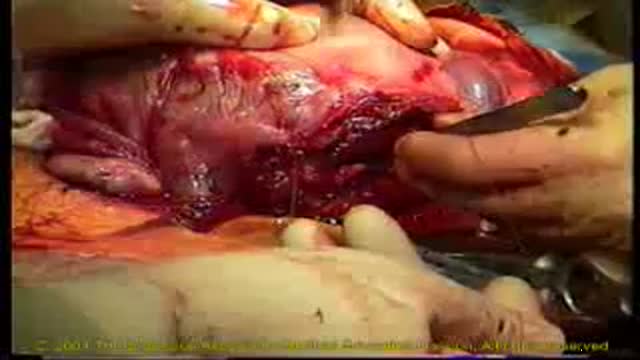





Suturing Techniques

a great video showing the various techniques of stitches and suturing
Video Transcript
A suturing workshop lecture from the University of Wisconsin's family medicine department, recorded to be watched before a hands-on session. The presenter covers indications, consent, instruments and needle types, anesthesia and irrigation, then demonstrates simple interrupted, corner, and vertical mattress sutures with instrument, two-handed, and one-handed ties.
Read the full transcript
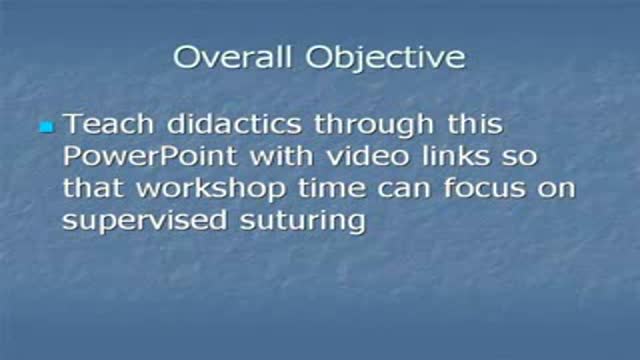
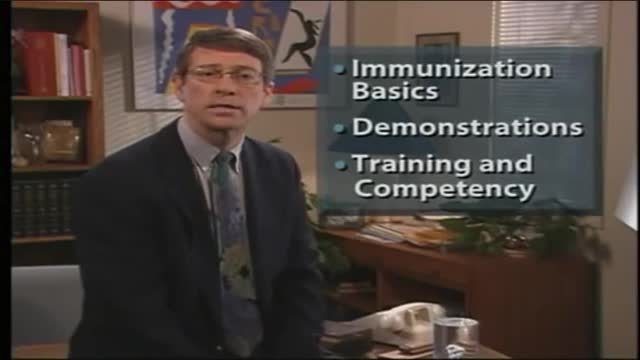
Hi, this is Lee Dreesang with the University of Wisconsin Department of Family Medicine. This suturing workshop video is shown prior to hands-on session, which we hold for our residents each year. The overall objective is to teach didactics ahead of time so that the workshop time can focus on supervised suturing. Specific objectives include learning indications for suturing, when to refer, potential complications, informed consent issues, instruments needed, and suturing needle types. Also anesthesia options and technique, types of suturing and ties, and follow-up instructions. Indications may include closing a laceration after a delivery or from trauma, closure of
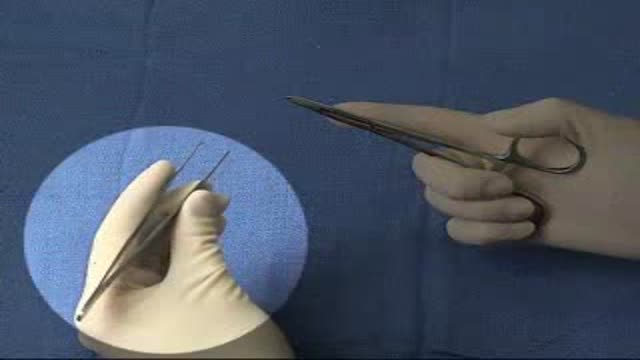
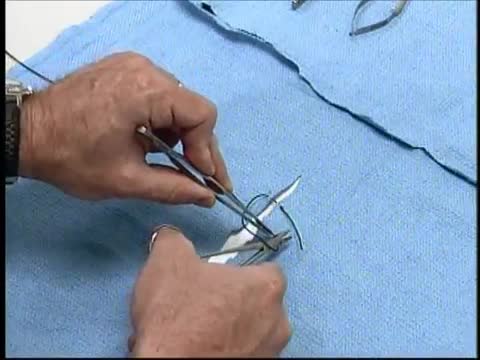
skin or deeper incision from surgery or after removal of a lesion. Referral may be preferable with lacerations to the face, large lesions, and vascular lesions. Potential complications include bleeding, infection, anesthesia reaction, scar, scar dehesants and need for a repeat procedure. Neatable and signed consent should be obtained before every procedure, even minor procedures. Instruments needed include a needle holder, tissue forceps, and scissors. Absorbable and non-absorbable sutures are listed here. With suture size 1 is bigger than O is bigger than 1 O is bigger than 2 O. Needle size terminology differs depending on the needle brands.
With Vycro, for example, with obstetrical lacerations CT and CT1 or standard CTX is a larger needle. SH is a smaller urology needle. Prior to cleaning and repairing a laceration, adequate anesthesia is essential. Lidocaine with epinephrine will last longer and result in less bleeding, but has traditionally not been recommended for extremities. Lidocaine will last longer than lidocaine. It's essential to irrigate a wound well before closing it. One should avoid getting betadine into a wound. The simple interrupted suture is easy to learn and fast to place, but may not be able to
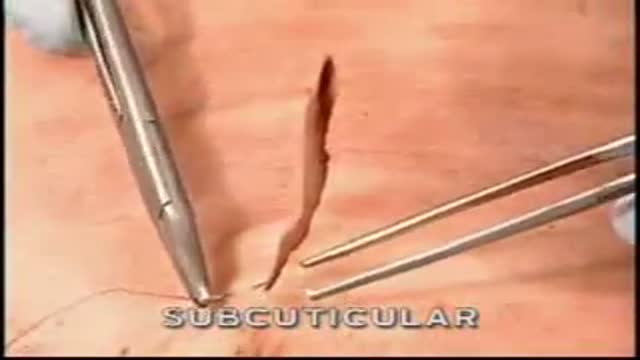
withstand stress as well as others. Vertical mattress suture results in good aversion of skin edges and closes dead space and may provide some extra strength, but takes longer to place. Horizontal mattress suture again may result in good aversion of skin edges and provide extra strength, but takes longer to place. We will soon demonstrate a corner stitch which approximates angled skin flats without compromising blood supply. Subcutaneous sutures may provide a better scar and there is no need to have the suture removed. Compared with interrupted sutures, continuous sutures are quicker to place and divide tension
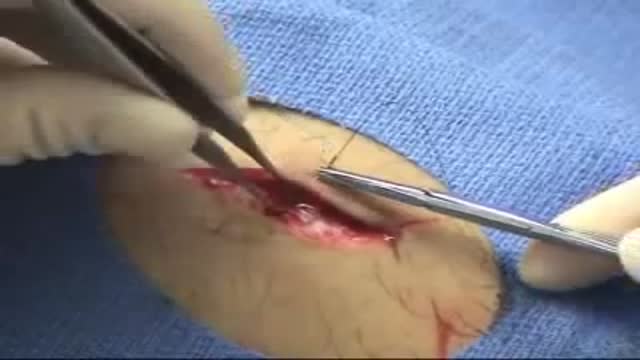
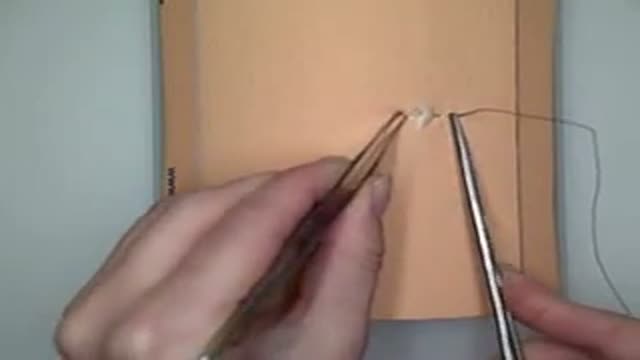
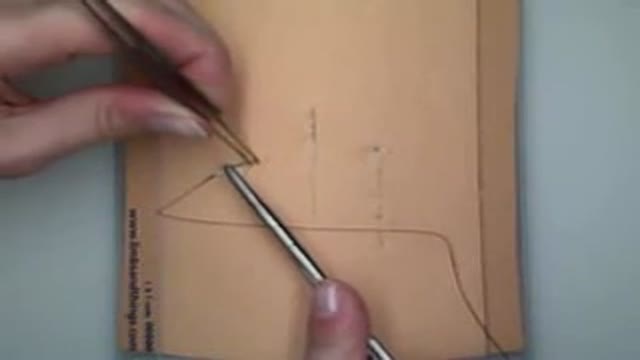
equally along the skin edge. Locking sutures traditionally are thought to provide better hemostasis, non-locking to provide less risk of tissue necrosis. In the upcoming videos we will demonstrate an instrument tie, a double handed tie, and a single handed tie. First we'll demonstrate a simple interrupted suture with an instrument tie. In the length of the incision we're dividing in half to avoid dog ears. Place the needle at a 90 degree angle. Use your wrist to turn the needle through. Hold the end of the suture to not pull it through and leave a tail long enough for tying
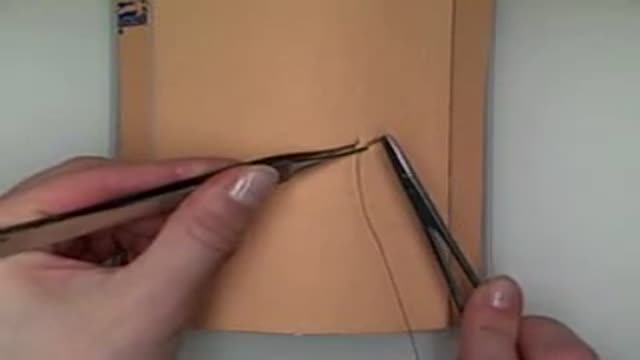
the suture. Place the instrument between the two sutures, throw twice for a surgeon's knot, cross your hand and the instrument to allow the knot to lie flat. Again put the instrument in the middle and cross and the knot again will be flat automatically as you cross your hand in the instrument. With a non-brided suture, four to six throws is adequate. Now we will demonstrate a corner stitch with a two handed tie. With the corner stitch, imagine a plum line through the middle of a flat. The first suture starts above the apex and is parallel to the plum line.
Then lift the flap and from one side of the plum line to the other place the subcutaneous suture. Finally, in the other direction, place another suture parallel to the plum line that comes out parallel to where the first suture went in. Then hold the end of your suture as you pull through so you don't pull the string all the way through and leave yourself a long enough tag for a two handed tie. You'll cross the top string above and the shorter string below with the longer string
over your index finger. Take the shorter string and pull it over into the index finger, rotate your hand, and then pull and you'll see how the knot lies flat here. Now we did not throw a surgeon's knot to start with. We'll demonstrate that in a second. Here you can see that the corner stitch would avoid some necrosis to the tip of the flap which might otherwise face vascular compromise with a series of simple interrupted sutures. Here we'll throw a second time to have a surgeon's knot and you may appreciate how this will
stay better until you place your second suture. For the second suture, with the long end of suture, put your thumb behind it with the short end, pull it over your thumb, again pinch and push the short end through the hole.
This time you'll want to cross your wrist, your hands to get the suture to lie flat.
Now that your second knot is tied it won't slip and from here on no suture surgeon's knot is necessary. Then alternate back over your index finger pulling apart behind your thumb,
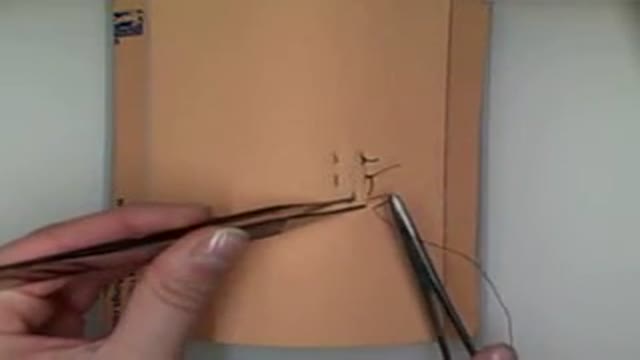
pinch through the hole through and cross four to six throws as adequate. Now we will demonstrate a vertical mattress suture with a one handed tie. First part of this suture is placed distant from the skin edges grasping the needle with the
forceps and not using the hand, load the needle driver, hold the end of your suture as you
pull so you don't pull it all the way through and closer to the skin edges come back in the opposite direction. The vertical mattress suture helps avert the skin edges and gives more strength. It's good for areas such as the back which are under more tension. The suture is pinched between the third finger and the thumb and over the index finger the index finger is bent and the short end caught with the back of the second finger and pinched with the third finger and pulled through the loop. The hands are crossed to lay a flat
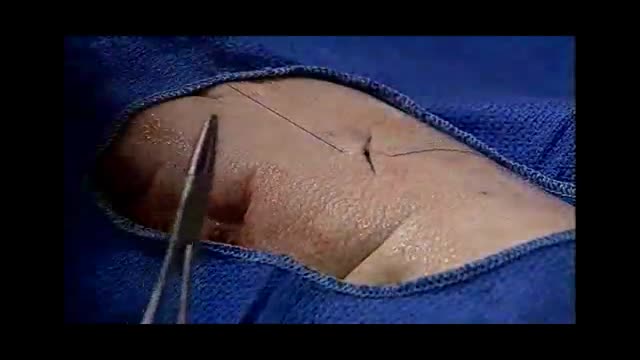
knot. For the second half of the one handed tie pinched between the thumb and the forefinger with the short end pull the long end over the third finger bend grasp the short end with the third and fourth digit pull through the loop and lay a flat. Followup instructions are important once the suture is placed. Patients may be advised to keep the incision drive for 24 hours, monitor for signs of infection particularly to call a spreading redness, pus and fever. Depending on where the sutures are placed there may be
a recommendation for no heavy lifting or pelvic rest. Sutures are generally removed sooner on the face after 3 to 5 days to avoid scarring and left longer on lower extremities and extensor surfaces perhaps as long as 2 weeks. For the rest of the body sutures are generally removed after 7 to 10 days. Suture is not just a cognitive but also a psychomotor skill. We hope you find this video a helpful review of the basics.
Transcript auto-generated from the video’s audio for accessibility and study. Educational content only — not medical advice.
Video Overview
From our Clinical Skills collection: Suturing, injections, catheterization, IV insertion and OSCE-style examination techniques demonstrated step by step. Browse all Clinical Skills videos →
SORT BY-
Top Comentarios
-
Últimos comentarios