




Female Catheter Insertion

Female Catheter Insertion
Video Transcript
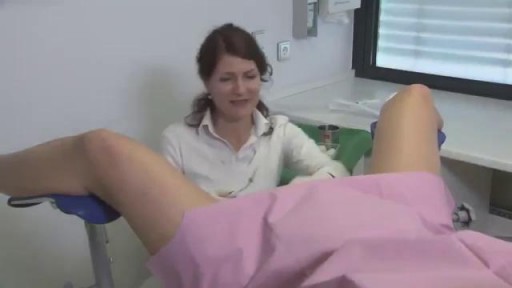
A Dalhousie University teaching video (Common Currency Project) demonstrating female urinary catheterization on an emergency-department scenario: a nurse explains the procedure and its risks to a patient with urinary retention after bladder surgery, then shows the full sterile technique, balloon check, securing of the catheter, and finally how the catheter is removed.
Read the full transcript
This is a video of the urinary catheterization procedure, produced as part of the Common Currency Project at the Dalhousie University Faculty of Medicine. There may be slight variation in the procedure from institution to institution, depending on policy and equipment used. Before beginning any procedure, be sure to wash your hands properly using the accepted technique, and follow all applicable universal precautions. In this procedure, universal precautions involve protective eyewear and gloves. Mrs. Jane Foley, a 63-year-old female, arrived in the emergency department a few minutes ago complaining of urinary retention.
She is very uncomfortable. The history has been taken. Mrs. Foley states she had a bladder repair three days ago and was discharged from hospital yesterday. She last voided seven hours ago. She denies any drug allergies. A staff physician has seen Mrs. Foley and discussed the implications of catheterization with her. Good morning, Mrs. Foley. My name is Debbie, and I'm a nurse here in the emergency department. I understand you've come in this morning because you're having trouble urinating. I also understand you had a bladder repair three days ago.
What we'd like to do to make you feel more comfortable today is to insert a tube called a catheter into your bladder, and that'll allow the urine to drain from your bladder into the drainage bag that we'll place at the bottom of your bed. The procedure might be a little bit uncomfortable, but it shouldn't be painful. Once we've emptied your bladder and you're feeling a little more comfortable, we can investigate what caused this problem to occur. Every medical procedure we do has some potential complications. For this procedure, there could be a small amount of bleeding
from the trauma of the catheter insertion. There's also a risk of a bladder infection if the catheter is allowed to stay in for an extended period of time. If you should develop any fever, chills, generally feeling unwell, you should probably let somebody know so that they can investigate the cause of this. I'd like to go ahead with the procedure now if that's all right with you. Do you have any questions before I begin? No. Prepare yourself for the procedure by taking off all excess jewelry, such as rings and watches,
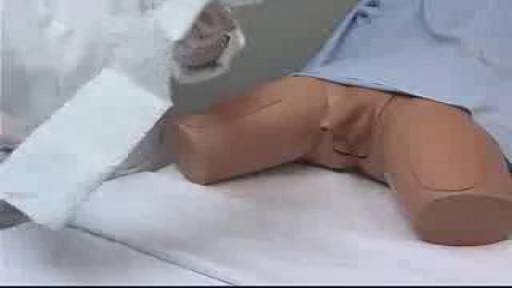
pulling up your sleeves, and if you have long hair, make sure it is tied back and off of your face. You are now ready to wash your hands. After washing your hands, prepare the patient by having her life flat on the bed on her back with hips abducted and feet together, frog leg position, exposing her genital area. Later, when you are wearing sterile gloves, you can avoid contamination by not touching the bed linens. Ensure you respect the patient's dignity. On a standard table next to your dominant hand,
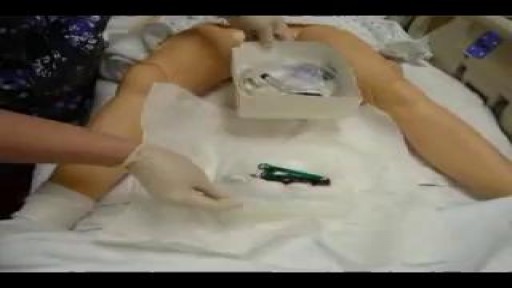
arrange the equipment required for the procedure. The equipment includes a catheterization tray, some tape, an appropriately sized two-way indwelling Foley catheter, a urinary drainage bag, and protective goggles for universal precautions. Open the urinary drainage bag, hook it onto the end of the bed, and put all the tubing on the end of the bed within reach, leaving the protective cover on the end of the tubing to avoid contamination. Put the protective goggles on. Tear the bag of the catheter tray open and discard the bag. Open the Foley catheter tray,
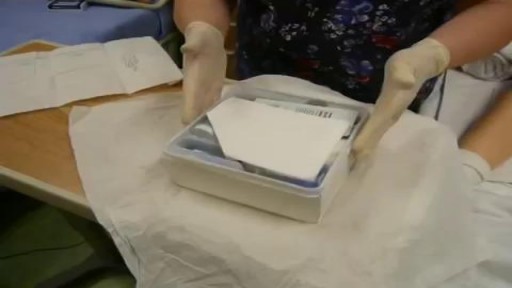
remembering that all sterile trays must be opened in the proper manner. The first step is to make the initial opening of the wrap away from you. Open one end of the wrap to the right, the other to the left. Now reach under the last flap, removing the sterile forceps, remembering to grasp them by the handle and avoid touching the sterile tips.
Open the last flap of the wrap toward you. By opening the tray in the appropriate way, you will not contaminate the sterile field by repeatedly reaching across it. Using your sterile forceps, remove the first drape, sterile gloves, and the second drape. Continue taking things out of the graduated basin, which is the container used as a urine receptacle. Be sure to visualize that everything needed to complete the procedure is in the basin. Place each item so it is easily accessible when it is needed. Before donning sterile gloves,
open the folic catheter in sterile fashion and place the catheter on the sterile field. Discard the first set of forceps into the garbage can. Prepare to put on the sterile gloves, which are on the tray and easily accessible. The sterile gloves are cuffed. Pick up the first sterile glove from the inside with one hand, being careful not to touch the outside of it. Next, scoop underneath the cuff of the second glove, sliding it onto your ungloved hand. Now having sterile gloves in place, adjust them so they fit comfortably.
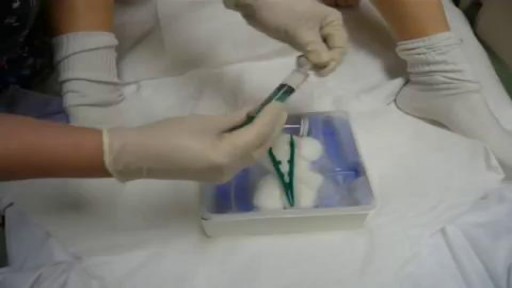
With sterile gloves on, it is safe to touch anything on the sterile field. Remove the catheter from the sterile wrapper, placing it on the sterile field and discarding the wrapper. With respect to the catheter, local hospital policy as well as the recommendation of the supplier is to check the patency of the catheter balloon by inflating it using the pre-filled syringe from the tray. If the balloon inflates, make sure it will also deflate. When this is done successfully, put the syringe to the side. Note that two urologists consulted on this procedure
do not consider this step necessary, given the quality of currently supplied folic catheters. They also note that it could potentially cause problems when the balloon does not collapse entirely and bunches around the end of the catheter, creating problems when inserting. Please follow the policy and practice of your own institution. Open the water-soluble lubricant. Lubricate the tip of the catheter approximately two centimeters down from the tip. Open the povidine iodine. Take the cotton swabs out of the container on the tray and pour the iodine into the container.
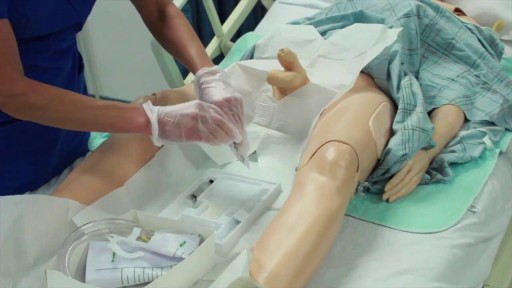
The catheter tray is now completely set up. There are two drapes on the tray. The first one is a plain square drape, which has a dull side and a shiny side indicating it is waterproof. Unfold the drape, remembering not to shake it open. Slide the drape, waterproof side down, in between the legs of your patient, creating a sterile field. The second drape is a fenestrated drape, with the opening in the middle. It also has openings on the sides. Again, unfold the drape, don't shake. Use this drape to cover the pubic area
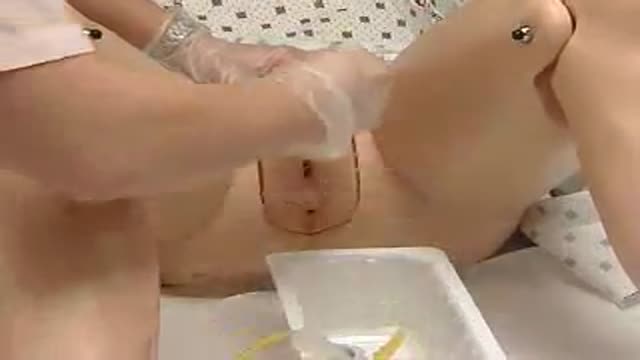
so the opening allows you to expose the perineal area. Place the arm receptacle on the sterile drape between the patient's legs. The next step is to clean around the urethral opening before the foley catheter is inserted. Now, you can separate the labia majora and menorah with your non-dominant hand, exposing the urethra and vaginal orifice. Your non-dominant hand is no longer sterile and cannot return to your sterile tray or equipment. Using your sterile hand, cleanse the genitalia three times with the povidine iodine. Do this with three separate swabs,
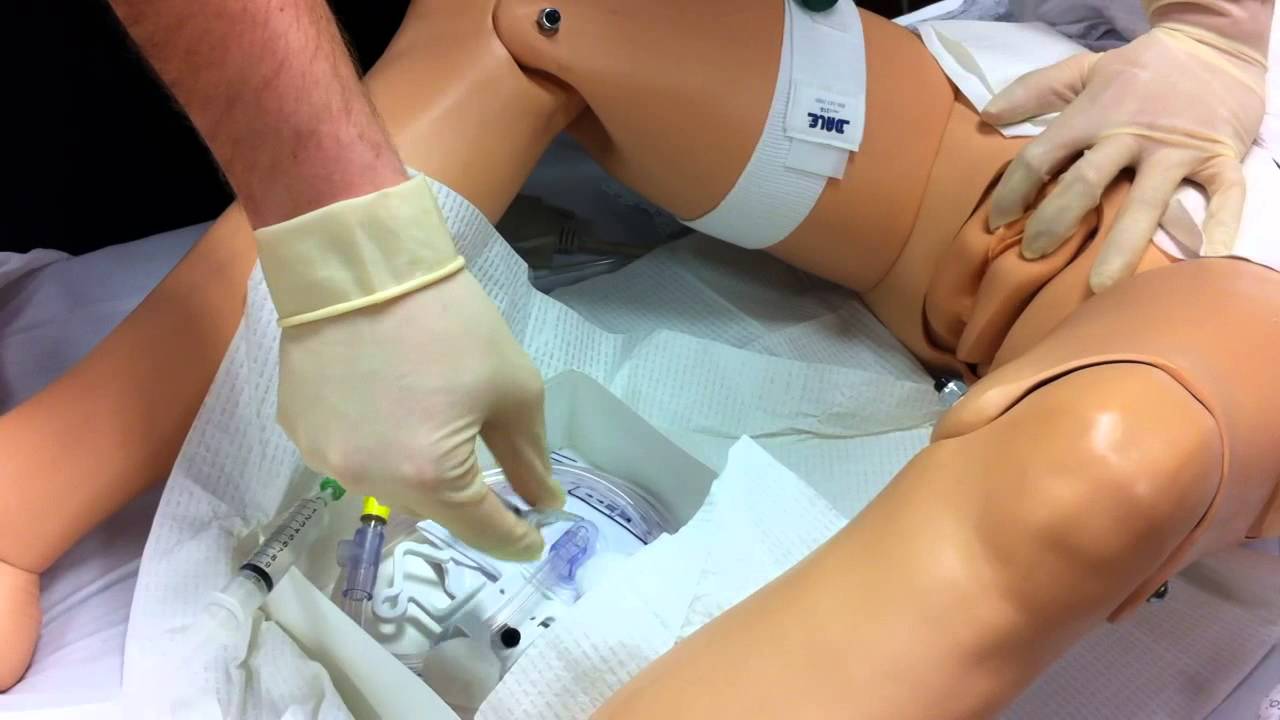
each making a single pass from front to back. Discard each swab away from your sterile field. Rest the catheter in your sterile hand. Hold it about two centimeters from the tip, and if you wish, coil the rest in your hand. Ask the patient to take some slow, deep breaths in a note. Gently insert the foley catheter into the urethra. Continue to insert the catheter all the way to the flange or flared tip, affecting any urine in the sterile container. If resistance or pain is felt, stop and gently try again.
Inflate the balloon with the sterile water from the prefilled syringe in the amount indicated on the catheter port. Do not use saline as it may crystallize over time, making it impossible to deflate the balloon when the catheter is removed. Gently pull back the catheter until resistance is felt, indicating the catheter is abutting the bladder neck. Urine should now flow freely through the catheter. Remove the protective cap from the drainage bag tubing. Connect the catheter to the drainage bag and remove the tray and drape from the bed.
Dispose of these items appropriately. Using a cloth, wash the povidine iodine solution from the perineal area. Take your gloves off and then using a piece of tape, secure the catheter to the patient's inner thigh. Cover the patient so she is warm and comfortable. This is fully, you should feel more comfortable now. Do you have any questions? No? Okay, I'll be back to see you in a little while. To remove the catheter, you will need an appropriately sized syringe, an incontinent pad in which to wrap up the catheter,
and non-sterile gloves. Remember to leave the catheter connected to the drainage bag before you remove it, but remove the tape. Place the incontinent pad on the bed between the patient's legs. Put on your non-sterile gloves. Attach the syringe into the catheter port. Draw back gently until the amount of sterile water indicated on the catheter port has been removed. Tell the patient you are ready to remove the catheter. Use a gentle continuous pull to remove the catheter. Dispose of all contents appropriately.
Transcript auto-generated from the video’s audio for accessibility and study. Educational content only — not medical advice.
Video Overview
From our Clinical Skills collection: Suturing, injections, catheterization, IV insertion and OSCE-style examination techniques demonstrated step by step. Browse all Clinical Skills videos →
SORT BY-
Mga Nangungunang Komento
-
Pinakabagong komento