
- Physical Examination
- Surgical Examination
- Ophthalmology
- Clinical Skills
- Orthopedics
- Surgery Videos
- Laparoscopy
- Pediatrics
- Funny Videos
- Cardiothoracic Surgery
- Nursing Videos
- Plastic Surgery
- Otorhinolaryngology
- Histology and Histopathology
- Neurosurgery
- Dermatology
- Pediatric Surgery
- Urology
- Dentistry
- Oncology and Cancers
- Anatomy Videos
- Health and Fitness
- Radiology
- Anaesthesia
- Physical Therapy
- Pharmacology
- Interventional Radiology
- Cardiology
- Endocrinology
- Gynecology
- Emergency Medicine
- Psychiatry and Psychology
- Childbirth Videos
- General Medical Videos
- Nephrology
- Physiology
- Diet and Food Health
- Diabetes Mellitus
- Neurology
- Women Health
- Osteoporosis
- Gastroenterology
- Pulmonology
- Hematology
- Rheumatology
- Toxicology
- Nuclear Medicine
- Infectious Diseases
- Vascular Disease
- Reproductive Health
- Burns and Wound Healing
- Kidney Zone Podcast
- Other












Internal Jugular Vein Catheter Insertion

Educational only: videos on MedicalVideos.com are for general information and are not medical advice. Always consult your own doctor about your health.
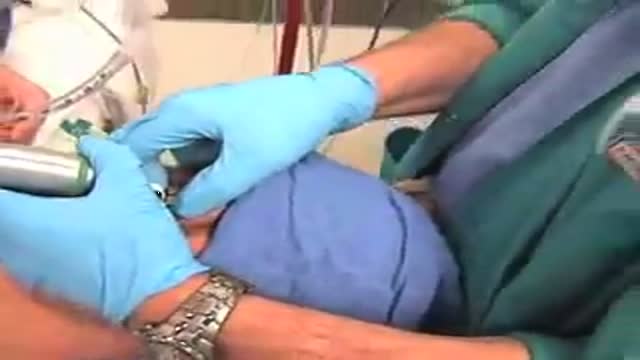
How to cannulate the Internal Jugular Vein with the aid of ultrasound.
This video in 30 seconds
This video shows cannulation of the internal jugular vein. The insertion is aided by ultrasound, as described in the source.
Key points
- Shows internal jugular vein catheter insertion
- Covers cannulation aided by ultrasound
- Shows catheter insertion into a central vein
Video Transcript
A narrated, ultrasound-guided internal jugular vein catheter insertion. It shows patient positioning, the ultrasound survey of the vein and carotid artery, and needle insertion at the apex of the triangle formed by the sternocleidomastoid muscle.
Read the full transcript
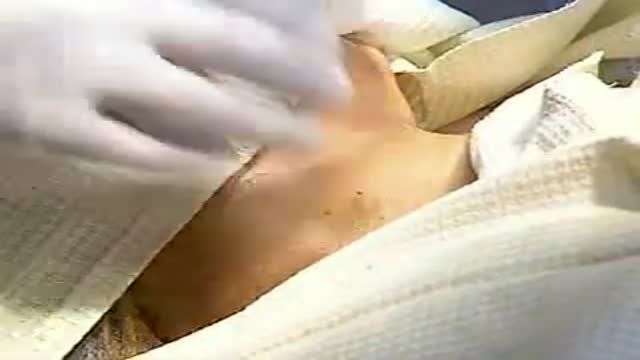
Needle insertion into the internal jugular vein occurs at the apex of the triangle formed by the two heads of the sternocleidomastoid. In the standing patient, the vein is collapsed. The patient is positioned and an initial survey with ultrasound shows which side will be easiest to use. This is usually the right. Hibispray makes an excellent temporary conduction medium. The large vein is easily seen with the corotary artery medially to the left. The vein is easily compressible. The skin can be marked to show the likely entry site of the CV line.
If the procedure were to be done under local anesthesia, this would be a good time to infiltrate the skin with local anesthetic in a 3-centimetre circle centered on this point. The pen points to the likely site of insertion and then shows the line of the vein. The corotted pulse can be felt medially, but during the procedure the fingers will be kept off the neck to prevent compression of the vein.
The pulsation of the vein can be seen clearly. Being venous, it is impalpable. The table is tipped 10 degrees head down and adjusted to a convenient height. Always do practical procedures in the most comfortable position possible. With the head tipped 10 degrees, the internal jugular vein distends with blood. The area of the neck is sterilized either by spray or by painting with skin prep. Many patients develop line related sepsis during admission and a sterile technique for insertion is essential. A fenestrated drape is placed carefully to create a sterile field.
A good helping of jelly is put into the sterile sleeve and then the ultrasound probe is dropped in. The sleeve is folded and secured carefully round the head of the transducer to ensure an even covering of jelly with tight application of the plastic. A small amount of sterile jelly is put on the drape. The vein is identified again. The transducer is moved so that the center of the vein is exactly in the center of the transducer. It is essential that the transducer is held vertically at all times because this is the axis down which the needle will be inserted.
The needle is inserted just above the transducer at the midpoint of its head. A more acute angle is required than for the landmark technique. Initially the image may be lost as the needle pushes the skin away from the head of the transducer. Regain the image and see the movement of the needle towards the center of the vein. Jiggling the needle can help to visualize it on the screen. As the needle passes into the vein blood will be aspirated easily into the syringe. The position of the needle might need minor adjustment that is by rotation, insertion and withdrawal to ensure this free flow prior to attempting wire insertion.
It is important to learn to see the needle on the ultrasound. The tip of the needle is always a bright spot of light as seen here. From this bright tip you can just see the wire starting to pass into the vein. It is important that the wire passes easily. This will be more likely if there is free and easy aspiration of blood from the inserting needle. The wire is passed about 20 centimeters. Extra systoles may occur but they confirm that the wire has entered the right atrium.
The transducer can angle cordad. To see the wire pass down the vein and pass the entrance of the right subclavian vein into the superior vena cava. A small incision is made at the entry side of the wire to facilitate the passage of the blue dilator. The dilator is passed well into the vein. The catheter has been flushed with saline and bionectic caps are applied to minimize risk of later infection. The dilator is removed and the catheter passed over the wire. Be careful to withdraw enough of the wire through the catheter to leave some free at the hub so that it can be removed safely.
Push the catheter right down into the vein and remove the wire, immediately putting a thumb over the end of the hub until the cap is in position. Ensure there is still easy blood aspiration from this lumen. Put the securing device about the catheter leaving 12 centimeters in the vein of an adult and 16 centimeters if it is a left sided approach. Sew in with black silk taking good bites to leave good skin bridges. Place a sterile dressing conforming it to the neck carefully. A chest x-ray confirms that the line is in a satisfactory position.
Ideally the tip of the line will be at about the level of the carina.
Transcript auto-generated from the video’s audio for accessibility and study. Educational content only — not medical advice.
Video Overview
From our Clinical Skills collection: Suturing, injections, catheterization, IV insertion and OSCE-style examination techniques demonstrated step by step. Browse all Clinical Skills videos →
Medical Videos
Free medical and surgery videos for patients, students and professionals — trusted since 2007.
Founded by Dr. Mohamed Ibrahim, MD, PhD — physician-scientist.
Follow us on Facebook · Instagram
SORT BY-
Top Comments
-
Latest comments