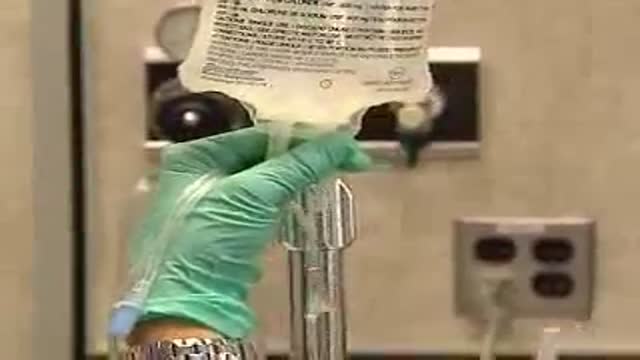
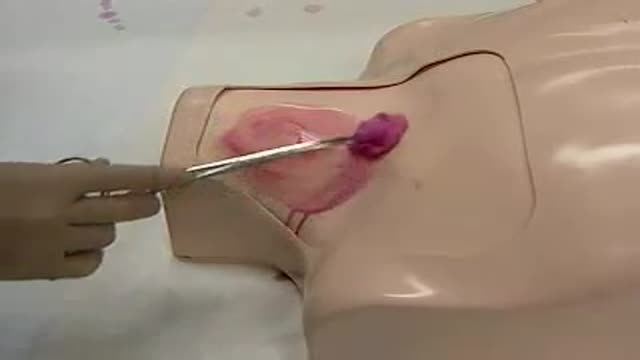
Intravenous therapy is a core nursing skill — placing the cannula, keeping the line patent, and spotting problems early are daily work on almost every ward. This cluster gathers our most-watched IV demonstrations: cannula insertion, intravenous injection, blood draw technique, blood transfusion, and central line placement, each with a Key Steps checklist on its video page.
Safe IV practice rests on aseptic technique at every access, regular site checks, and clear documentation of what was given and when. The demonstrations below show the procedures in sequence; your local vascular-access protocol always governs the details, such as dressing type, flushing and how often a site is reviewed.
What is the difference between an IV cannula and a central line?
A peripheral IV cannula is a short tube placed in a vein in the hand or arm for fluids and medication over hours to days. A central line is a longer catheter threaded into a large central vein near the heart, used for certain medications, longer therapy or monitoring. Central lines carry higher stakes, so their insertion is an advanced, credentialed procedure.
Why is the IV site checked regularly?
Regular checks catch problems while they are small: fluid leaking into the tissue (infiltration), irritation or inflammation of the vein, blockage, or early signs of infection at the site. How often a site is scored and reviewed is set by local protocol, and any concern is escalated and documented.
What drop factors do IV giving sets come in?
Standard (macro-drip) giving sets commonly deliver 10, 15 or 20 drops per millilitre, while micro-drip sets deliver 60 drops per millilitre for slow, precise infusions. The drop factor is printed on the set's packaging and is what converts a drip rate in millilitres per hour into drops per minute.
This page is for general education only and is not medical advice. Procedures should be performed only by trained staff following their institution's protocols.