
- Physical Examination
- Surgical Examination
- Ophthalmology
- Clinical Skills
- Orthopedics
- Surgery Videos
- Laparoscopy
- Pediatrics
- Funny Videos
- Cardiothoracic Surgery
- Nursing Videos
- Plastic Surgery
- Otorhinolaryngology
- Histology and Histopathology
- Neurosurgery
- Dermatology
- Pediatric Surgery
- Urology
- Dentistry
- Oncology and Cancers
- Anatomy Videos
- Health and Fitness
- Radiology
- Anaesthesia
- Physical Therapy
- Pharmacology
- Interventional Radiology
- Cardiology
- Endocrinology
- Gynecology
- Emergency Medicine
- Psychiatry and Psychology
- Childbirth Videos
- General Medical Videos
- Nephrology
- Physiology
- Diet and Food Health
- Diabetes Mellitus
- Neurology
- Women Health
- Osteoporosis
- Gastroenterology
- Pulmonology
- Hematology
- Rheumatology
- Toxicology
- Nuclear Medicine
- Infectious Diseases
- Vascular Disease
- Reproductive Health
- Burns and Wound Healing
- Kidney Zone Podcast
- Other


Eyes,ears,nose and throat exam
Educational only: videos on MedicalVideos.com are for general information and are not medical advice. Always consult your own doctor about your health.
Eyes,ears,nose and throat exam
This video in 30 seconds
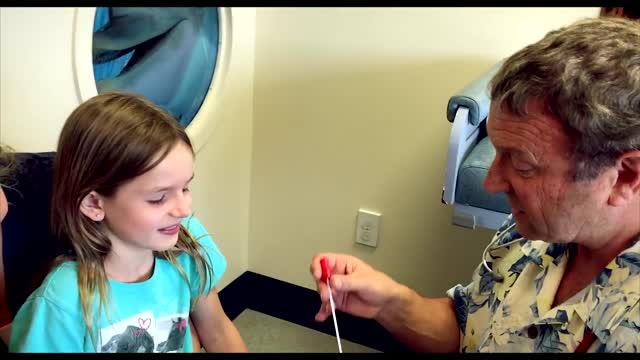
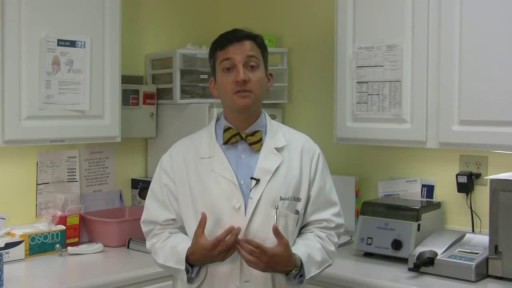
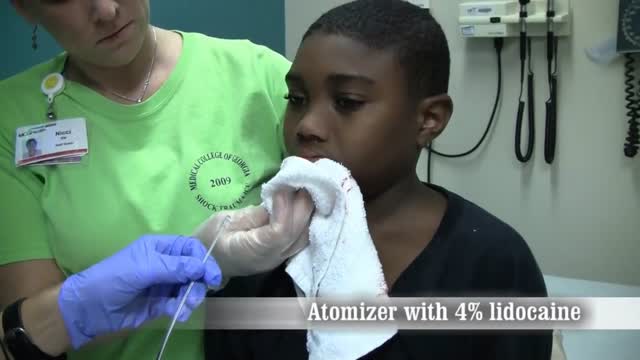
A step-by-step teaching demonstration covers the eyes, ears, nose and throat examination in order. The examiner lights the conjunctiva and sclera, tests direct and consensual pupillary responses and extraocular movements, and demonstrates the ophthalmoscope examination. The ear and nasal examinations follow, finishing with the mouth, tongue and phonation to watch the uvula rise.
Key points
- Pupillary responses are tested directly and consensually
- Extraocular movements are checked in the cardinal directions of gaze
- The ophthalmoscope exam follows the vessels to the optic disc
- The ear canal is straightened to view the tympanic membrane
- The mouth and tongue are lit and phonation is observed
Chapters
- 0:01 — Eye inspection and pupil responses
- 1:26 — Extraocular movement testing
- 2:44 — Ophthalmoscope examination technique
- 6:55 — Ear examination begins
- 8:39 — Nasal examination steps
- 9:09 — Mouth, tongue and throat inspection
Video Transcript
A step-by-step teaching demonstration of the eyes, ears, nose and throat examination. The examiner works through each segment in order — lighting the conjunctiva and sclera, direct and consensual pupillary responses, extraocular movements, and on through the ears and nose to the mouth and tongue, including phonation to watch the uvula rise — narrating the technique and what to look for throughout.
Read the full transcript
This segment of the exam is the eyes ears nose and throat segment we're going to start with the eyes and always begin with a general infection step so you take a look at your patient's eyes open and closed and That's pretty much that next you're going to be lighting the conjunctiva in sclera and to do that You're going to have your patient follow instructions to look up into the right up into the left Same thing on the other side up into the right up into the left
While you light the lower conjunctiva in sclera The next step are the pupillary reactions This requires you to use your pen light again and to have your patient look straight ahead at something pick a spot on the wall and then you will Elicit the direct pupillary response So that you're watching the eye that you're shining the light on and then looking the opposite eye for the consensual response Same thing on the other side direct and
Consensual And you can do that another way you can look for the direct in the eye that you're shining the light on and then the consensual in that same eye and then the direct and Consensual in the same eye it really doesn't matter which way you do it as long as you find both reflexes the direct and consensual in each eye The next step is the extra ocular Movements this requires some careful instruction to your patient You need to tell the patient to look at the tip of the pen light or your finger either one can be used
And you want your patient to move their eyes only not their head when they follow the motion of your pen light so can you look at the tip of this pen light and Move your eyes only not your head as I take you through certain Positions and let me know if you see anything double you do want to inform your patient to tell you if they see double because you may not be able to Notice that their eyes are not moving
Consensually, but they will see double vision and be able to tell you that so go ahead and follow the pen light and tell me if you see to remember What the six cardinal directions of gaze are they are? lateral Up into the left down into the left then across the midline lateral right up into the right Down into the right then you'll bring the pen light to the center and close to the patient while he watches it and look for constriction of the pupils on convergence
Now you're ready to use your up family scope You'll put your up family scope a cat on I'm going to leave specific directions about using the up family scope To your small group sessions, but just to review quickly you'll want to put the light on at about 80% maximum Have a round circle aperture either the smaller the larger whichever you prefer Get to positive 10 Diopters which on some up down the scope says the green 10 and on others is the black and Then make sure that you have your up family scope in the correct hand for the eye that you're going to be examining
When you're examining your patient's right eye, you will put the up family scope in your right hand Dial with your right index finger and use your right eye when you're examining the patient's left eye You will have the up family scope in your left hand dial with your left index finger and look with your left eye Okay, it's important during this exam to get up very close to the patient If you think about a keyhole, you cannot see what's on the other side of that keyhole if you're standing far back
The pupil is basically your keyhole and you have to get very close to it in order to see the optic structures beyond it so that requires you to actually get your hip or thigh up to your patient's thigh so that you're snugged in close to the patient you You also want to remember to brace carefully so that With this thumb over the patient's brow ridge if you lose track of where you're at It will prevent you from plunging your up family scope into your patient's eye Which would obviously be very uncomfortable. So bracing is important position is important
correct hand correct eye and then you're going to Successively look at anterior structures with the higher diapters and then dial down in diapters Until you can look through into the posterior structures of the eye So you'll be looking for the red reflex first then you'll get through the pupil Hopefully see vessels focus in on those vessels Follow those vessels to the optic disc and then take vessels out to four corners of observation nasal superior nasal inferior Temporal superior and temporal inferior. So let's just try it We're going to get close to our patient. We're going to brace carefully
Right hand and right eye for the patient's right eye get your light in the patient's pupil through the red reflex start to dial down and move closer until you see a vessel all that vessel to the patient's optic disc and Then to the four corners nasal superior nasal inferior Temporal superior and temporal inferior Okay, how was that? Sorry a little uncomfortable You need to give your patient also very clear instructions which will help you in completing this exam You want your patient to look ahead at an object on the wall or an imaginary point on the wall and keep
Looking at that point no matter what happens. This keeps their optic disc from moving around and makes your task easier and finding it The patient also needs to get permission to have a break if they really feel uncomfortable or if they're tearing a lot They can ask you for a break and you can complete the exam after they get that break So let's try the other eye We're going to go around we're going to get close to the patient now. We have our ophthalmoscope in our left hand
We're bracing with our right hand over the patient's brow
using our left eye Finding the red reflex Diling down to get vessels finding the disc and then going nasal superior nasal inferior temporal superior and temporal inferior
That completes the eye exam now we're going to move on to the ear exam for that you change heads to your otoscope And put on a clean speculum as always you start with an inspection step You will see this better when I come around on the other side, but you'll be looking behind the ear and at the pinna
Pulling back gently on the pinna bracing carefully with your Little finger while you insert the speculum behind the tragus and Find your landmarks when I come around on the other side You'll see this better you do want to hold your ophthalmoscope like this not like this Not like this as I've seen some people do the reason to hold it like this Is so that you can use your small finger to brace It's not as big of an issue with adults who will usually cooperate with your exam
But with children whose heads may be moving or may be thrashing because they don't want you to do this if you're braced with your little finger against their cheek ideally you're not going to be causing the Pain by plunging your speculum into your patient's external canal so you'll look at the behind the ear look at the pinna Lift up and back on the pin to straighten the external canal Brace with your little finger place your speculum gently inside the tragus Move forward until you see your landmarks
You're done if your patient you should give your patient permission to tell you whether this is uncomfortable If you are hurting the patient you are doing something wrong because you shouldn't
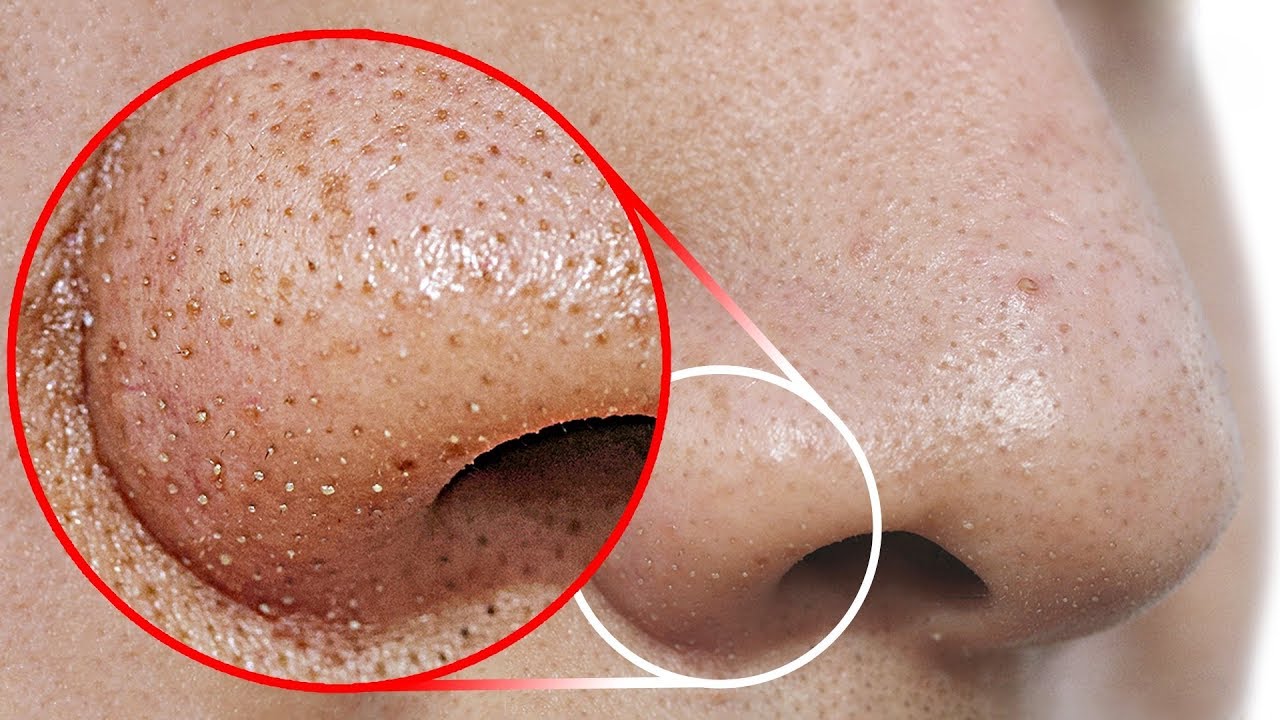
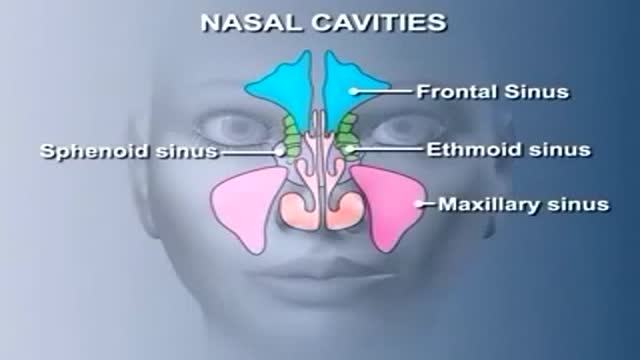
That can save the ear exam Next is the nasal exam, which is simple only has a couple steps. Yes, your patient to tip their head back
Compress the tip a little Light both nears and then look to see if there's any evidence of a nasal perforation and you're done with that part of the exam Next is the oral exam You use your pen light which you place in your Non-dominant hand and your tongue blade which you place in your dominant hand because you want control of how you use the tongue blade You always start with an inspection step look at the patient's exterior and then ask them to open their mouth The first step is to look at the gums
You close the teeth and you do that upper and lower while you light your way Next to your patient tip their head back and look at their heart and soft palate Dorsen them of their tongue you can lower your head again lift up your tongue for me. You look under the tongue Now have the patient put their tongue in their cheek and you can light the size of the tongue very well same thing on the other side Open mouth light the sides of the tongue. This is a common place for oral cancers
So especially in smokers you want to get a good look at them Lastly you have the patient stick their tongue out and phonate say ah Good while you watch for the rise of the uvula. So that really completes the mouth fixing
Transcript auto-generated from the video’s audio for accessibility and study. Educational content only — not medical advice.
Video Overview
From our Physical Examination collection: Watch physical examination videos step by step — cardiovascular, respiratory, abdominal and neurological exams demonstrated for medical students and clinicians. Browse all Physical Examination videos →
SORT BY-
Top Comments
-
Latest comments