
- Physical Examination
- Surgical Examination
- Ophthalmology
- Clinical Skills
- Orthopedics
- Surgery Videos
- Laparoscopy
- Pediatrics
- Funny Videos
- Cardiothoracic Surgery
- Nursing Videos
- Plastic Surgery
- Otorhinolaryngology
- Histology and Histopathology
- Neurosurgery
- Dermatology
- Pediatric Surgery
- Urology
- Dentistry
- Oncology and Cancers
- Anatomy Videos
- Health and Fitness
- Radiology
- Anaesthesia
- Physical Therapy
- Pharmacology
- Interventional Radiology
- Cardiology
- Endocrinology
- Gynecology
- Emergency Medicine
- Psychiatry and Psychology
- Childbirth Videos
- General Medical Videos
- Nephrology
- Physiology
- Diet and Food Health
- Diabetes Mellitus
- Neurology
- Women Health
- Osteoporosis
- Gastroenterology
- Pulmonology
- Hematology
- Rheumatology
- Toxicology
- Nuclear Medicine
- Infectious Diseases
- Vascular Disease
- Reproductive Health
- Burns and Wound Healing
- Kidney Zone Podcast
- Other





Ultrasound of Male Reproductive Organs

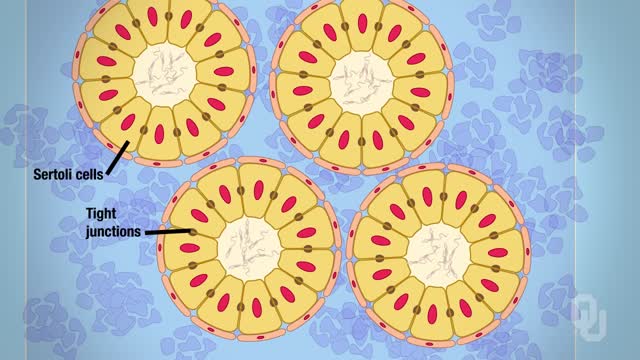
Identify the anatomy and explain the physiology of the scrotum on diagrams and sonograms.
Describe and demonstrate the protocol for sonographic scanning of the scrotum.
Identify and describe sonographic images of congenital abnormalities of the scrotum.
Identify and describe sonographic images of pathologies of the scrotum.
Identify and describe sonographic images of extratesticular disease processes.
Identify the anatomy and explain the physiology of the prostate on diagrams and sonograms.
Describe and demonstrate the protocol for transabdominal and endorectal sonographic scanning of the prostate.
Identify and describe sonographic images of benign and malignant pathologies of the prostate, including benign hyperplasia, prostatitis, carcinoma, and calculi.
Explain the technique for prostate biopsy.
Define the criteria for an ultrasound appearance of prostate tumor staging.
Explain the technique for radiation seed implantation.
Explain the Patient Privacy Rule (HIPAA) and Patient Safety Act (see reference).
Video Transcript
A detailed instructional narration for performing an ultrasound of the male reproductive organs. It specifies the equipment and presets, then gives the imaging protocol step by step — longitudinal and transverse scrotal views with measurements, Doppler checks, bladder and prostate imaging before and after the patient empties his bladder, and a transrectal prostate scan.
Read the full transcript
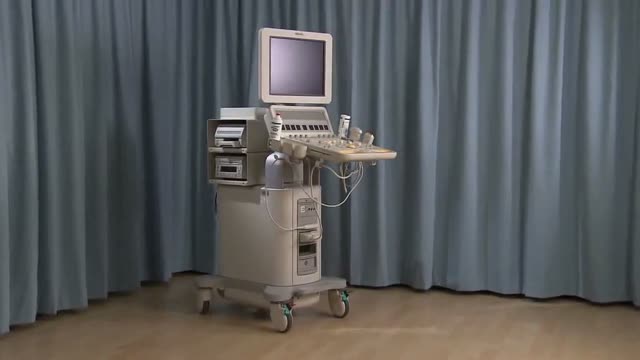
This video demonstrates how to set up and perform an ultrasound scan of the male reproductive organs. Equipment required includes the following, an ultrasound machine, a selection of transducers, transducer covers, an examination table, positioning aids such as pillows and sponges, an ergonomically adjustable chair, acoustic gel, examination gloves, bed linen and towels, and a sonographer's worksheet. Select the appropriate transducer for scrotal ultrasound and the required preset for male reproductive system imaging. Ask the patient to lie supine on the examination table. Maintain the patient's privacy by covering their legs with a sheet.
Give the patient a towel and instruct them to place their penis on their abdomen and cover it, exposing their scrotum. Place a rolled towel under the patient's scrotum to lift and stabilize the testes. Alternatively, if a patient prefers to leave their underwear on, lower the waistband and tuck a towel into the front of their underwear. Sit or stand on the patient's right side with the ultrasound machine to the left of the examination table. Apply pre-warmed acoustic gel to the scrotum. Confirm the correct transducer setting and preset on the ultrasound machine.
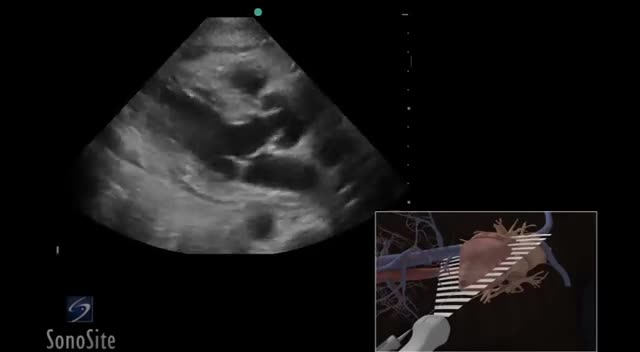
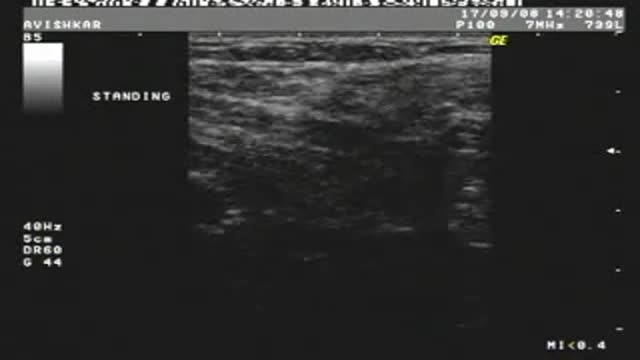
Perform a survey scan of the scrotum and make any necessary adjustments to the machine settings to maximize the image quality. Place the transducer in the longitudinal plane of the right testicle. Manipulate the transducer to obtain a suitable longitudinal image of the spermatic cord as it leaves the inguinal canal. Freeze the image by selecting the Freeze button and annotate the scan plane, patient position, and structures identified. Measure the maximum antero-posterior or AP dimension of the spermatic cord by placing the calipers on the opposing anterior and posterior margins.
Select the Save button to save the image and then the Freeze button to unfreeze the image. Ask the patient to perform a Volsalva maneuver and obtain a second longitudinal image and AP measurement of the spermatic cord. Manipulate the transducer to obtain an image of the long axis of the testes, including both the upper and lower pole. If the testicle cannot be viewed in its entire length, use a split screen, curved array, or extended field of view option. Freeze and annotate the image. Place the cursors to obtain a measurement of the long axis and then an AP dimension.
Save the image and unfreeze to continue scanning. Freeze, annotate, and save four separate longitudinal images of the right testes. One each of the head of the epididymus, upper pole of the testes, tail of the epididymus, and lower pole of the testes. Measure the epididymus if there is pathology or the head of the epididymus appears to be enlarged. Repeat steps and obtain images for both the lateral and medial right testes. Remember to save all images and unfreeze to continue. Rotate the transducer and sweep to obtain a transverse image of the spermatic cord as it leaves the inguinal canal.
Freeze and annotate the image. Obtain an AP measurement of the spermatic cord in the transverse plane by placing the calipers appropriately. Save and unfreeze the image. Repeat the scan with the patient performing the Volsalva maneuver. Freeze and annotate five separate transverse images of the right testes. One each of the head of the epididymus, superior pole of the testes, mid-testes, tail of the epididymus, and the inferior pole of the testes. Obtain a transverse diameter measurement of the mid-testes. Save the image and unfreeze to continue. Use color Doppler if necessary to confirm and document the vascular supply to the testes and epididymus.
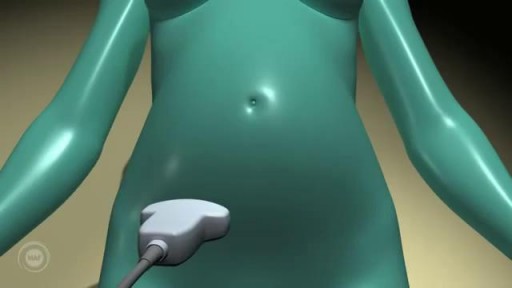
Ensure that the patient is well hydrated and has a full bladder. Select the renal preset. Expose the patient's abdomen and apply pre-warmed acoustic gel to the lower abdomen along the midline. Place the transducer in the midline, just superior to the symphysis pubis in the longitudinal plane. Use the bladder as a window to view the prostate and sweep the transducer laterally to view the entire bladder and underlying prostate. Freeze and annotate two separate longitudinal images. One each of the long axis of the mid-urinary bladder and the prostate gland.
Measure the length and AP dimension of both the urinary bladder and the prostate gland. Save and unfreeze the images to continue. Rotate the transducer to the transverse plane. Sweep the transducer from superior to inferior to view the margins of the bladder and the underlying prostate. Obtain two separate images of the maximum transverse diameter of the bladder and prostate gland. Freeze and annotate the images and measure the maximum diameter. Save the images and select the freeze button to unfreeze the images and continue the scan. Ask the patient to go and empty their bladder and return to continue the scan.
Repeat the longitudinal and transverse scans of the bladder. Calculate pre- and post-void bladder volumes and the volume of the prostate using the depth, height, and width measurements obtained. Ask the patient to lie on their left side and cover them with a sheet. Select the correct preset on the ultrasound machine. Select the endorectal transducer and apply acoustic gel to the distal tip before covering with a disposable sheath. Reapply pre-warmed acoustic gel to the distal portion of the covered transducer. Keeping the patient informed of your movements, expose and separate the buttocks and carefully insert the transducer into the rectum.
Manipulate the endorectal transducer to sweep from one lateral margin of the prostate gland to the other to visualize the entire prostate gland and seminal vesicles. Obtain and freeze three separate sagittal images. One each of the right lateral prostate and seminal vesicle, the mid-sagital prostate, and the left lateral prostate and seminal vesicle. Annotate the scan plane, patient position, and structures identified. From the mid-sagital view, measure the length and AP dimension of the prostate gland. Save the images by pressing the appropriate button and press the freeze button again to unfreeze the image.
Rotate the transducer to the axial imaging plane. Sweep the transducer from apex to base to view the margins of the prostate and the seminal vesicles. Freeze, annotate, and save three separate axial images of the seminal vesicles. One for each of the mid-portion of the seminal vesicles, the right seminal vesicle, and the left seminal vesicle. Save and unfreeze the images. Obtain and save three separate annotated axial images of the base, middle, and apex of the prostate. Obtain a measurement of the maximum transverse diameter in the middle prostate.
Save and unfreeze the image. A prostate biopsy may be performed following or as part of an endorectal prostate scan. A biopsy gun is used in conjunction with transrectal ultrasound guidance to obtain a set of core biopsy samples. This involves taking a set of six cores, three cores from the right and three cores from the left side of the peripheral zone. More cores are taken if any suspicious lesions are present. Prepare the biopsy specimens to send to the laboratory. For the treatment of prostate cancer, radiation seeds are introduced into the prostate via a sharp hollow needle through the perineum under transrectal ultrasound guidance.
As a precaution, patients should remain under observation following a prostate biopsy or radiation seed implantation. Finally, end the study on the ultrasound machine. Give the patient a towel or cloth to wipe off gel. Follow the guidelines specified for the correct cleaning and sterilization of an endocavid ultrasound transducer.
Transcript auto-generated from the video’s audio for accessibility and study. Educational content only — not medical advice.
Video Overview
From our Radiology collection: How to read X-rays, CT, MRI and ultrasound scans — imaging findings explained case by case for students and clinicians. Browse all Radiology videos →
SORT BY-
Top Comments
-
Latest comments