
- Physical Examination
- Surgical Examination
- Ophthalmology
- Clinical Skills
- Orthopedics
- Surgery Videos
- Laparoscopy
- Pediatrics
- Funny Videos
- Cardiothoracic Surgery
- Nursing Videos
- Plastic Surgery
- Otorhinolaryngology
- Histology and Histopathology
- Neurosurgery
- Dermatology
- Pediatric Surgery
- Urology
- Dentistry
- Oncology and Cancers
- Anatomy Videos
- Health and Fitness
- Radiology
- Anaesthesia
- Physical Therapy
- Pharmacology
- Interventional Radiology
- Cardiology
- Endocrinology
- Gynecology
- Emergency Medicine
- Psychiatry and Psychology
- Childbirth Videos
- General Medical Videos
- Nephrology
- Physiology
- Diet and Food Health
- Diabetes Mellitus
- Neurology
- Women Health
- Osteoporosis
- Gastroenterology
- Pulmonology
- Hematology
- Rheumatology
- Toxicology
- Nuclear Medicine
- Infectious Diseases
- Vascular Disease
- Reproductive Health
- Burns and Wound Healing
- Kidney Zone Podcast
- Other








Subcutaneous Injection

Educational only: videos on MedicalVideos.com are for general information and are not medical advice. Always consult your own doctor about your health.
basic subcutaneous (SQ) injection techniques
Video Transcript
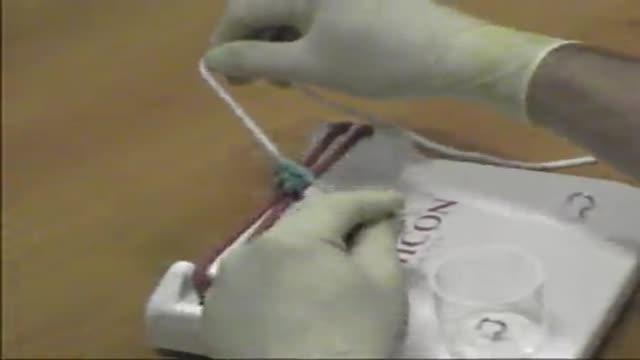
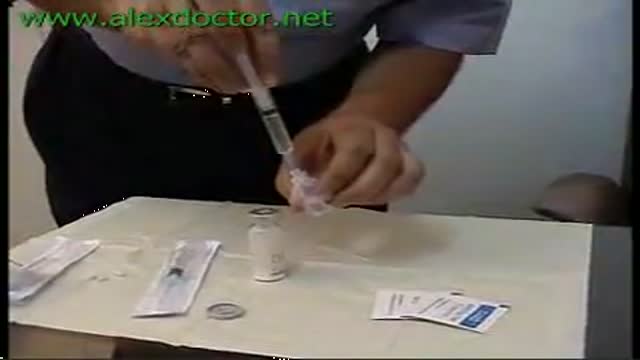
This vintage nursing training film demonstrates how to give a subcutaneous injection, using the back of the upper arm. It shows handwashing and equipment checks, choosing and cleaning the site, pinching the skin, inserting the needle bevel-up at about 45 degrees, aspirating to check the needle is not in a blood vessel, injecting slowly, withdrawing and massaging the site, and discarding the syringe and needle safely.
Read the full transcript
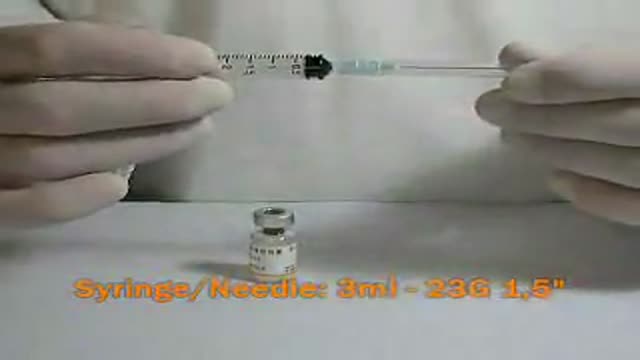
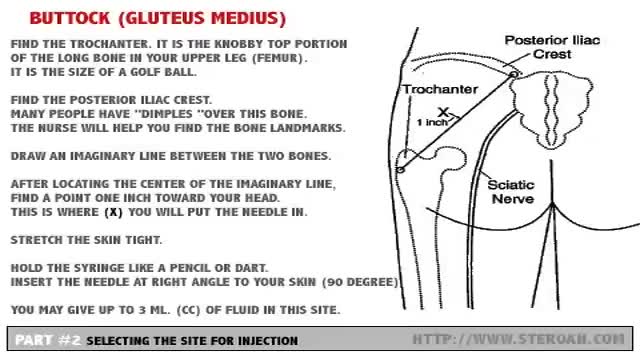
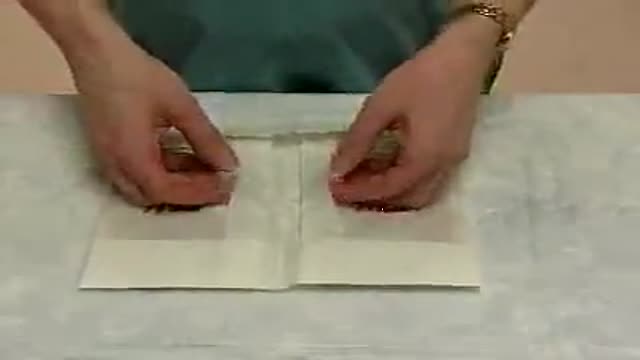
The purpose of a subcutaneous injection is to place medication between the skin and the muscle tissue in a tissue layer that is rich in blood vessels. This causes the medication to be quickly distributed throughout the body. This program will show you how to administer the familiar shot in the arm to provide a subcutaneous injection. After you've washed your hands, assembled, checked, and loaded your equipment, you begin by locating a suitable injection site. Actually, there are many suitable injection sites. The most commonly selected are the outer part of the thigh and the upper arm.
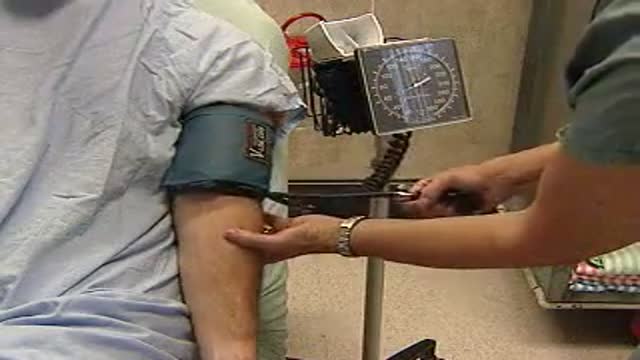
During this program, we'll use the posterior area of the upper arm, here toward the back of the patient's arm. Now, clean the area of your patient's arm to be injected. Use an antiseptic sponge and scrub in a circular motion, spiraling outward from the injection site. Now pick up the syringe and remove the needle guard. Pull it straight off. Don't touch the guard to the needle. With your other hand, pinch the skin of your patient's arm and hold it firm. Hold the barrel of the syringe with your right hand between your thumb and index finger.
Check to see that the cutting edge or bevel of the needle is pointing up toward you. Now move the needle up toward the cushion of skin you're pinching between your fingers. Hold the needle at about a 45-degree angle upwards. Straight in is 90 degrees. 45 degrees is halfway. Insert the needle at this 45-degree angle into the skin. Insert it with a firm, quick, forward thrust. When the needle has penetrated the skin, you can release your pinch and move your free hand to the plunger of the syringe.
Now comes a very important precaution. As we explained, the purpose of this type of injection is to introduce medication to the blood, rich tissue under the protective skin. But you never want to inject medication directly into a blood vessel. The effect of medication might injure the blood vessel. It could even cause shock. Therefore you need to check yourself. Draw the plunger back a bit or aspirate. Once you have hit a blood vessel, some blood will appear in the syringe. If blood appears in the syringe, withdraw the needle and start again.
If no blood appears in the syringe when you aspirate, press the plunger into the barrel slowly and steadily until all the medication is injected. Then put an alcohol sponge over the site and quickly remove the needle. Massage the site with the antiseptic sponge. Use a gentle circular motion to help disperse the medication throughout the tissue so that it will absorb readily. Then discard the syringe and needle in the appropriate container. The process of injection takes a very short time. We stretched out this process to make our teaching points.
Now practice this task yourself.
Transcript auto-generated from the video’s audio for accessibility and study. Educational content only — not medical advice.
Video Overview
From our Clinical Skills collection: Suturing, injections, catheterization, IV insertion and OSCE-style examination techniques demonstrated step by step. Browse all Clinical Skills videos →
Medical Videos
Free medical and surgery videos for patients, students and professionals — trusted since 2007.
Founded by Dr. Mohamed Ibrahim, MD, PhD — physician-scientist.
Follow us on Facebook · Instagram
SORT BY-
Top Comments
-
Latest comments