
- Physical Examination
- Surgical Examination
- Ophthalmology
- Clinical Skills
- Orthopedics
- Surgery Videos
- Laparoscopy
- Pediatrics
- Funny Videos
- Cardiothoracic Surgery
- Nursing Videos
- Plastic Surgery
- Otorhinolaryngology
- Histology and Histopathology
- Neurosurgery
- Dermatology
- Pediatric Surgery
- Urology
- Dentistry
- Oncology and Cancers
- Anatomy Videos
- Health and Fitness
- Radiology
- Anaesthesia
- Physical Therapy
- Pharmacology
- Interventional Radiology
- Cardiology
- Endocrinology
- Gynecology
- Emergency Medicine
- Psychiatry and Psychology
- Childbirth Videos
- General Medical Videos
- Nephrology
- Physiology
- Diet and Food Health
- Diabetes Mellitus
- Neurology
- Women Health
- Osteoporosis
- Gastroenterology
- Pulmonology
- Hematology
- Rheumatology
- Toxicology
- Nuclear Medicine
- Infectious Diseases
- Vascular Disease
- Reproductive Health
- Burns and Wound Healing
- Other
Top videos
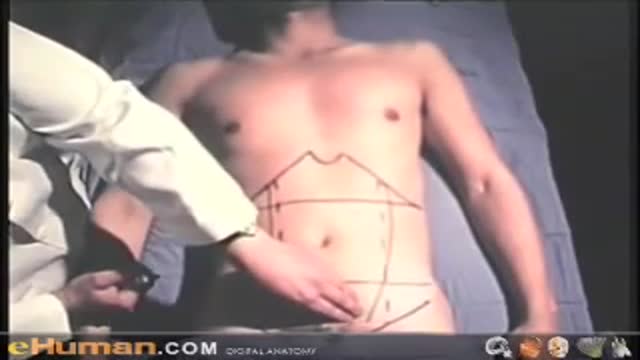

Clinical Anatomy Lecture Illustrate The Anatomy Of The Abdominal Wall
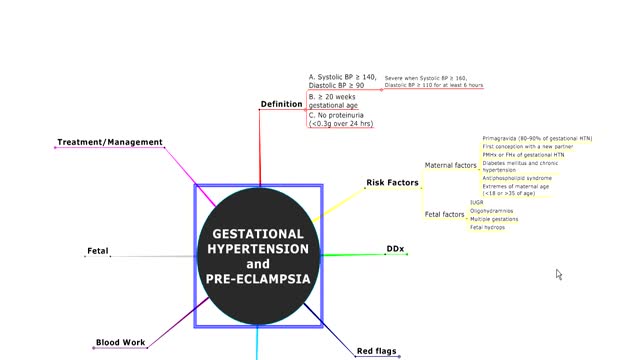
Gestational hypertension, also referred to as pregnancy induced hypertension (PIH) is a condition characterized by high blood pressure during pregnancy. Gestational hypertension can lead to a serious condition called preeclampsia, also referred to as toxemia. Hypertension during pregnancy affects about 6-8% of pregnant women.

Lumbar Laminotomy and Microdiscectomy
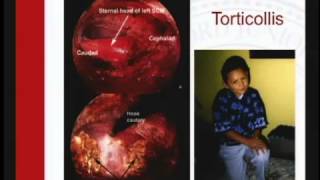
Sanjeev Dutta, MD, FACS discusses the fascinating new world of surgical technology. The pediatric general surgeon shares how medicine and technology have combined to achieve less invasive procedures and healthier outcomes for surgical patients.
Dr. Dutta is a pediatric general surgeon at Lucile Packard Children's Hospital. He is also an Associate Professor of Surgery at Stanford School of Medicine and Surgical Director of the Multidisciplinary Initiative for Surgical Technology Research.
Learn more about Stanford Children's Health. http://www.stanfordchildrens.org.

Allograft material is placed submucosally to expand tissue to simulate turbinate tissue. It is placed in a location to direct the airstream toward "virgin" tissue that can sense airflow. Empty Nose Syndrome (ENS) is an iatrogenic disease characterized by paradoxical obstruction: a hugely patent no...
se with subjective "blockage" or poor nasal breathing.
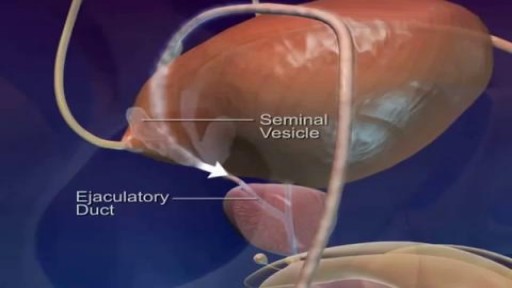
Watch that video of Pathway and Ejaculation of Sperm
Lung cancer starts when cells of the lung become abnormal and begin to grow out of control. As more cancer cells develop, they can form into a tumor and spread to other areas of the body. To learn more about how cancers start and spread
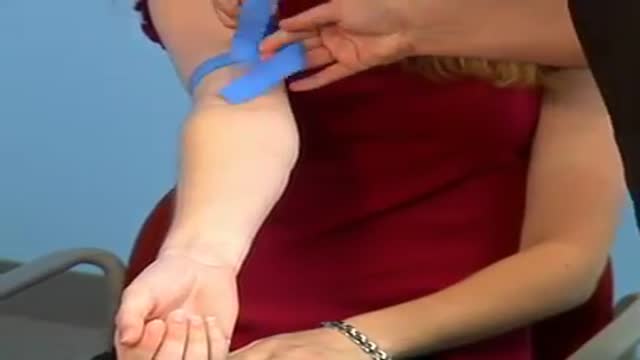
What is Venipuncture? While venipuncture can refer to a variety of procedures, including the insertion of IV tubes into a vein for the direct application of medicine to the blood stream, in phlebotomy venipuncture refers primarily to using a needle to create a blood evacuation point. As a phlebotomist, you must be prepared to perform venipuncture procedures on adults, children, and even infants while maintaining a supportive demeanor and procedural accuracy. Using a variety of blood extraction tools, you must be prepared to respond to numerous complications in order to minimize the risk to the patient while still drawing a clean sample. In its entirety, venipuncture includes every step in a blood draw procedure—from patient identification to puncturing the vein to labeling the sample. Patient information, needle placement, and emotional environment all play a part in the collection of a blood sample, and it's the fine details that can mean the difference between a definite result and a false positive. After placing the tourniquet and finding the vein, it's time for the phlebotomist to make the complex choice on what procedure will best suit the specific situation. Keeping this in mind, it should be noted that the following information is not an instructional guide on how to perform these phlebotomy procedures. Rather, the information below is intended to serve as an educational resource to inform you of the equipment and procedures you will use. Venipuncture Technqiues Venipuncture with an Evacuated or Vacuum Tube: This is the standard procedure for venipuncture testing. Using a needle and sheath system, this procedure allows multiple sample tubes to be filled through a single puncture. This procedure is ideal for reducing trauma to patients. After drawing the blood, the phlebotomist must make sure the test stopper is correctly coded and doesn't contact exposed blood between samples. Venipuncture with a Butterfly Needle : This is a specialized procedure that utilizes a flexible, butterfly needle adaptor. A butterfly needle has two plastic wings (one on either side of the needle) and is connected to a flexible tube, which is then attached to a reservoir for the blood. Due to the small gauge of the needle and the flexibility of the tube, this procedure is used most often in pediatric care, where the patients tend to have smaller veins and are more likely to move around during the procedure. After being inserted into a vein at a shallow angle, the butterfly needle is held in place by the wings, which allow the phlebotomist to grasp the needle very close to the skin. Phlebotomists should be careful to watch for blood clots in the flexible tubing. Venipuncture with a Syringe: This technique is typically only used when there is a supply shortage, or when a technician thinks it is the appropriate method. It uses the classic needle, tube, and plunger system, operating in a similar manner to the vacuum tube but requiring multiple punctures for multiple samples. Additionally, after the blood is drawn it must be transferred to the appropriate vacuum tube for testing purposes. If you choose to use this method, remember to check for a sterile seal, and use a safety device when transferring the sample. Fingerstick (or Fingerprick): This procedure uses a medical lance to make a small incision in the upper capillaries of a patient's finger in order to collect a tiny blood sample. It is typically used to test glucose and insulin levels. When performing a Fingerstick, the phlebotomist should remember to lance the third or fourth finger on the non-dominant arm. Never lance the tip or the center of the finger pad; instead, lance perpendicular to the fingerprint lines. Heelstick (or Heelprick): Similar to the Fingerstick procedure, this process is used on infants under six months of age. A medical lance is used to create a small incision on the side of an infant's heel in order to collect small amounts of blood for screening. As with a Fingerstick, the incision should be made perpendicular to the heel lines, and it should be made far enough to the left or right side of the heel to avoid patient agitation. Before performing a Heelstick, the infant's heel should be warmed to about 42 degrees Celsius in order to stimulate capillary blood and gas flow. Therapeutic Phlebotomy: This involves the actual letting of blood in order to relieve chemical and pressure imbalances within the blood stream. Making use of a butterfly needle, this therapy provides a slow removal of up to one pint of blood. Though the blood removed is not used for blood transfusions, the procedure and concerns are the same as with routine blood donation. As with any phlebotomy procedure, one should pay close attention to the patient in order to prevent a blood overdraw. Bleeding Time: A simple diagnostic test that is used to determine abnormalities in blood clotting and platelet production. A shallow laceration is made, followed by sterile swabbing of the wound every 30 seconds until the bleeding stops. Average bleed times range between one and nine minutes. As a phlebotomist, you should familiarize yourself with the application and cross-application of these procedures in order to recognize when a procedure is necessary, and what the risks are for each.
Plastic Surgery New York Dr. Carlin Vickery of 5th Avenue Aesthetics Surgery in Manhattan
(http://www.5thavesurgery.com) speaks at a Fab Over 50 event on having great breasts after the age
of 50. In this presentation Dr. Carlin shares patient results by providing before and after pictures from
different types of breast surgeries including breast lifts, implants and reductions.

Learn what's working for other Nursing Students! Check out our Top 10 Most Popular Lessons Here: https://bit.ly/3nda5u3
Central Line Dressing Change- Nursing Skills
FREE Nursing School Cheat Sheets at: http://www.NURSING.com
Get the full PPE Donning & Doffing lesson here:
https://nursing.com/lesson/cen....tral-line-dressing-c
Welcome to the NURSING Family, we call it the most supportive nursing cohort on the planet.
At NURSING.com, we want to help you remove the stress and overwhelm of nursing school so that you can focus on becoming an amazing nurse.
Check out our freebies and learn more at: (http://www.nursing.com)
Central Line Dressing Change - Nursing Skills:
In this video we’re going to talk about central line dressing changes. In this particular video, we’re going to look at a PICC Line, but the same strategy is also used for a Central Line. Remember the dressing should be changed every 7 days or as needed for peeling or soiling
This includes PICC lines. Sterile technique must be maintained to prevent Central-Line Associated Bloodstream Infections (CLABSI)
We love you guys! Go out and be your best selves today! And, as always, happy nursing!
Bookmarks:
0.05 Introduction
0.22 Mask application
0:36 Patient positioning
0:48 Dressing removal
1:20 Sterilization
1:26 Dressing change kit
2:14 Sterile gloves (Lesson link below)
https://nursing.com/lesson/ski....lls-01-04-sterile-gl
2:50 Cleaning the site
3:30 Bio patch application
4:20 Changing infusion caps
4:41 Labeling the dressing
5:00 Outro
Visit us at https://nursing.com/medical-disclaimer/ for disclaimer information.
NCLEX®, NCLEX-RN® are registered trademarks of the National Council of State Boards of Nursing, INC. and hold no affiliation with NURSING.com.
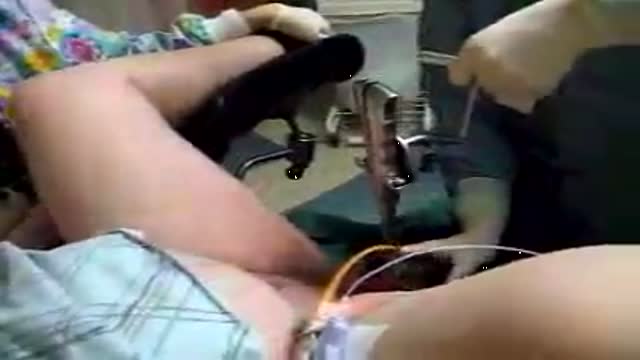
Delivery using foreceps
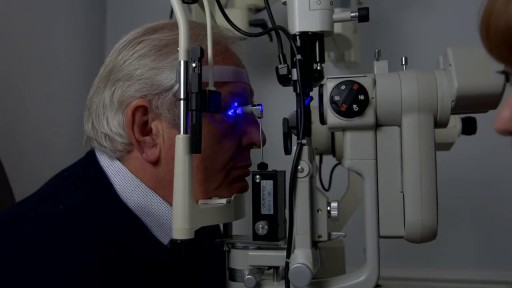
Eye Pressure Test
An abscess is a collection of pus. Pus is a thick fluid that usually contains white blood cells, dead tissue and germs (bacteria). The usual cause of an abscess is an infection with bacteria. Certain bacteria are more likely to be 'pus-forming' as they make chemicals (toxins) that can damage the body's tissues.
Egg Freezing Oocyte Cryopreservation
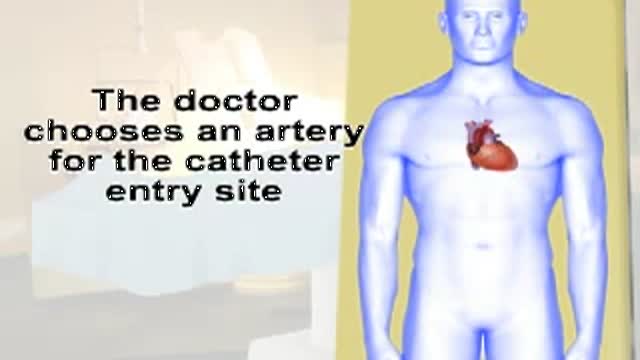
This video gives you an overview of how a cardiac catheterization is performed.

Huge Colon Polyp Removal

Health Assessment: Musculoskeletal System- Nursing Skills
FREE Nursing School Cheat Sheets at: http://www.NURSING.com
Get the full lesson on musculoskeletal assessment here:
https://nursing.com/lesson/02-11-musculoskeletal/
Welcome to the NURSING Family, we call it the most supportive nursing cohort on the planet.
At NURSING.com, we want to help you remove the stress and overwhelm of nursing school so that you can focus on becoming an amazing nurse.
Check out our freebies and learn more at: (http://www.nursing.com)
Health Assessment: Musculoskeletal System- Nursing Skills:
In this video we’re going to review a Musculoskeletal Assessment. The Musculoskeletal system involves the muscles, bones, and joints. This means we must assess structure AND function! If the patient cannot stand, assessments should be performed in the bed to the best of your ability. If they cannot perform Active Range of Motion (ROM), use Passive movements to determine ROM.
We love you guys! Go out and be your best selves today! And, as always, happy nursing!
Bookmarks:
0.05 Introduction
0:34 Spine assessment
1:02 Range of motion
1:39 Extremity assessment
1:52 Shoulder range of motion
2:10 Elbow & wrist range of motion
2:25 Hand range of motion
2:34 Upper extremity strength
2:54 Lower extremity range of motion
3:02 Hips range of motion
3:20 Knees range of motion
3:30 Ankles range of motion
3:38 Toes range of motion
3:42 Lower extremity strength
4:05 Outro
Visit us at https://nursing.com/medical-disclaimer/ for disclaimer information.
NCLEX®, NCLEX-RN® are registered trademarks of the National Council of State Boards of Nursing, INC. and hold no affiliation with NURSING.com.
Lower Limb Physical Examination