- Physical Examination
- Surgical Examination
- Ophthalmology
- Clinical Skills
- Orthopedics
- Surgery Videos
- Laparoscopy
- Pediatrics
- Funny Videos
- Cardiothoracic Surgery
- Nursing Videos
- Plastic Surgery
- Otorhinolaryngology
- Histology and Histopathology
- Neurosurgery
- Dermatology
- Pediatric Surgery
- Urology
- Dentistry
- Oncology and Cancers
- Anatomy Videos
- Health and Fitness
- Radiology
- Anaesthesia
- Physical Therapy
- Pharmacology
- Interventional Radiology
- Cardiology
- Endocrinology
- Gynecology
- Emergency Medicine
- Psychiatry and Psychology
- Childbirth Videos
- General Medical Videos
- Nephrology
- Physiology
- Diet and Food Health
- Diabetes Mellitus
- Neurology
- Women Health
- Osteoporosis
- Gastroenterology
- Pulmonology
- Hematology
- Rheumatology
- Toxicology
- Nuclear Medicine
- Infectious Diseases
- Vascular Disease
- Reproductive Health
- Burns and Wound Healing
- Other
Top videos

Early Signs that Cancer is Growing in Your Body
Radial Artery Catheterization
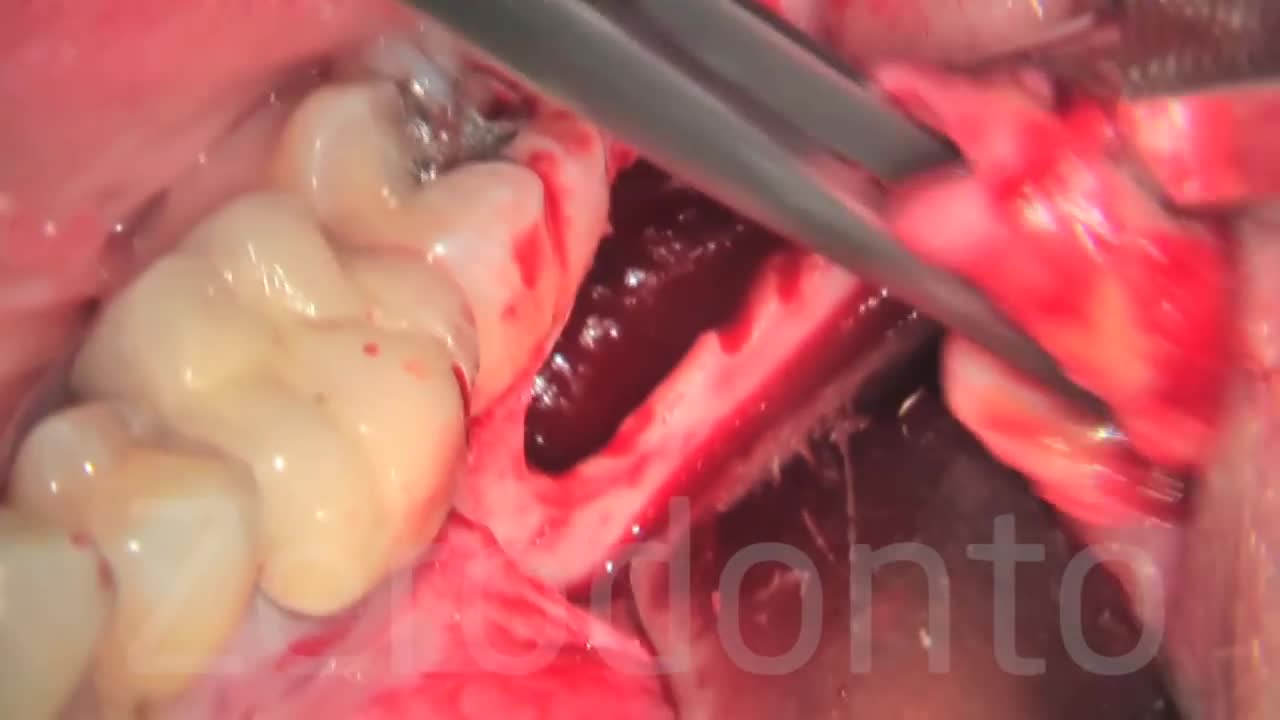
This pressure can also cause problems with crowding of the other teeth or require orthodontic treatment to straighten other teeth. Cysts. The wisdom tooth develops in a sac within the jawbone. The sac can fill with fluid, forming a cyst that can damage the jawbone, teeth and nerves.
Loyola Full Thorax Exam Part 2 A video from Loyola Medical School, Chicago showing the medical and clinical examination of the respiratory system.
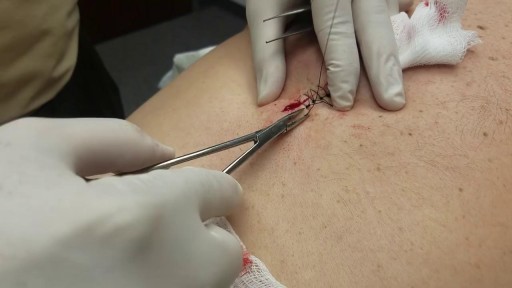
Basic Surgical Instruments- Forceps, scissors.
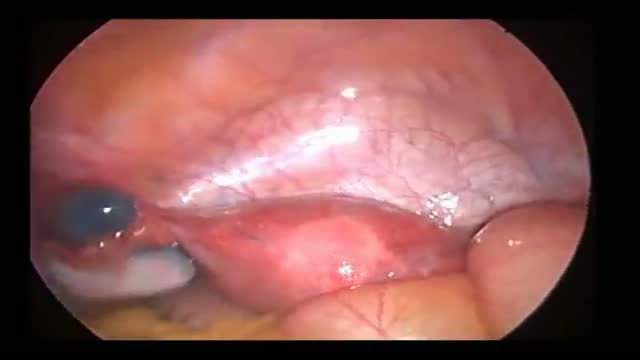
Fallopian Tube Diverticulus seen on Infertility workup Methylene Blue injected for tubal patency shows This. Edited by Dr Hemant Damle Prof & HOD Of Obs at SKN Medical College Pune India
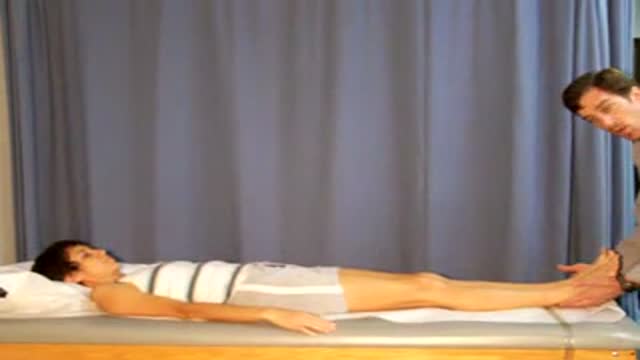
Demonstration of how to differentiate between a true and an apparent leg length difference. The subject is a female with a true short femur.
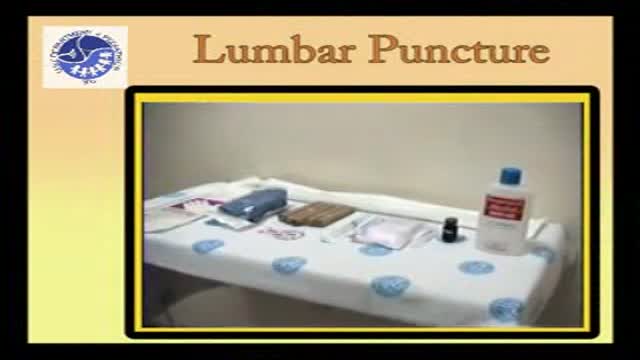
Pediatric Lumbar puncture
Watch that video of an Ingrown hair turns into 140 Lbs tumor in man’s stomach
Meningeal Irritation Signs from the USMLE collection

Facial Tenderness
1. Ask the patient to tell you if these maneuvers causes excessive discomfort or pain. ++
2. Press upward under both eyebrows with your thumbs.
3. Press upward under both maxilla with your thumbs.
4. Excessive discomfort on one side or significant pain suggests sinusitis.
Sinus Trans illumination 1. Darken the room as much as possible. ++
2. Place a bright otoscope or other point light source on the maxilla.
3. Ask the patient to open their mouth and look for an orange glow on the hard palate.
4. A decreased or absent glow suggests that the sinus is filled with something other than air.
Temporomandibular Joint 1. Place the tips of your index fingers directly in front of the tragus of each ear. ++
2. Ask the patient to open and close their mouth.
3. Note any decreased range of motion, tenderness, or swelling.
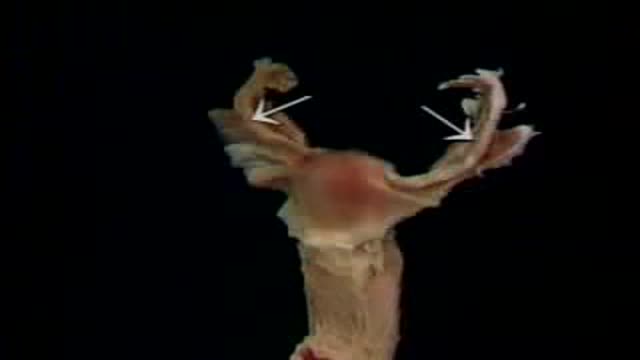
Female Reproductive System Anatomy

Clean hands can help prevent the spread of infectious diseases, such as flu. This podcast explains the proper way to wash your hands.

A positive Speed's test result is usually thought to suggest inflammation or lesions related to the biceps/labral complex. The specificity, sensitivity, and positive and negative predictive values are determined for the Speed's test.
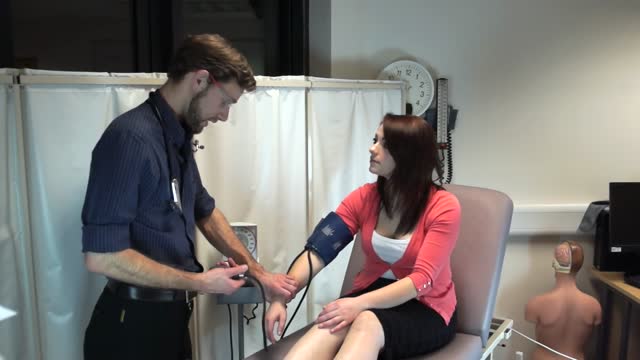
The examination consists of three portions: Inspection, Palpation, and Synthesis of data from these techniques In addition to palpating for size, also note the gland texture, mobility, tenderness and the presence of nodules. Inspection Inspection: Anterior Approach The patient should be seated or standing in a comfortable position with the neck in a neutral or slightly extended position. Cross-lighting increases shadows, improving the detection of masses. To enhance visualization of the thyroid, you can: Extending the neck, which stretches overlying tissues Have the patient swallow a sip of water, watching for the upward movement of the thyroid gland. quicktime video 251KB video demo from Return to the Bedside Inspection: Lateral Approach After completing anterior inspection of the thyroid, observe the neck from the side. Estimate the smooth, straight contour from the cricoid cartilage to the suprasternal notch. Measure any prominence beyond this imagined contour, using a ruler placed in the area of prominence. Palpation Note: There is no data comparing palpation using the anterior approach to the posterior approach so examiners should use the approach that they find most comfortable. Palpation: Anterior Approach placement of hands for palpatation of thyroid in anterior approach The patient is examined in the seated or standing position. Attempt to locate the thyroid isthmus by palpating between the cricoid cartilage and the suprasternal notch. Use one hand to slightly retract the sternocleidomastoid muscle while using the other to palpate the thyroid. Have the patient swallow a sip of water as you palpate, feeling for the upward movement of the thyroid gland. quicktime video 454KB video demo from Return to the Bedside. Palpation: Posterior Approach placement of hands for palpatation of thyroid in posterior approach The patient is examined in the seated or standing position. Standing behind the patient, attempt to locate the thyroid isthmus by palpating between the cricoid cartilage and the suprasternal notch. Move your hands laterally to try to feel under the sternocleidomstoids for the fullness of the thyroid. Have the patient swallow a sip of water as you palpate, feeling for the upward movement of the thyroid gland.
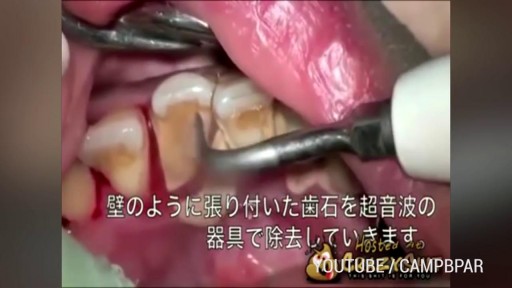
Watch that video of people should have gone to the dentist sooner

This a very interesting video showing liposuction and tummy tuck surgery video
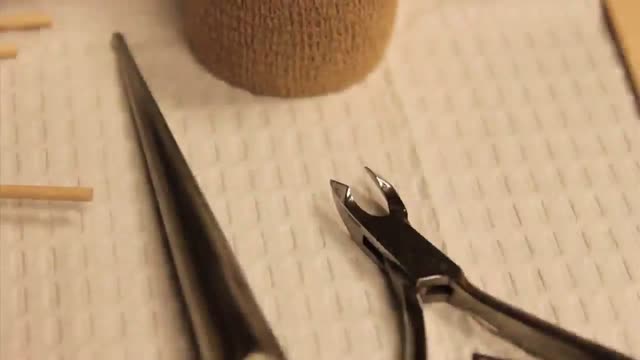
Ingrown Toenail Surgery HD
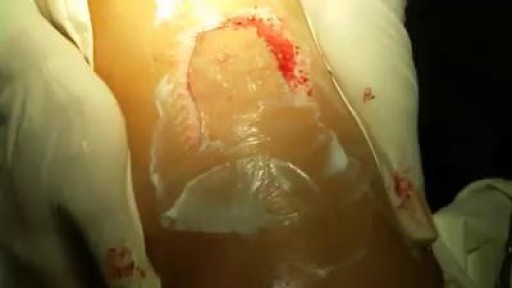
This surgery is usually done while you are under general anesthesia. That means you will be asleep and pain-free. Healthy skin is taken from a place on your body called the donor site. Most people who are having a skin graft have a split-thickness skin graft. This takes the two top layers of skin from the donor site (the epidermis) and the layer under the epidermis (the dermis). The donor site can be any area of the body. Most times, it is an area that is hidden by clothes, such as the buttock or inner thigh. The graft is carefully spread on the bare area where it is being transplanted. It is held in place either by gentle pressure from a well-padded dressing that covers it, or by staples or a few small stitches. The donor-site area is covered with a sterile dressing for 3 to 5 days. People with deeper tissue loss may need a full-thickness skin graft. This requires an entire thickness of skin from the donor site, not just the top two layers. A full-thickness skin graft is a more complicated procedure. Common donor sites for full-thickness skin grafts include the chest wall, back, or abdominal wall.