
- Physical Examination
- Surgical Examination
- Ophthalmology
- Clinical Skills
- Orthopedics
- Surgery Videos
- Laparoscopy
- Pediatrics
- Funny Videos
- Cardiothoracic Surgery
- Nursing Videos
- Plastic Surgery
- Otorhinolaryngology
- Histology and Histopathology
- Neurosurgery
- Dermatology
- Pediatric Surgery
- Urology
- Dentistry
- Oncology and Cancers
- Anatomy Videos
- Health and Fitness
- Radiology
- Anaesthesia
- Physical Therapy
- Pharmacology
- Interventional Radiology
- Cardiology
- Endocrinology
- Gynecology
- Emergency Medicine
- Psychiatry and Psychology
- Childbirth Videos
- General Medical Videos
- Nephrology
- Physiology
- Diet and Food Health
- Diabetes Mellitus
- Neurology
- Women Health
- Osteoporosis
- Gastroenterology
- Pulmonology
- Hematology
- Rheumatology
- Toxicology
- Nuclear Medicine
- Infectious Diseases
- Vascular Disease
- Reproductive Health
- Burns and Wound Healing
- Kidney Zone Podcast
- Other
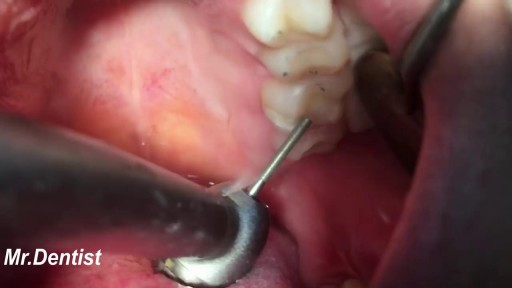
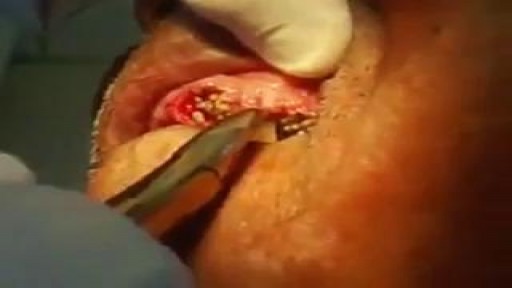
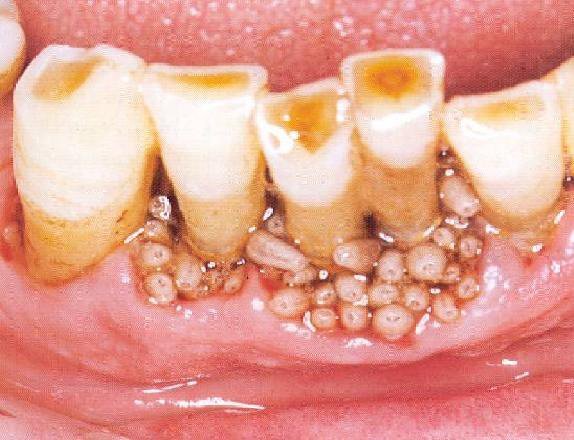
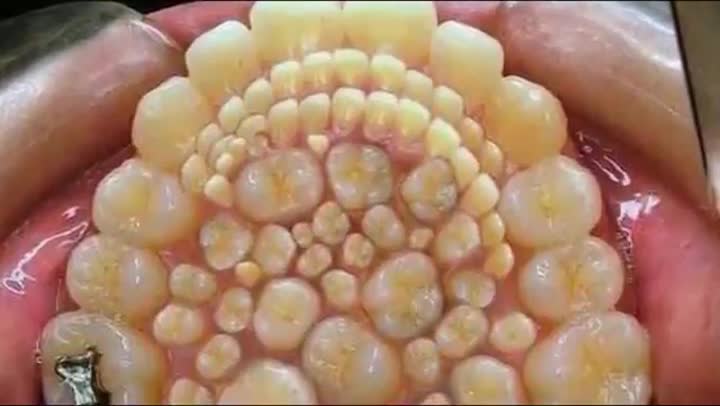

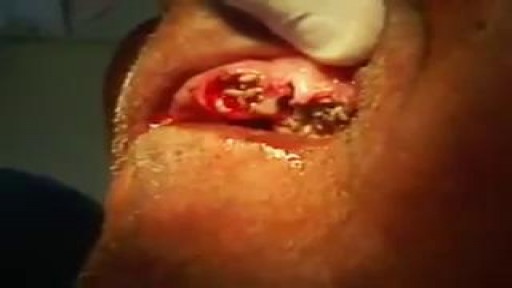
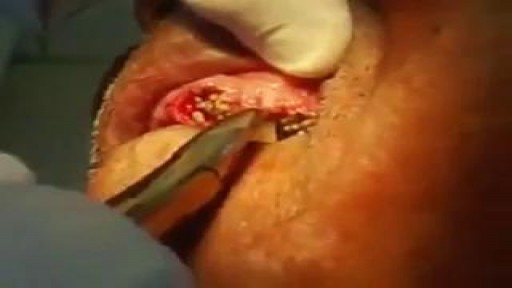
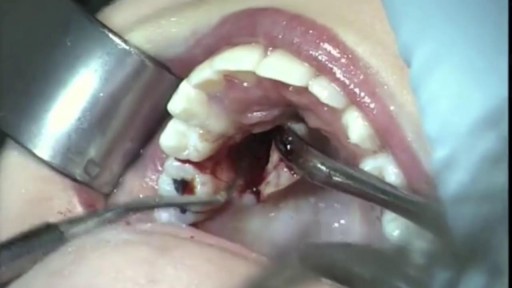



Filling Monster Tooth Cavity

Educational only: videos on MedicalVideos.com are for general information and are not medical advice. Always consult your own doctor about your health.
Watch that video of Filling Monster Tooth Cavity
Video Transcript
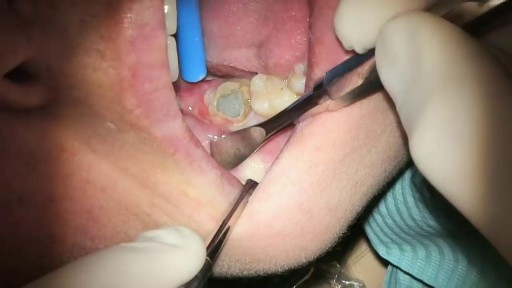
A narrated dental restoration of a lower molar with extensive decay around an old silver filling and its retaining pin. The dentist explores the decay beneath the filling and rebuilds the tooth.
Read the full transcript
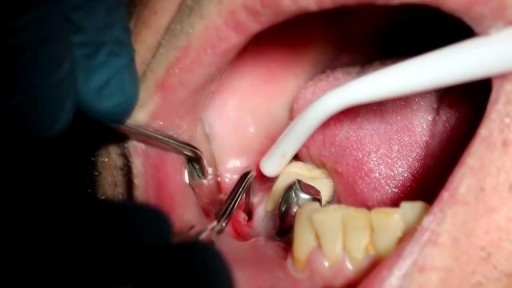
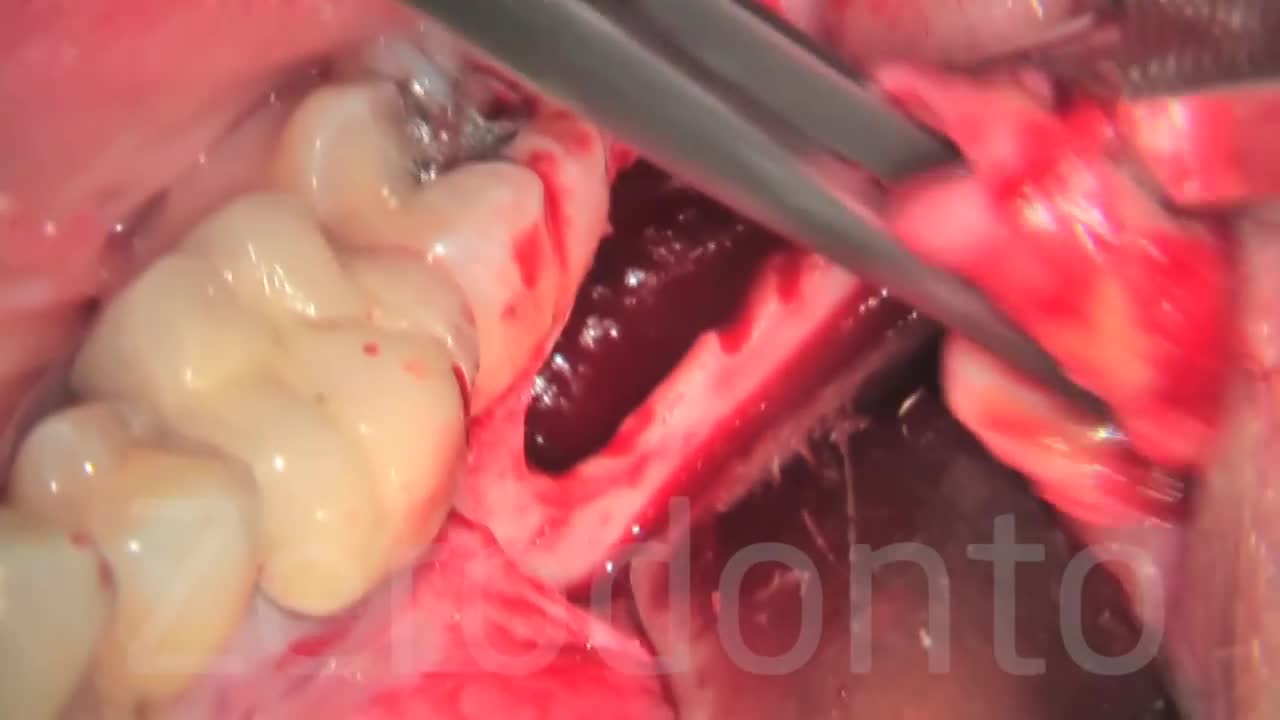
This is a patient's lower molar on the right side. For many years, she's had a silver filling, which is the white area there, with a pin placed in it to keep the silver filling in place. This is what it looks like on the full start. And as we take a look at the area near the tooth, by the gum area, there's all sorts of decay that will be present. It brings you a little whitish material. And I take a little explore, and you'll see that the pin actually got underneath the silver filling.
And that's where the decay first started. Possibly there was decay left behind as well when it was originally done. It's also a small little canopy there. Most of the silver filling material is out. You can see the silver right there that's moving, and that's because there is the pin that is holding it in place. This is truly a huge filling for the person when it was originally done. They each probably had a crown or some other more enduring restoration, but she just could not afford it. And this was the best that could be done at that time. The person, as you can
see, there's the silver that came out. There's the pin that bent a little bit. All sorts of debris underneath that as we clean it out, you'll see that that's full of soft tooth structure, and the material just peels out with a spoon. We'll go ahead and use a little spoon excavator to get an idea as to how much actual decay that's there in terms of depth. And teeth are supposed to be hard. And that's soft. As you can see the brown material pealed away is quite significant.
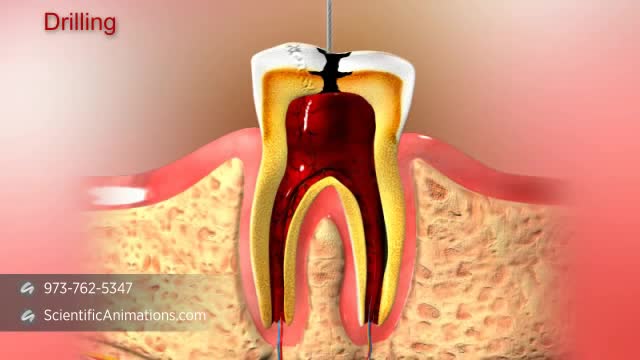
The white material there was a base that was placed, and underneath the base there was a little bit of decay that has developed. We'll go ahead and determine that there's quite a little bit of decay, so we will end up using a dental drill to clean that out, and that will help us also to remove the pin that's sticking in that area. Here's the round burr that was used. The pin came out quite easily, and being very careful to try not to cause any leaving. And there's a
natural decayed area. Not everything that's stained is decayed. Really the idea is to remove only the affected area, which is soft, not affected area. And when you get close to the nerve, you will find that oftentimes the tooth will get into the nerve right there in between the teeth. There's another cavity of quick size. And one of the questions would be why don't we just go ahead and fold this tooth. Patient really doesn't have very many teeth on the other side. This is her chewing side. She couldn't afford a limb plan. And she's willing to take the risk of possibly
being a retconal on this tooth someday in the future, which no doubt will happen with the tooth that has this large of a filling. And she will also realize that the tooth may chip or break and be crowned at that time. But for the present moment, her finances just allowed her to remove the decay. And if necessary, she would go ahead and do the retconal, but she would prefer having a large filling. Now, we've really pushed the how well a tooth color filling will work in this area. And
so this is truly a temporary procedure because the filling of the size that tooth color just really won't fold up. And to go ahead and really recommend it some point soon to replace the filling. You can see the tooth in front of this one. The other molar has significant decay. And that will be the next series to try and restore her bite in this area. Patience about 50 years old, doesn't want to lose any more teeth, and is willing to... Here we have the filling area is still
being cleaned up a little bit, but most of the decay is gone. Most of the brown area there is able to receive the filling without having decay underneath it. And we're going to go ahead and place a base underneath it. That's what that kind of clean color is. And that will help to encourage the tooth to lay down some more teeth structure between that and the filling. This particular material is a three product of Neutrobon. And we are going to light cure that and then come back and
place another base, which is the P-Tac-Nano, which has fluoride in it, to try to seal future decay from occurring at the margin, which is right where that little brush was at the moment. This is the P-Tac-Nano, which is placed over the tooth area. And it's just kind of like cement in the sense of placement. We light cure it. And now I'm coming back and polishing up the edges and getting the filling ready to the final harder restoration of the composite. The next step, place the composite, polish it,
make sure the bite doesn't hit that filling too hard. And there's the harder filling, trying to contour it the way that the tooth would function the best. When the person goes side to side, you really don't want any major placement of force on it. There's the inner proximal area. We're taking out the core that we had around the tooth. And that helped to keep the tooth gum tissue back. That was some number one board cleaning it up. And there's the filling.
Transcript auto-generated from the video’s audio for accessibility and study. Educational content only — not medical advice.
Video Overview
From our Dentistry collection: Implants, root canals, extractions, braces and cosmetic dentistry procedures performed step by step by dentists. Browse all Dentistry videos →
Medical Videos
Free medical and surgery videos for patients, students and professionals — trusted since 2007.
Founded by Dr. Mohamed Ibrahim, MD, PhD — physician-scientist.
Follow us on Facebook · Instagram
SORT BY-
Top Comments
-
Latest comments