
- Physical Examination
- Surgical Examination
- Ophthalmology
- Clinical Skills
- Orthopedics
- Surgery Videos
- Laparoscopy
- Pediatrics
- Funny Videos
- Cardiothoracic Surgery
- Nursing Videos
- Plastic Surgery
- Otorhinolaryngology
- Histology and Histopathology
- Neurosurgery
- Dermatology
- Pediatric Surgery
- Urology
- Dentistry
- Oncology and Cancers
- Anatomy Videos
- Health and Fitness
- Radiology
- Anaesthesia
- Physical Therapy
- Pharmacology
- Interventional Radiology
- Cardiology
- Endocrinology
- Gynecology
- Emergency Medicine
- Psychiatry and Psychology
- Childbirth Videos
- General Medical Videos
- Nephrology
- Physiology
- Diet and Food Health
- Diabetes Mellitus
- Neurology
- Women Health
- Osteoporosis
- Gastroenterology
- Pulmonology
- Hematology
- Rheumatology
- Toxicology
- Nuclear Medicine
- Infectious Diseases
- Vascular Disease
- Reproductive Health
- Burns and Wound Healing
- Kidney Zone Podcast
- Other
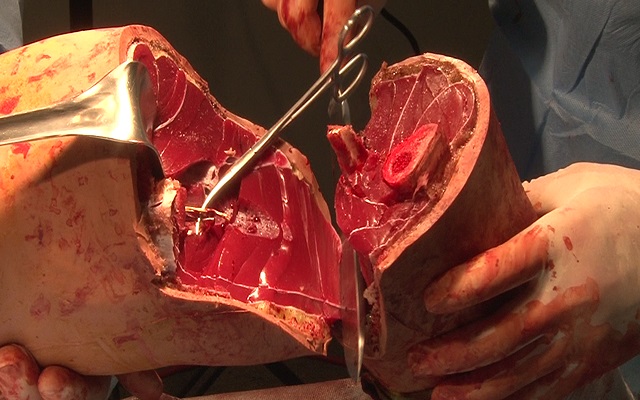
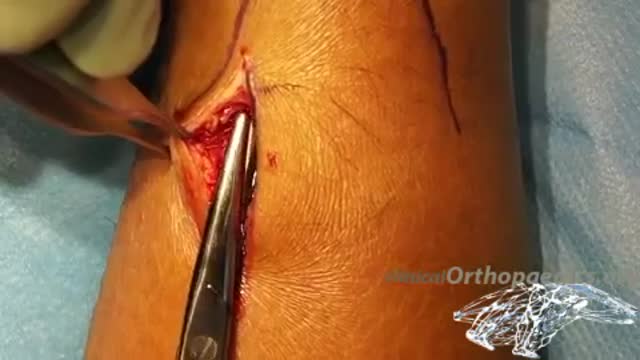
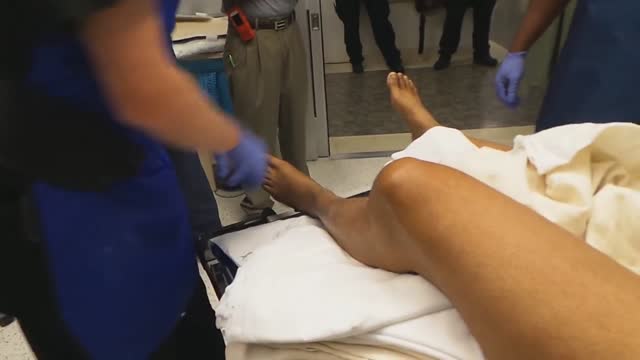
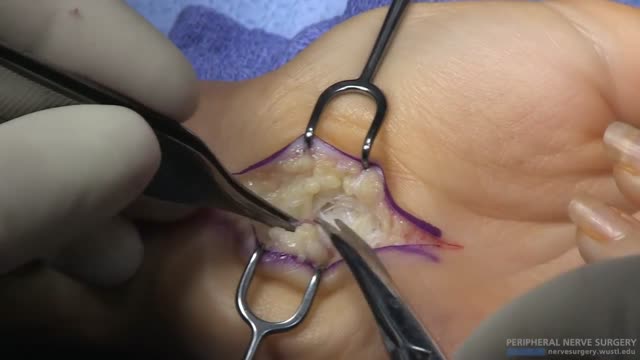
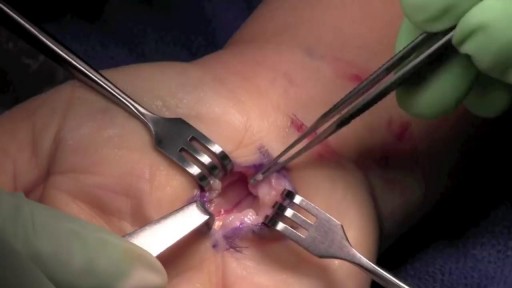

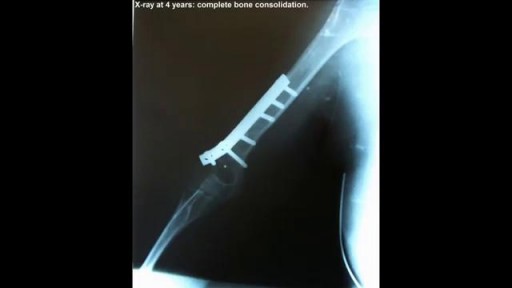
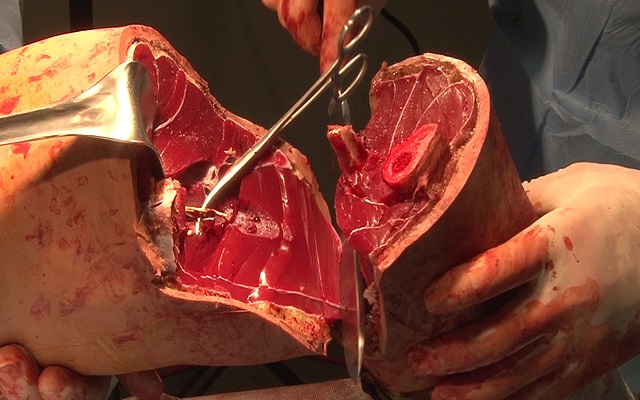
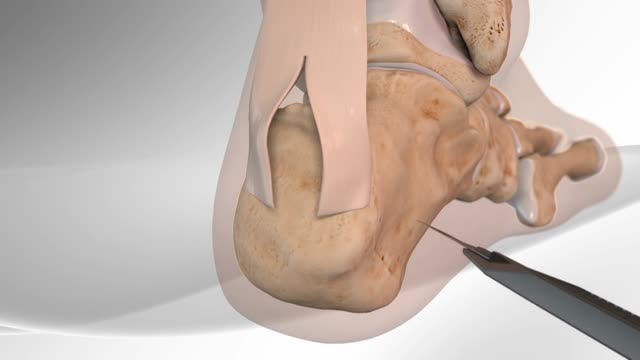
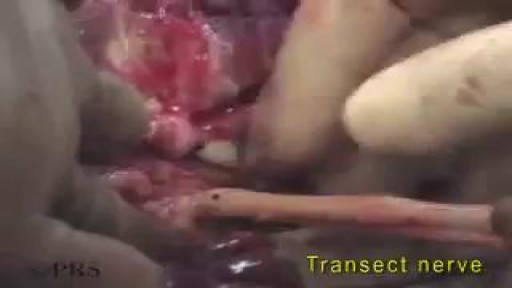
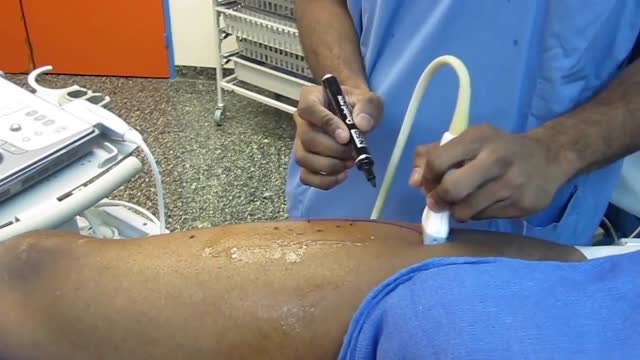

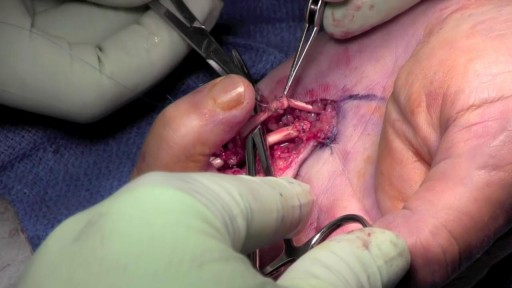
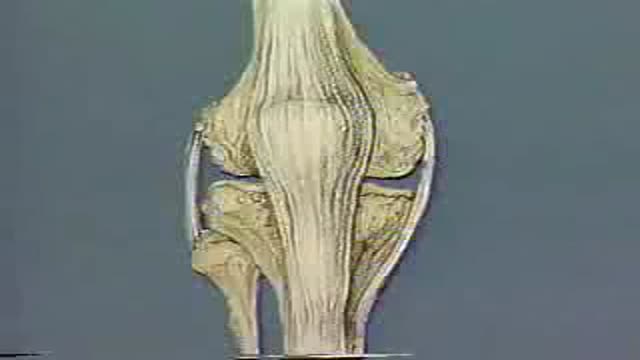

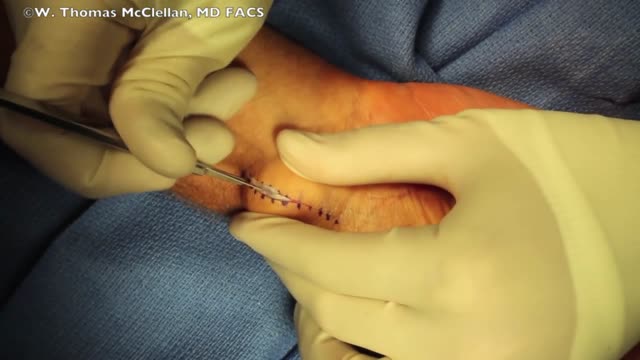
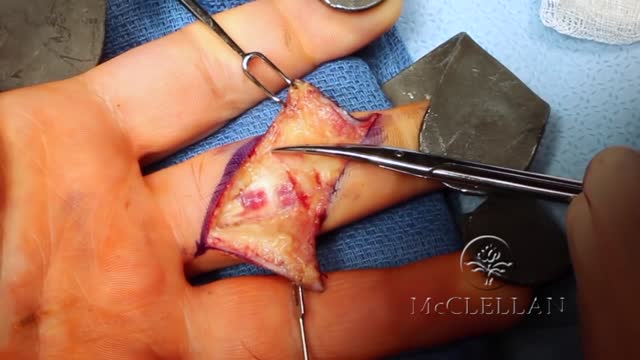
Above Knee Leg Amputation Medical Surgery

Educational only: videos on MedicalVideos.com are for general information and are not medical advice. Always consult your own doctor about your health.
This surgical video demonstrates an above-knee leg amputation, an operation performed when a limb can no longer be preserved. The recording follows the procedure in the operating room over nine minutes, showing the general stages of the surgery for medical education. Above-knee amputation is one of the major limb-removal procedures taught in surgical training.
This video in 30 seconds
A narrated surgical teaching video of an above-knee amputation in a man whose leg was severely injured in a motorcycle accident, who is also a kidney transplant recipient. The narration follows flap design, tourniquet use, division of the femur, anchoring of muscles to the bone, closure, drains and dressing, and ends with a later dressing change showing early healing.
Key points
- The case history and the decision to amputate rather than continue salvage are described
- A tourniquet is applied and the incision is carried down to the femur
- Nerves and vessels are dissected, ligated and handled in sequence
- Muscles are anchored to the femur in the myodesis steps
- Closure, drain placement and dressing complete the operation
Chapters
- 0:00 — Case history and amputation decision
- 1:33 — Tourniquet incision and dissection
- 4:28 — Nerve and vessel handling
- 6:19 — Bone preparation and myodesis
- 10:54 — Fascial closure drains and dressing
Video Transcript
A narrated surgical teaching video of an above-knee amputation in a 42-year-old man whose leg was mangled in a motorcycle accident; he is also a kidney-transplant recipient on immunosuppression, which shapes the decision to amputate rather than continue salvage attempts. The narration follows the operation in detail — flap design, tourniquet use, dividing the femur, anchoring the hamstrings to the bone, drains and dressing — and ends with the day-five dressing change showing early healing.
Read the full transcript
This 42-year-old male sustained severe injuries during a motorcycle accident. Injuries include an open pelvis fracture, a rectal injury requiring diverting colostomy, mangling injury to the left leg, disruption of the tibial and perineal nerves on the left, open knee joint and significant loss of soft tissue on the left, partial loss of patella and the patella tendon on the left, and they've exposed and colonized tibia and knee joint. Of note, he is a previous renal transplant recipient and is on immunosuppressive treatments. continued salvage efforts were offered with a full discussion of the infection risks
and the possible impact on his immunosuppressive treatment and renal transplant. He and his wife asked us to proceed with above-the-knee amputation. The wounds from the temporary external fixator already show early heterotopic bone formation and very dense scar palpable at the external fixation incites. Irrigation of the gluteal and perirectal wounds. The incisions are drawn the length of both the anterior and posterior flaps is equal to one-half the diameter of the limb at the level of the planned bone cut plus one centimeter. The level of the bone cut is planned to allow use of flaps above the zone of injury.
Some early heterotopic ossification from the external fixator pin sites will need to be resected. A sterile tourniquet is applied high on the thigh and used to limit the blood loss during amputation. Incisions are made in a decisive fashion to avoid feathered edges. Incision goes through skin, subcutaneous tissue and fascia. Antare and lateral incisions are carried through the muscle down to bone. The goal is to dissect down to the level of the periosteum. Then to dissect the soft tissues proximally off of the femur and finally to divide through the periosteum at the level of the planned bone cut.
In this case, some early heterotopic ossification is in the way. Early heterotopic ossification from the spanning external fixator pin site is excised. The posterior medial incision is made in a decisive fashion. The adductor muscle and its tendon are protected and isolated because these are used for the adductor myodesis. Poster lateral incision is made in a decisive fashion.
The vastus lateralis and lateral hamstring muscles are divided. The use of the tourniquet allows early transection of the vessels. The cob elevator is used to clear soft tissue off of the femur circumferentially. The cob is also used to work through the very thick posterior fascial attachments on the femur, the linea aspera. Medially, the distal skin and subcutaneous tissue are elevated and dissected off the attachment of the adductor muscle. Preserve the adductor tendon longer than the other muscles so that the adductor myodesis can be performed over the end of the femur.
The adductor is transected and then dissected off of the femur. Large retractors are used to hold the quadriceps up out of the way and protect the muscle. The acylating cell is used to divide the femur perpendicular to its long axis. The cell is cooled with saline. The distal femur is elevated and the posterior flap and tissues are dissected sharply to complete the amputation. More dense scar and early heterotopic ossification is excised. This illustrates the adductor muscle with its distal tendon and showing how the adductor muscle can be brought over the femur to the lateral surface for myodesis.
The sciatic nerve has already divided into its tibial and perineal portions. The nerve is dissected proximally. The sciatic nerve is drawn down for ligation. The sciatic nerve does have vessels that require ligation with absorbable suture. After ligation, the nerve is transected cleanly and allowed to retract. A finger is used to assure that the nerve has retracted up proximally and is not tethered. The femoral vessels are dissected proximally to ensure that the vessel stump is proximal and out of the way of the myodesis. The vessels are clamped for double ligation and transected at a shorter level.
A smaller peripheral vein is ligated with absorbable suture. The major femoral vessel bundle is doubly ligated with a stick tie and then a free tie of o-silk. The stick tie will not pulse off the end of the vessels but does make a hole that could bleed or form a pseudoaneurism or a navy fistula. The free tie prevents these complications from developing. Another peripheral vein is ligated with absorbable suture. Other small vascular bundles within the muscle are isolated, clamped, and ligated with absorbable suture. The bone edges are all smoothed with a rasp.
The position of the adductor muscle for myodesis is tested. The adductor tendon is shortened approximately 2 centimeters. The medial hamstring tendon will also be myodesed to the femur. Using the 2.5 millimeter drill bit, four unicrotical drill holes are made in the distal femur. Irrigation is used to cool the drill bit. The first hole is on the entermost portion of the femur and the other three holes move laterally from the first. Four holes allow for placement of three sutures, anterior, enter lateral, and lateral. The suture used here is number two tychron, a strong non-absorbable suture.
The tourniquet is let down and lap sponges are used for pressure and early hemostasis. Hemostasis is obtained with electrocautery and if needed, ligation of small vessels. Irrigation to remove debris and blood and bone dust is used. The anterior bone suture is first passed from outside the cortex into the medullary canal. Suture is often easier to pass from the inside of the bone using the blunt end of the needle as the sharp end gets caught in the trabeculi of the bone. This suture is placed in the first and second drill holes and is the most superior or anterior suture, A.
The anterior lateral suture is passed using the blunt end of the needle in order not to damage the first suture or weaken it. The suture shares space within the central two holes. This suture is placed in the second and third holes. The third suture or lateral suture is placed in the third and fourth holes. Again, the blunt end of the needle is used in order to avoid damaging the previous sutures. The adductor myodesis is completed using the crack-out locking suture technique. The illustration shows the placement and locking points for the crack-out suture to secure the adductor tendon.
The lateral suture is used for the posterior portion of the adductor fascia. The adductor muscle is advanced and the suture is securely tied. The illustration shows the placement and locking points for the crack-out suture technique used to secure the medial hamstring fascia. The anterior suture is used to secure the medial hamstring fascia tendon, which is brought up over the femur and secured to the anterior portion. The femur is held in position and the medial suture is tied after advancing the medial hamstring tendon and fascia.
The anterior lateral suture is used to reinforce both the adductor and the medial hamstring myodesis to keep the femur centered in the muscle mass. The illustration shows the crack-out suture technique and locking points for this reinforcement. More thick scar that is possible early heterotopic bone growth is identified and removed. The deep fascia of the quadriceps is closed over the myodesis to the deep fascia of the hamstrings. The superficial fascia is closed medially and centrally. The drain is placed to exit laterally. The drain is placed in the deep layer.
The lateral fascia is closed. Centrally, the lateral hamstring fascia is closed over the exposed muscle and brought up to the quadriceps fascia. The fascial closure continues. Excessive skin is trimmed and removed. The fascial closure is completed. The subcutaneous layer is closed with horizontal sutures of absorbable suture material. Laterally, a redundant or doggiered portion of skin is divided and then the triangular portions of skin are excised. The subcutaneous closure is completed. A skin closure with 309 lom placed in a figure of 8 fashion is performed. The drain is sutured in place to prevent it from being pulled out, dislodged or removed early.
In an above-knee amputation, the dressing is a soft, atrap spica around the waist. The soft dressing can be easily opened to cut the stitch and remove the drain when drain removal is needed. The gluteal and perirectal wounds are packed open with Kirlex roll gauze. Non-stick, adaptive gauze is used first and 4x4 gauze is opened and laid across the incision, 1x1 over the wound. Gauze should not be placed in large lump that can put pressure on the skin or cause skin breakdown. Fluff gauze is used to add padding and compression.
Kirlex roll gauze is used to secure the dressing and apply general compression to the end of the amputation site. Two rolls are used. A large, extra-long 6-inch H-rap is used around the above-knee amputation site, the proximal limb and the waist in the spica fashion. The H-rap is wrapped in an angled fashion to avoid proximal constriction of the limb and avoid a tourniquet type effect. Pressure is also avoided near the colostomy site. The H-rap spica is secured with tape to keep it from getting tangled, displaced or becoming tourniquet-like.
The pelvis external fixator is also seen. Addressing change at day 5 shows the dramatic improvement of the limb with early healing, loss of edema and no sign of infection.
Transcript auto-generated from the video’s audio for accessibility and study. Educational content only — not medical advice.
Video Overview
From our Surgery Videos collection: Surgery videos: watch real operations step by step — general, laparoscopic and specialist surgery performed in the OR, explained for students and surgeons. Browse all Surgery Videos videos →
Medical Videos
Free medical and surgery videos for patients, students and professionals — trusted since 2007.
Founded by Dr. Mohamed Ibrahim, MD, PhD — physician-scientist.
Follow us on Facebook · Instagram
SORT BY-
Top Comments
-
Latest comments