
- Physical Examination
- Surgical Examination
- Ophthalmology
- Clinical Skills
- Orthopedics
- Surgery Videos
- Laparoscopy
- Pediatrics
- Funny Videos
- Cardiothoracic Surgery
- Nursing Videos
- Plastic Surgery
- Otorhinolaryngology
- Histology and Histopathology
- Neurosurgery
- Dermatology
- Pediatric Surgery
- Urology
- Dentistry
- Oncology and Cancers
- Anatomy Videos
- Health and Fitness
- Radiology
- Anaesthesia
- Physical Therapy
- Pharmacology
- Interventional Radiology
- Cardiology
- Endocrinology
- Gynecology
- Emergency Medicine
- Psychiatry and Psychology
- Childbirth Videos
- General Medical Videos
- Nephrology
- Physiology
- Diet and Food Health
- Diabetes Mellitus
- Neurology
- Women Health
- Osteoporosis
- Gastroenterology
- Pulmonology
- Hematology
- Rheumatology
- Toxicology
- Nuclear Medicine
- Infectious Diseases
- Vascular Disease
- Reproductive Health
- Burns and Wound Healing
- Kidney Zone Podcast
- Other
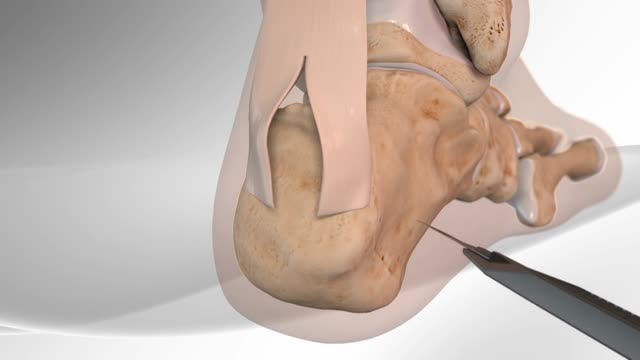
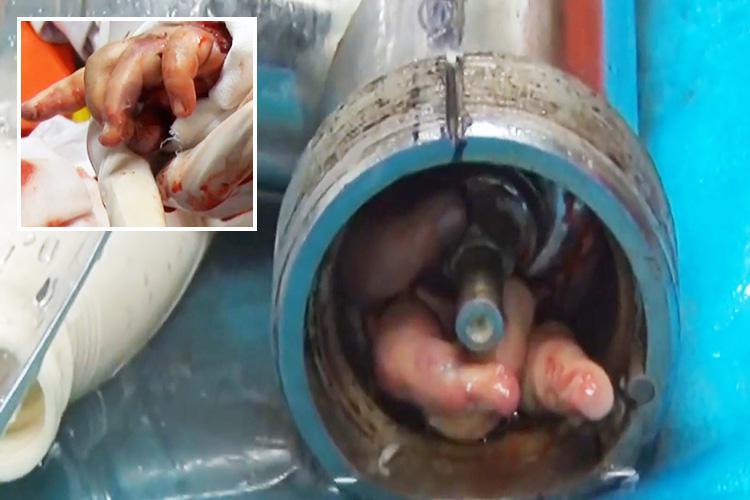

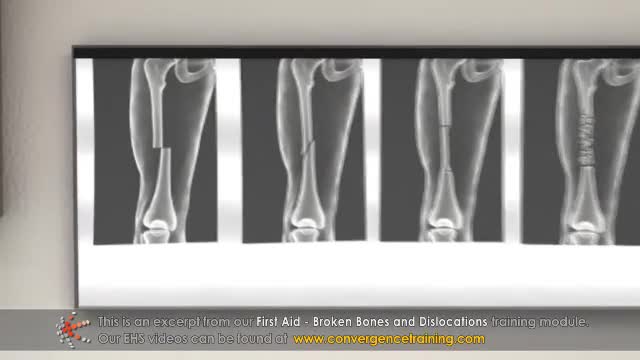
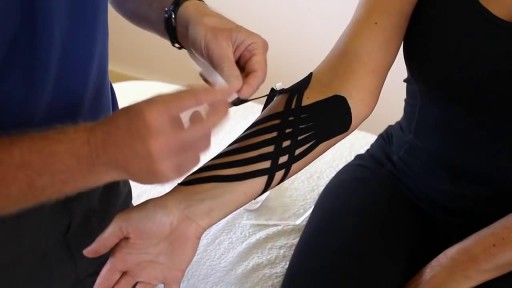
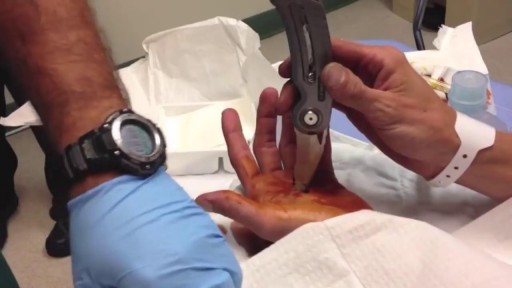
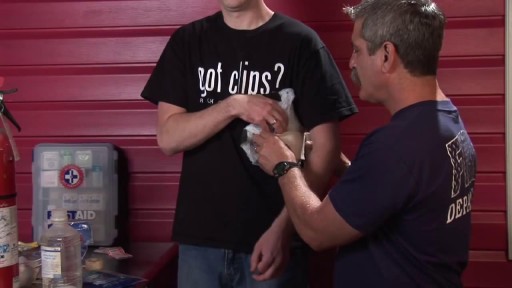

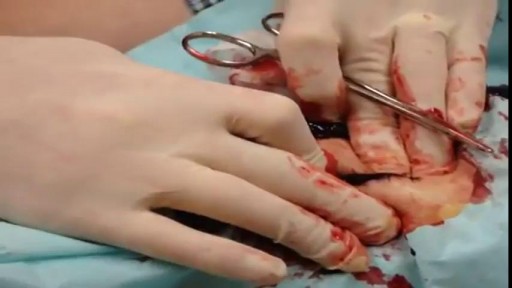
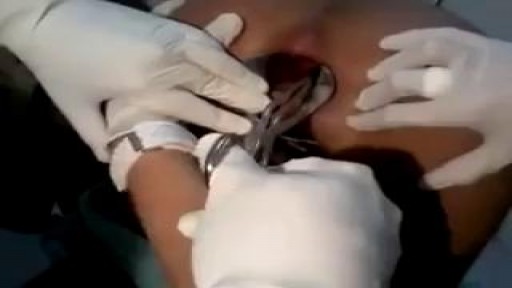
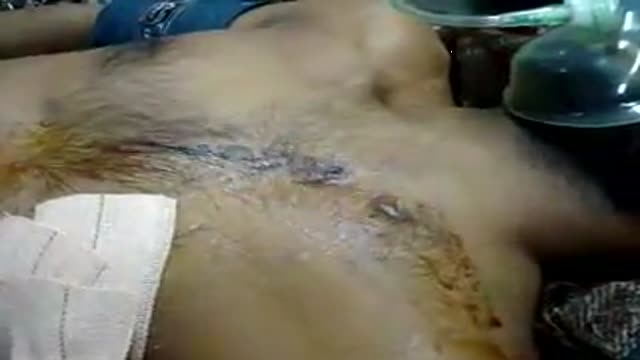


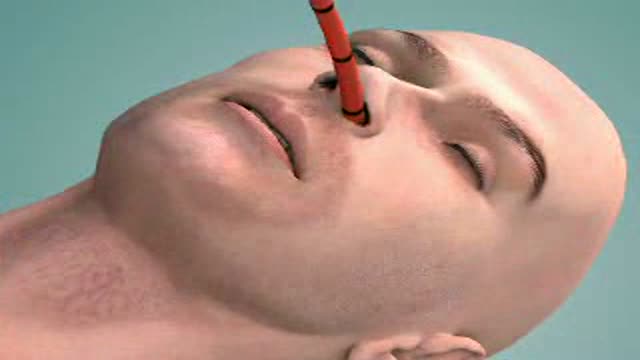
Tendon Repair

Educational only: videos on MedicalVideos.com are for general information and are not medical advice. Always consult your own doctor about your health.
Tendon repair can be performed using: Local anesthesia (the immediate area of the surgery is pain-free) Regional anesthesia (the local and surrounding areas are pain-free) General anesthesia (the patient is asleep and pain-free) The surgeon makes a cut on the skin over the injured tendon. The damaged or torn ends of the tendon are sewn together. If the tendon has been severely injured, a tendon graft may be needed. In this case, a piece of tendon from the foot, toe, or another part of the body is often used. If needed, tendons are reattached to the surrounding tissue. The surgeon examines the area to see if there are any injuries to nerves and blood vessels. When the repair is complete, the wound is closed. If the tendon damage is too severe, the repair and reconstruction may have to be done at different times. The surgeon will perform one surgery to repair part of the injury, and then allow the hand to heal for a few weeks. Another surgery will be done later to complete the reconstruction and repair the tendon.
This video in 30 seconds
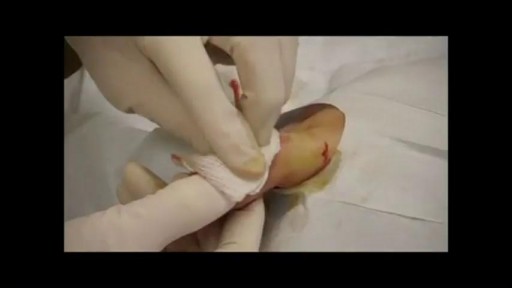
Emergency physician Brian Lin demonstrates extensor tendon repair on a rope model for use in the emergency department. He explains why simple sutures tear out of frayed tendon ends, then demonstrates grasping core-suture patterns and how to bury the knot inside the tendon.
Key points
- The demonstration uses a rope model to represent a lacerated extensor tendon
- The clinician explains that frayed tendon ends do not hold simple interrupted sutures
- A sliding mattress core-suture pattern is demonstrated step by step
- A figure-of-eight variation of the grasping technique is also shown
- The knot is tied within the cut ends of the tendon rather than on its surface
Chapters
- 0:00 — Introduction to extensor tendon repair
- 1:36 — First grasping core-suture pattern
- 4:55 — Variation on the mattress pattern
- 5:58 — Figure-of-eight suture pattern
- 7:42 — Closing remarks and further learning
Video Transcript
Emergency physician Brian Lin demonstrates extensor tendon repair on a rope model for LacerationRepair.com. He explains why ordinary sutures tear out of frayed tendon ends, then shows grasping core-suture patterns — sliding mattress and figure-of-eight variations in the style of the Kessler and Bunnell techniques — and how to bury the knot inside the tendon.
Read the full transcript
Hi everybody, Brian Lin here for LacerationRepair.com. In this video I'm going to demonstrate using this model some techniques for extensor tendon repair which can be used in the emergency department. Specifically I'm going to talk about some grasping core suture techniques. Now why do we need these techniques? Well here's an example of what happens if we try to take the ends of a lacerated extensor tendon together using a simple interrupted suture, something we're all familiar with. The problem here is the ends of a tendon, much like this model rope that I'm using,
tend to get very frayed. And when you try to suture something that's frayed like this, it's just not going to hold. It's going to rip literally right through those strands of the tendon. In lieu of this, over the last century a number of different orthopedic enhanced surgeons have described different techniques to overcome this problem. The most common eponyms I came across in my literature review for these surgical techniques include the Kessler technique and the Bunnell technique. Now not to minimize the contributions of Dr. Kessler and Dr. Bunnell, but many
other names are also attached to these different techniques and variations on these techniques. And a lot of problems and confusion can arise when eponyms are used to describe surgical procedures. So what I'll do here instead are use descriptive terms to describe some technical procedures which may be of value to you in the ER when performing extensor tendon repair. We'll start with the two-strand one-knot sliding mattress suture pattern. I like this one because it uses a kind of familiar pattern to the average emergency physician, which is the horizontal mattress suture pattern.
So here's how it goes. You begin with the two ends of your lacerated tendon. Now assuming this is a tendon that's kind of rounded in shape, for a flat tendon you might just simply apply a horizontal mattress suture. Your first throw of the suture will be inter-tenderness through the lacerated end of the tendon and will exit through the dorsal surface of the tendon. Now you'll typically pick either the radial or ulnar side to throw the first suture. You're then going to pass the suture behind the tendon ventrally to the
tendon so that you can enter for your next throw, again keeping the horizontal mattress suture pattern. You're now going to suture going through the dorsal aspect of the tendon. If you started on the radial side you're now going to go more to the ulnar side and vice versa, and you're going to suture exiting out of the lacerated or cut end of the tendon. When done appropriately you're going to start to develop this variation of a horizontal mattress suture pattern. Your next throws will focus on the other end of the lacerated tendon.
Again you're going to go inter-tenderness through the lacerated end of the tendon, assuming that we just came through on the ulnar side, we'll stick with the ulnar side as we come out on the dorsal aspect of the other side of the tendon. And again vice versa, this is to maintain that horizontal mattress suture pattern for this technique. Your suture is going to exit through the dorsal aspect of the tendon and you're again going to loop your suture behind the tendon, so ventrally to the tendon surface when you're dealing
with an extensor tendon. You'll then take your suture and you will enter again through the dorsal surface of the tendon, and your suture will again exit through the cut end of the tendon such that you develop this butterfly type pattern with your suture, which will cinch down once you tie the knot. Keep in mind when performing this technique you're going to want to use a suture of sufficient strength, typically a braided non-absorbable suture such as ethobond is ideal for this type of repair. Please note in this demo video only I'm using a 3O nylon suture and that's just
because it provides good contrast against the background as seen here. A 3O or 4O sized suture is appropriate depending on the tendon size. Make sure you tie off your square knot within the cut ends of the tendon itself so there's no exposed to knots. Those exposed to knots, if they're sitting on the dorsal or ventral surface of the tendon, can lead to friction, adhesions, and problems as that tendon is healing, which can be noticed by the patient as a little bump or even affect the glide of that tendon over time.
You'll cut close to the knot for this same purpose. When performed correctly this grasping suture will provide additional strength that you don't get with a simple interrupted suture, which actually squeezes those fibers of the tendon together and adds more tensile strength for the healing of that tendon. So as I said there are a lot of variations on this same technique. Let me show you one variation that's commonly used in the literature. The first pass is the same but instead of threading your suture needle behind the tendon you're actually going to suture through
the ventral aspect of the tendon itself. Your next throw however will be no different than what we just showed in the demonstration of the sliding mattress pattern suture. You're going to go through the dorsal aspect of the tendon, the exposed edge of the tendon, and you're going to come out in the cut end of the tendon and you'll complete the exact same pattern on the other side in order to bring the ends of the tendon together. The final appearance looks like this with less of that suture
being exposed on the outside of the tendon. To complete this video let me just show you one other variation on this technique which is commonly reported and this is a two-strand one knot sliding figure of eight pattern. So really similar but instead of a mattress pattern you're going to use the figure of eight pattern which is also something that is familiar to most emergency medicine providers. So in this case let's say you begin on the radial side of the tendon. You're now going to pass from the
cut edge into the tendon itself exiting more on the ulnar side of the tendon. You'll then pass the suture behind the tendon or as we showed in the previous variation suture through the the ventral aspect of the tendon itself and this time you're going to enter on the dorsal part of the tendon more to the radial side of the tendon. But this time instead of continuing on to the radial side of the other cut end of the tendon you're going to make a type of x shape and cross back
over to the ulnar side of the other side of the tendon as you enter through the cut edge and exit through the dorsal surface of the tendon. This is going to help achieve our figure of eight pattern. You'll then again pass the suture behind the tendon or using the variation suture through the tendon itself and this time you'll enter through the dorsal surface of the tendon on the radial side of the tendon and you'll crisscross as you exit through the cut end of that tendon coming out to meet the suture end which is on
the ulnar side of the tendon. So when you finally tie this off you're going to get that familiar figure of eight shape within the tendon itself rather than that rectangular mattress suture pattern. Here's what it actually looks like when you pull it apart. In summary these are a couple of grasping suture techniques for the repair of extensor tendons in the emergency department which may be useful to the average emergency medicine physician. To learn more about these techniques and other techniques in basic emergency suturing make sure to visit www.lacerationrepair.com
Transcript auto-generated from the video’s audio for accessibility and study. Educational content only — not medical advice.
Video Overview
From our Orthopedics collection: Orthopedic surgery videos: fracture fixation, joint replacement, arthroscopy and trauma procedures performed by orthopedic surgeons. Browse all Orthopedics videos →
Medical Videos
Free medical and surgery videos for patients, students and professionals — trusted since 2007.
Founded by Dr. Mohamed Ibrahim, MD, PhD — physician-scientist.
Follow us on Facebook · Instagram
SORT BY-
Top Comments
-
Latest comments