
- Physical Examination
- Surgical Examination
- Ophthalmology
- Clinical Skills
- Orthopedics
- Surgery Videos
- Laparoscopy
- Pediatrics
- Funny Videos
- Cardiothoracic Surgery
- Nursing Videos
- Plastic Surgery
- Otorhinolaryngology
- Histology and Histopathology
- Neurosurgery
- Dermatology
- Pediatric Surgery
- Urology
- Dentistry
- Oncology and Cancers
- Anatomy Videos
- Health and Fitness
- Radiology
- Anaesthesia
- Physical Therapy
- Pharmacology
- Interventional Radiology
- Cardiology
- Endocrinology
- Gynecology
- Emergency Medicine
- Psychiatry and Psychology
- Childbirth Videos
- General Medical Videos
- Nephrology
- Physiology
- Diet and Food Health
- Diabetes Mellitus
- Neurology
- Women Health
- Osteoporosis
- Gastroenterology
- Pulmonology
- Hematology
- Rheumatology
- Toxicology
- Nuclear Medicine
- Infectious Diseases
- Vascular Disease
- Reproductive Health
- Burns and Wound Healing
- Kidney Zone Podcast
- Other
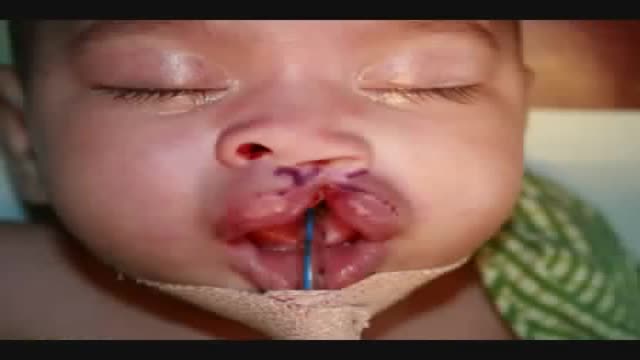
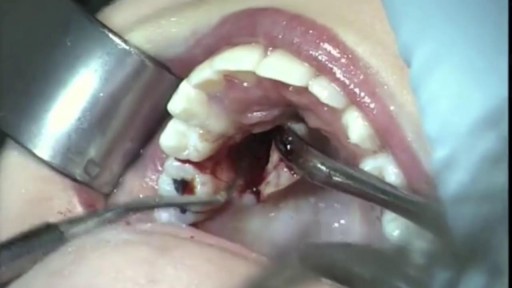
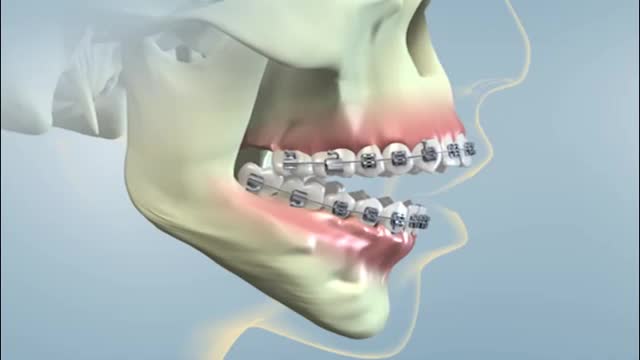
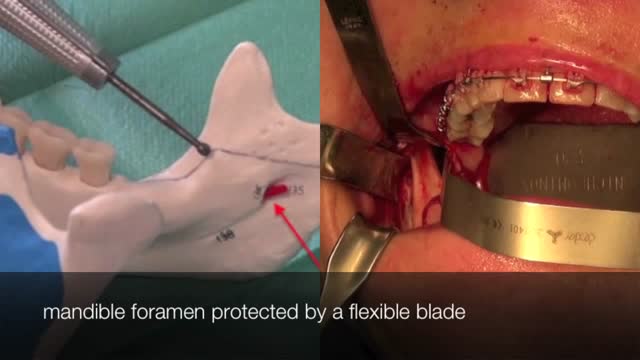
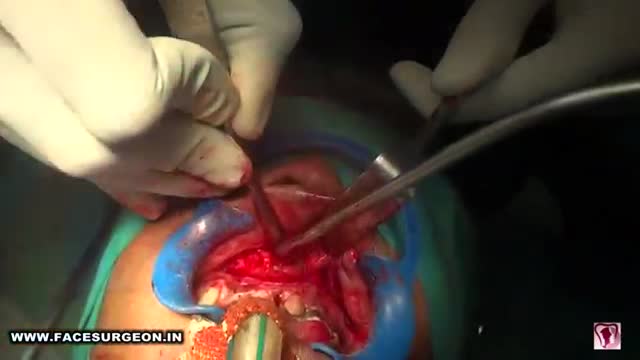
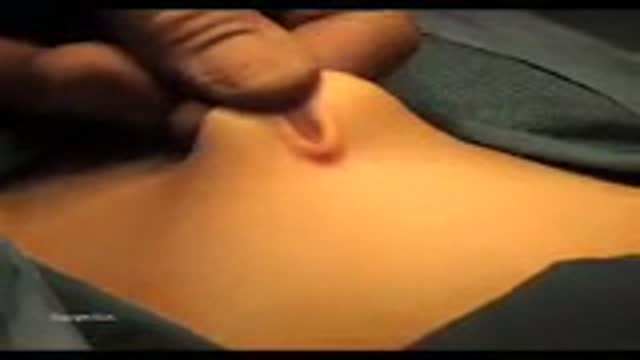
Bilateral Cleft Lip Repair

Educational only: videos on MedicalVideos.com are for general information and are not medical advice. Always consult your own doctor about your health.
A bilateral complete cleft lip, which has been previously treated with nasoalvoelar molding, is repaired with the Millard-Mulliken technique, which employs reconstruction of the orbicularis oris muscle by advancing bilateral muscular segments. This tutorial for medical professionals was developed to supplement learning of a common surgical technique and is not intended to replace formal surgical training. This slideshow is primarily intended for use on tablets or larger screens. Some detail might be lost on mobile screens.
This video in 30 seconds
A narrated surgical teaching video explains how a bilateral cleft lip repair is designed. The surgeon marks and measures numbered landmarks for the philtrum, white roll, and nasal sills, transposes measurements between sides to plan symmetry, infiltrates local anesthetic, and draws the cutting design including the flaps.
Key points
- Numbered landmarks are marked on the philtrum and white roll
- Measurements are transposed from one side to plan symmetrical lips
- The wet-dry border and nostril width are measured
- Local anesthetic infiltration of the lip and nose is shown
- The cutting design is drawn, including triangular and dog-ear flaps
Chapters
- 0:04 — Marking landmarks on the philtrum
- 1:56 — Measuring and transposing landmarks
- 4:00 — Finding the wet-dry border
- 5:09 — Infiltration of local anesthetic
- 5:39 — Drawing the cutting design
- 9:40 — Designing the dog-ear flap
Video Transcript
A narrated surgical teaching video on designing a bilateral cleft lip repair. The surgeon marks and measures the numbered landmarks for the philtrum, white roll, and nasal sills, transposes measurements from one side to the other to plan symmetrical lips, infiltrates local anesthetic with adrenaline, and draws the cutting design, including the triangular and dog-ear flaps.
Read the full transcript
Mark the landmarks on the filtrum. As the filtrum should be no wider than 4 mm, you choose filtrum right and left, 2 mm on both sides next to the middle. These last landmarks should be just above the border between the wet and dry part of the lip. The white roll will be brought in from the side under the filtrum. Therefore, you mark one landmark just over and the other just under the white roll. Then 2 mm laterally from there, landmark number 16 on the other side, and of the white roll landmarks number 15 and 15 accent, and 2 mm lateral number 17.
Indicate, now as an Eingangschwelle, number 5 and 13. They represent the end of the medial cross of the lower lateral carglages. Measure the distance from 5 to 2, which is the length of the filtrum, and transpose it from 16 to find landmark number 9. Do the same on the other side from 13 to 3 and transpose it coming from 17 to find landmark number 14. Number 14 will later on be sutured to the Nasi-Eingangschwelle. The A-lar base, which is the end of the light reflection on the nostril,
now measure 4 to 9, which distance represents the width of the nostril postoperative. It should be symmetrical of course, so the same distance on the other side. To find the wet dry border, pinch the lip and on the highest profile on both sides draw a line with metal and blue. Now measure the distance from the wet dry border to the bromelian border. As you want symmetrical volumes of the lip, transpose this distance to the other side. Ideally landmark A should be on the wet dry border, but here this is not possible if you want symmetrical lips.
Infiltration of the lip and nose with loka and stezia mixed with adrenaline. To enlarge dimension and prevent bleeding of the superior lip atri pump, the lips are quite firmly with 2 to 3 ctl. For good vasoconstriction, wait 5 to 10 minutes. Use this time to make your cutting design by connecting the landmark and marks with metal and blue from the nose and eye-gown-schwelle down to number 2 and on the other side to make the design for the filter. It should be not too wide, try to draw these lines parallel.
Then from 17 up to 14, this is the top of the vestibule and put the tattoo on there. From landmark 9 to 16, crossing the right row, going down to landmark A, same on the other side. From the middle of the filter down to the top of the vestibule, from A also to the top of the vestibule, same on the other side. In the mid triangular flap should remain. Note that this is a partial cleft. Now design the dog ear flap, which has to be excised. In the highest landmark of this flap, it needs to be tattooed.
Transcript auto-generated from the video’s audio for accessibility and study. Educational content only — not medical advice.
Video Overview
From our Plastic Surgery collection: Rhinoplasty, liposuction, breast augmentation, facelifts and reconstructive procedures performed step by step. Browse all Plastic Surgery videos →
Medical Videos
Free medical and surgery videos for patients, students and professionals — trusted since 2007.
Founded by Dr. Mohamed Ibrahim, MD, PhD — physician-scientist.
Follow us on Facebook · Instagram
SORT BY-
Top Comments
-
Latest comments