
- Procedures & Tests
- Symptoms A-Z
- Symptom Checker
- Kidney Diet
- First Aid
- Anatomy Atlas
- Ask MedicalVideos
- Drug Guide
- Lab Values
- Vital Signs
- Muscles A–Z
- Clinical Signs
- Medical Abbreviations
- Medical Terminology
- Physical Examination
- Surgical Examination
- Ophthalmology
- Clinical Skills
- Orthopedics
- Surgery Videos
- Laparoscopy
- Pediatrics
- Funny Videos
- Cardiothoracic Surgery
- Nursing Videos
- Plastic Surgery
- Otorhinolaryngology
- Histology and Histopathology
- Neurosurgery
- Dermatology
- Pediatric Surgery
- Urology
- Dentistry
- Oncology and Cancers
- Anatomy Videos
- Health and Fitness
- Radiology
- Anaesthesia
- Physical Therapy
- Pharmacology
- Interventional Radiology
- Cardiology
- Endocrinology
- Gynecology
- Emergency Medicine
- Psychiatry and Psychology
- Childbirth Videos
- General Medical Videos
- Nephrology
- Physiology
- Diet and Food Health
- Diabetes Mellitus
- Neurology
- Women Health
- Osteoporosis
- Gastroenterology
- Pulmonology
- Hematology
- Rheumatology
- Toxicology
- Nuclear Medicine
- Infectious Diseases
- Vascular Disease
- Reproductive Health
- Burns and Wound Healing
- Kidney Zone Podcast
- Other
Thoracic Epidural Placement Paramedian Approach

Educational only: videos on MedicalVideos.com are for general information and are not medical advice. Always consult your own doctor about your health.
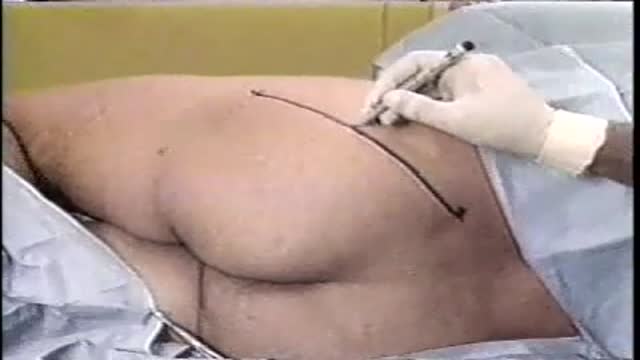
Thoracic epidural placement by the paramedian approach is demonstrated here. The narration covers kit preparation, seated positioning, landmarking from the scapula, sterile preparation, local infiltration, and loss-of-resistance needle advancement before catheter threading. It is a training resource in Anaesthesia.
Video Transcript
This narrated demonstration shows thoracic epidural placement by the paramedian approach. It covers indications such as postoperative and rib-fracture pain relief, the kit contents, seated positioning, identifying an interspace from the scapular landmark, sterile preparation, local infiltration, and advancing the needle one and a half centimetres from the midline to loss of resistance before threading the catheter.
Read the full transcript
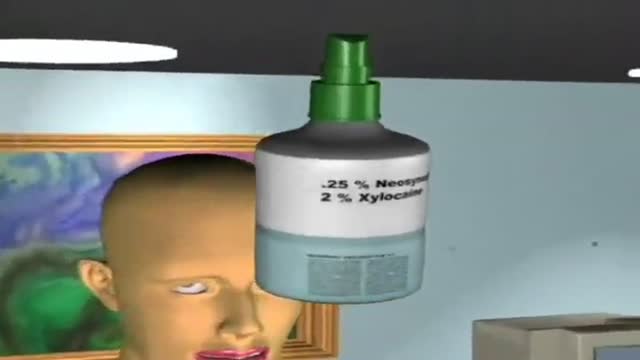
The thoracic epidural is a norexial block designed to provide pain relief in a surgical and non-surgical setting. Common reasons to place a thoracic epidural include intraoperative and postoperative pain management, or to provide pain relief in traumatic situations, such as fractured ribs or flail chest. Ensure that all of the necessary materials are present prior to starting the procedure. Important components of the thoracic epidural kit include local anesthetic, 20 and 22 gauge needles, an 18 gauge two-ing needle with stylet, a loss of resistance syringe, and a lure lock adapter.
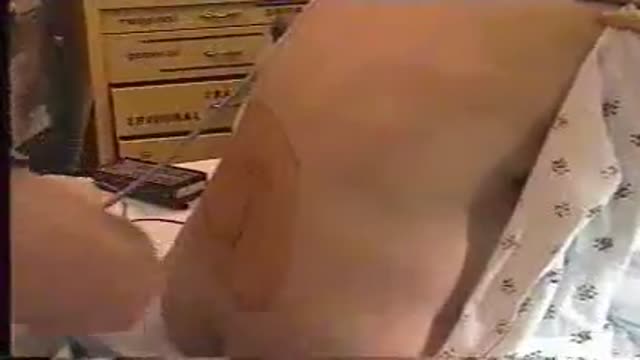
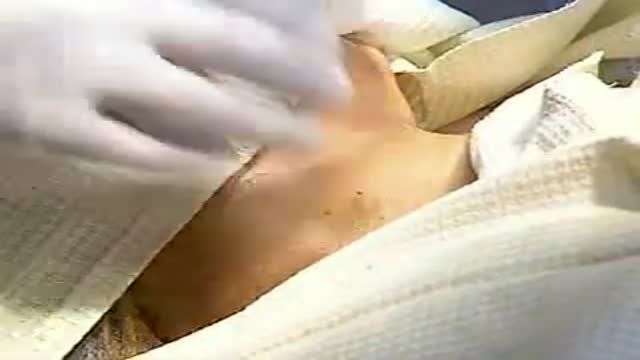
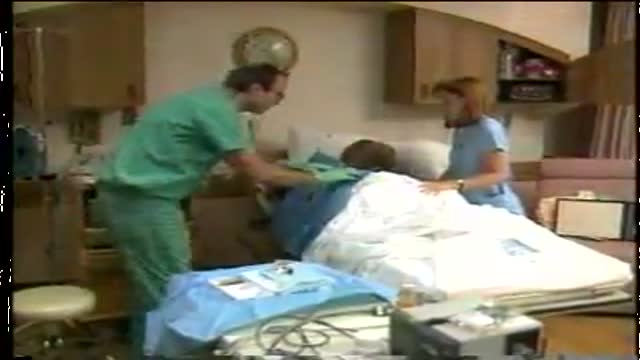
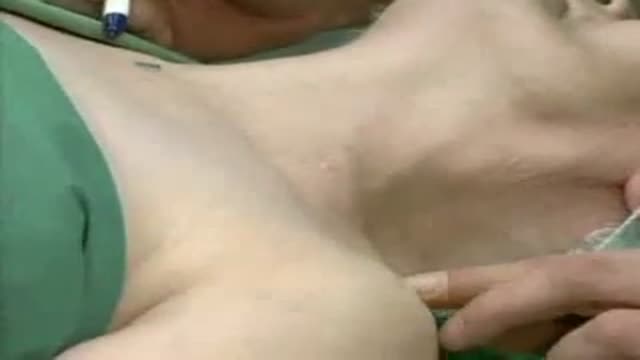
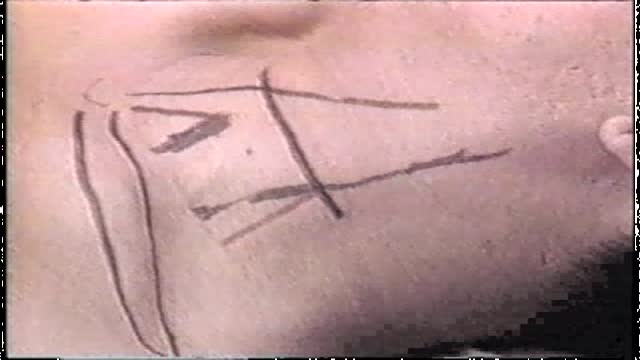
You will also need a 19 gauge epidural catheter. Position the patient in the upright sitting position with the back facing you. He or she should place the chin on the chest, allow the shoulders to droop, and arch the back toward you. Palpate the patient's spine to identify the vertebral interspaces, starting at the level of the inferior aspect of the scapula. This point approaches the level of the T7 interspace. Palpate the posterior surface of the thoracic spinous processes to identify a thoracic interspace. Once an appropriate interspace is identified, cleanse the area with betadine solution in concentric circles.
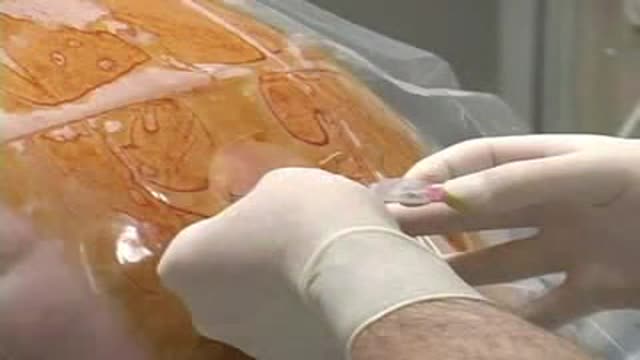
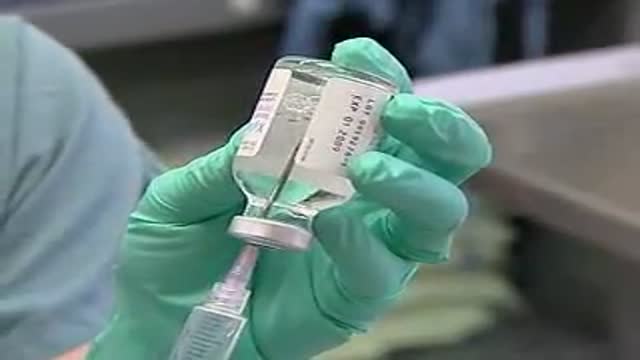
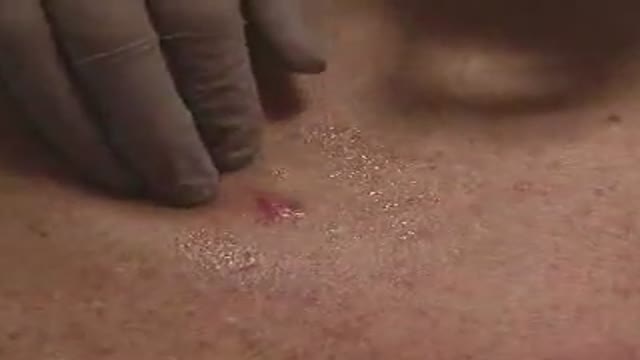
Repeat this process three times. Put on your sterile gloves while you allow the patient's back to dry for three minutes. Place a sterile drape on the back with the opening centered on the previously identified vertebral interspace. Dry the excess betadine soap from the patient's back. Using a sterile syringe, draw up five milliliters of one percent lidocaine to be used for local anesthesia. In a second syringe, draw up three milliliters of one point five percent lidocaine with epinephrine one to two hundred thousand. Insert a twenty-two gauge needle, one and a half centimeters lateral to the spinal midline.
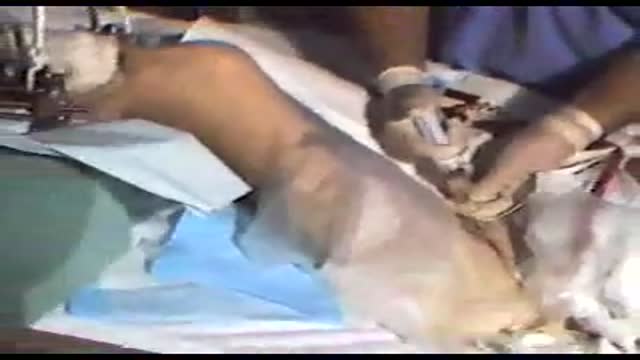
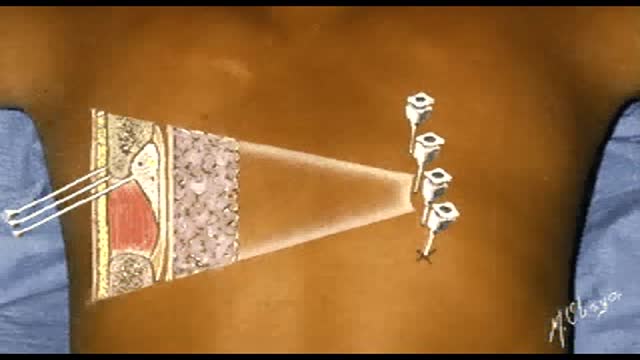
Create a wheel in the superficial tissue with the one percent lidocaine. Change the needle to the larger twenty gauge needle and continue to infiltrate the lidocaine into deeper tissues. After injecting the local anesthetic, identify the two-ing needle. Count the one centimeter markings on the needle barrel to determine its length. Insert the needle with the bevel cephalad, one and a half centimeters lateral to the spinal midline. Direct the needle at a sixty degree angle toward the back and a thirty degree angle toward the spine. When the needle tip encounters the vertebral lamina, redirect the needle over the bone and remove the stylet.
Pull the loss of resistance syringe with four cubic centimeters of air and connect it to the hub of the two-ing needle. Gripping the needle with your thumb and index finger, use the opposite thumb to gently tap on the plunger, feeling for loss of resistance. Insert the needle no more than two millimeters at a time until loss of resistance is achieved. To confirm correct needle placement, attach the saline-filled loss of resistance syringe to the needle hub. Inject one to two milliliters of saline into the space. Easy injection of the saline indicates that the needle is in the epidural space.
Count the number of centimeters from the hub of the needle to the skin. This indicates the distance from the skin surface to the epidural space. Appreciate the difference in needle position in the paramedian versus midline thoracic epidural. Start the catheter while gripping the hub of the two-ing needle with the non-dominant hand. Advance the catheter five to six centimeters past the end of the two-ing needle. If the catheter does not advance easily, ask the patient to inhale deeply. Alternatively, rotate the needle 15 degrees clockwise or counterclockwise. If the catheter will not advance despite these adjustments, remove the needle and catheter together.
After the catheter has been correctly placed into the epidural space, carefully withdraw the two-ing needle while simultaneously advancing the catheter. Identify the lure connector in the sterile epidural kit. Insert the exposed end of the catheter into the lure connector and snap the connector closed to prevent contamination. Count the markings on the catheter to determine the length in centimeters that the catheter extends into the epidural space. Withdraw the catheter until five to six centimeters of catheter remain in the space. Aspirate the catheter to check for cerebrospinal fluid or blood.
Air bubbles or slow-moving fluid indicate proper placement. If blood returns through the catheter, withdraw the catheter in one centimeter increments until blood can no longer be freely aspirated. Leave at least three centimeters of the catheter within the epidural space. If cerebrospinal fluid is freely aspirated, consider managing the catheter as an appropriately labeled intrathecal catheter or withdraw the catheter completely and replace the epidural at another interspace. A test dose of 1.5% lidocaine with epinephrine is given following aspiration to ensure the catheter is not placed in an intravascular structure.
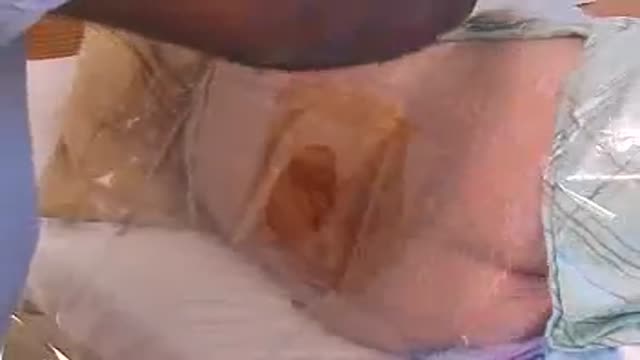
Prior to injecting the test dose of epinephrine, notify the patient of symptoms that may be experienced if the catheter were not located in the epidural space. Also monitor the patient for increases in heart rate or blood pressure as these are signs of intravascular injection. Remove the sterile drape. Cleanse the patient's back with saline. Apply benzoin to the back in a small area surrounding the insertion site and over the posterior shoulder. Loop the catheter and place it on the benzoin. Place a large tegederm over the insertion site.
Using metapour tape, tape the perimeter of the tegederm. Tape the entire length of the catheter from the tegederm to the posterior aspect of the shoulder. Label the catheter tubing, identifying this line as an epidural catheter.
Transcript auto-generated from the video’s audio for accessibility and study. Educational content only — not medical advice.
Medical Videos
Free medical and surgery videos for patients, students and professionals — trusted since 2007.
Founded by Dr. Mohamed Ibrahim, MD, PhD — physician-scientist.
Follow us on Facebook · Instagram
SORT BY-
Top Comments
-
Latest comments