
- Physical Examination
- Surgical Examination
- Ophthalmology
- Clinical Skills
- Orthopedics
- Surgery Videos
- Laparoscopy
- Pediatrics
- Funny Videos
- Cardiothoracic Surgery
- Nursing Videos
- Plastic Surgery
- Otorhinolaryngology
- Histology and Histopathology
- Neurosurgery
- Dermatology
- Pediatric Surgery
- Urology
- Dentistry
- Oncology and Cancers
- Anatomy Videos
- Health and Fitness
- Radiology
- Anaesthesia
- Physical Therapy
- Pharmacology
- Interventional Radiology
- Cardiology
- Endocrinology
- Gynecology
- Emergency Medicine
- Psychiatry and Psychology
- Childbirth Videos
- General Medical Videos
- Nephrology
- Physiology
- Diet and Food Health
- Diabetes Mellitus
- Neurology
- Women Health
- Osteoporosis
- Gastroenterology
- Pulmonology
- Hematology
- Rheumatology
- Toxicology
- Nuclear Medicine
- Infectious Diseases
- Vascular Disease
- Reproductive Health
- Burns and Wound Healing
- Kidney Zone Podcast
- Other
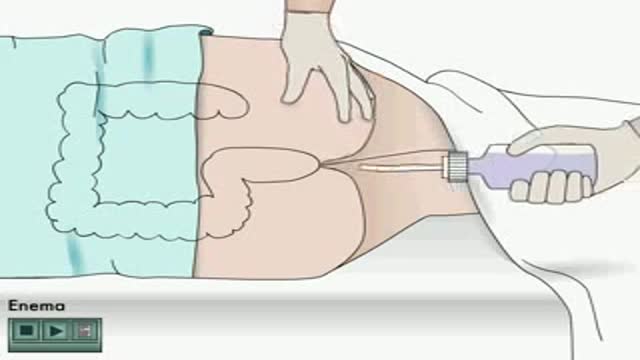
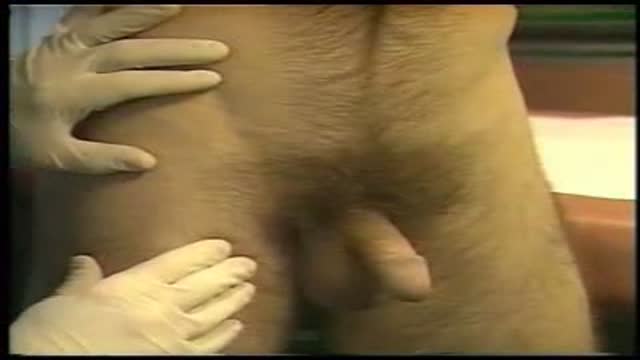
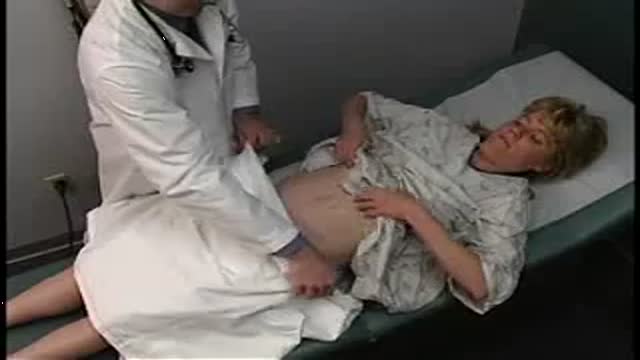
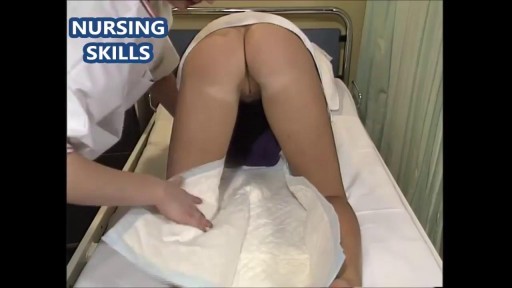
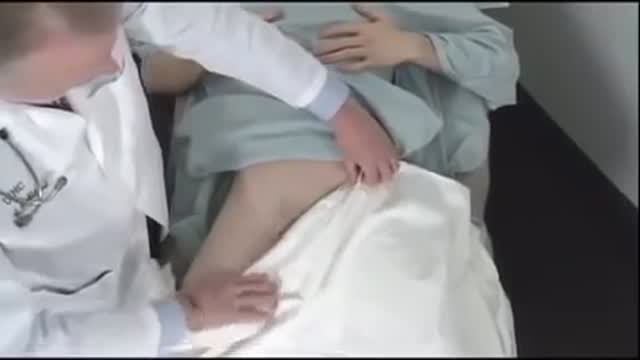
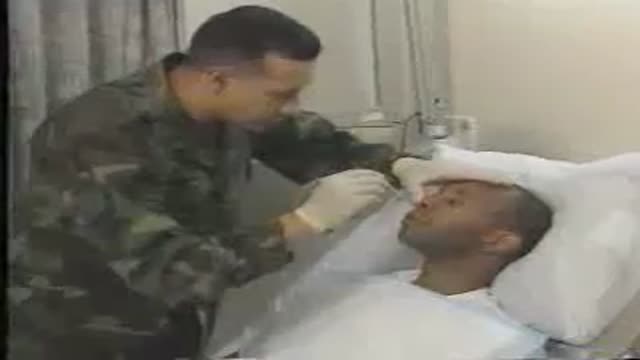
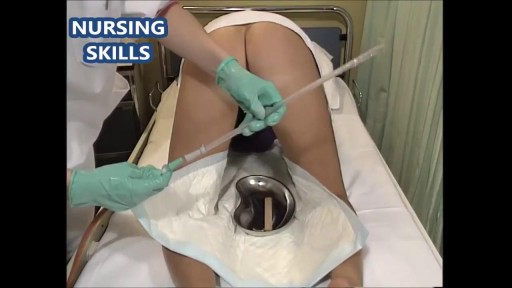

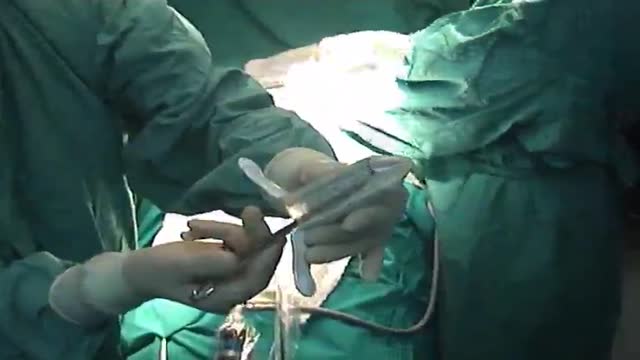
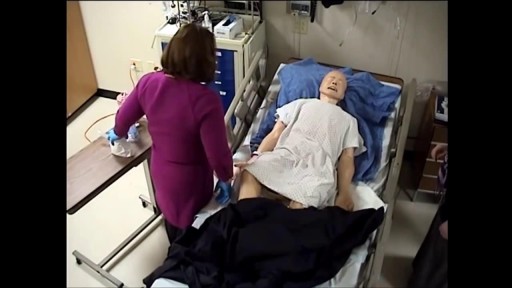
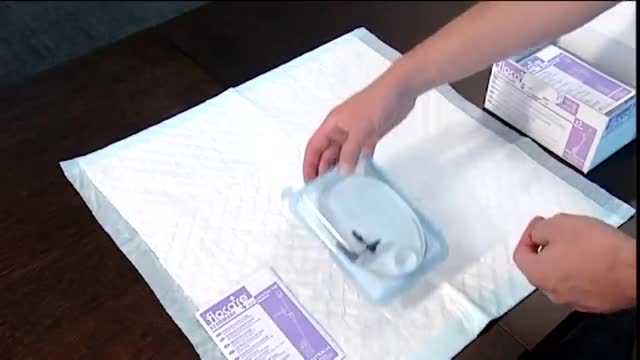
Enema

Educational only: videos on MedicalVideos.com are for general information and are not medical advice. Always consult your own doctor about your health.
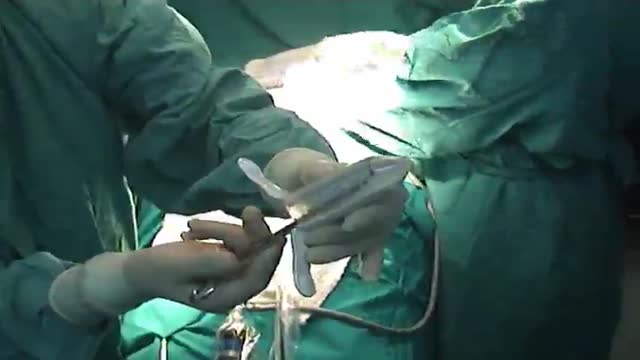
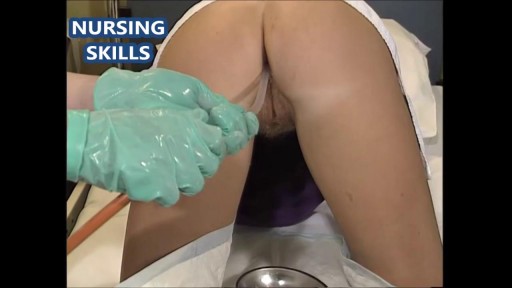
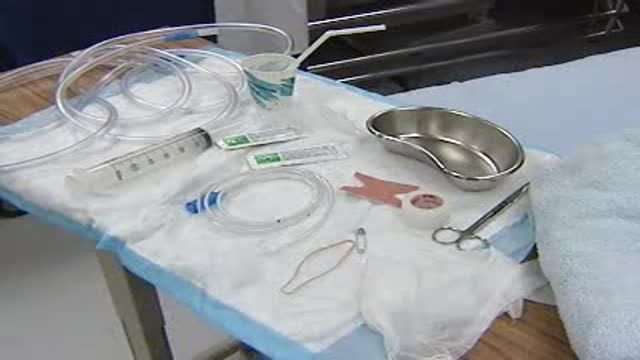
An older clinical recording, this video shows how an enema is administered, demonstrating the equipment and the steps involved in the procedure. It serves as a clinical-skills demonstration for students and caregivers. Procedure education only — not personal medical advice.
This video in 30 seconds
A vintage clinical training film on administering an enema, narrated in the formal style of older medical-instruction recordings. It explains when enemas are ordered, distinguishes retention enemas from cleansing enemas and their equipment, then shows preparation of the solution and tubing, positioning the patient, administering the fluid and caring for the patient afterwards.
Key points
- The narration explains that enemas may deliver medicine or nourishment or bring relief before surgery
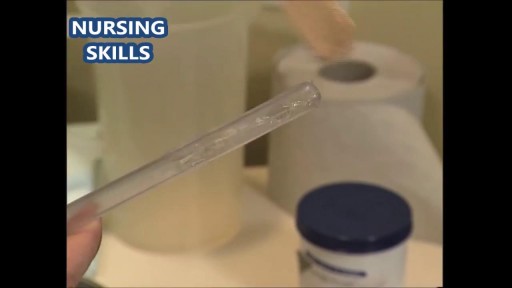
- Retention enemas are described as small-volume, using a pitcher, funnel, rubber tube and glass connecting tube
- Cleansing enemas are described as using a larger can and tube to evacuate and clean the bowels
- The solution is prepared, the tubing is cleared of air and the tube end is lubricated
- The film shows the fluid being given slowly, paused if the patient reports pain, and the patient expelling it afterwards
Chapters
- 0:40 — Why enemas are ordered
- 0:59 — Retention and cleansing types
- 2:06 — Preparing the cleansing enema
- 4:41 — Administering the enema
- 7:19 — After the enema is expelled
Key Steps — Giving an enema
A vintage training film demonstrating the classic enema technique. The checklist below follows the sequence shown, in modern wording.
- Check the order and explain exactly what you are going to do; screen the bed for privacy.
- Gather the equipment: enema container, tubing with a clamp, rectal tube, lubricant, bed protection, and a bedpan within reach.
- Prepare the prescribed solution and check it is comfortably warm — about body temperature for a retention enema.
- Protect the bed with a waterproof pad and towel, and position the patient lying on their side.
- Lubricate the end of the rectal tube.
- Run solution through the tubing to expel the air, then clamp it off.
- Gently insert the lubricated tube into the rectum.
- Unclamp and let the solution flow in slowly, keeping the container only modestly raised so the pressure stays gentle.
- Clamp and remove the tube once the solution has run in, or sooner if the patient cannot tolerate more.
- For a retention enema, help the patient stay lying down so the solution is retained; for a cleansing enema, help them promptly to the bedpan or toilet.
- Observe the result and document what was given and what was returned.
Download the printable Key Steps checklist (PDF)
Steps summarise this demonstration for education. Always follow your institution's protocol. More Catheters, Tubes & Elimination skills →
Video Transcript
An older clinical training recording on administering an enema, in the formal narration style of vintage medical-instruction films. It explains when enemas are ordered — to supply medicine or nourishment, or to bring relief to pre-operative and other patients — and distinguishes the two main types, retention and cleansing, describing the equipment for a retention enema: a small pitcher, funnel, rubber tube and glass connecting tube.
Read the full transcript
you beat that i had to give an animal all things prescribed a medical officer the animal may be the only means of supplying badly needed medicine and nourishment to sick bodies it often brings swift relief to the second-injured pre-operative patients those days by shock all those tortured by burns of several varieties of animals that may be ordered there are two main types the retention animal ordinarily given to provide nourishment or medication for this use a fairly small picture because the amount of solution will be small you'll need a funnel
possibly a rubber tube and glass connecting tube use a thermometer if you have one to be sure the solution is at body temperature about one hundred degrees the rectal tube is small and short so the solution may be injected at the minimum pressure the second main type is the evacuee or cleansing animal it is given to induce evacuation and to clean out the bowels a larger animal can will be needed because a larger amount of solution is used it is given at a higher temperature about one hundred and five to one hundred and ten degrees
the rectal tube is larger and longer so that greater pressure is produced resulting in an increased irritation and desire to evacuate this much of the gear is usually kept set up and ready for use select a large firm rectal tube and attach it to the glass connecting tube get the soap solution and pour about two ounces into the pitcher fill the pitcher with about one quart of water be sure the water isn't too hot what you want is a temperature of about one hundred and ten degrees
transfer the solution to the irrigating can now you're ready to lubricate the end of the tube put the lubricant on some tissues then wrap them around the end of the tube don't forget the toilet tissues get a rubber pad and a towel to protect the bed screening the bed will prevent your patient from drafts and give him privacy put your equipment down take the trouble to explain exactly what you're going to do you should be lying almost once place a kidney basin near the patient go to to be sure it is well lubricated
unclamp the stopcock air bubbles will get into the tubing but you can get them out if you hold it high above the can lower the tubing gradually until a solution against the run out then pinch it off either with your fingers or use the stopcock gently insert the rectal tube from four to six inches hold the can about 12 inches above the bed if held much higher the solution will run in too fast and cause cramps so watch your space if it registers pain or he complains
pinch off the flow until it cramp passes then resume hear this as often as necessary until the can is almost empty then cramp the stopcock so no air will enter into the tube place the can back on the tray and withdraw the tube in this fashion first and the second air from the unit when the patient expels the enema you'll have just about enough time to clean and stow the gear you've used gave a retention enema didn't you? yeah, a couple of hours ago you gotta hang on to it okay?
sure, why? well I gave one this afternoon, two and mine didn't well I know, as a Thomas and Chorus school they used to have a regular sing song can about enemas what's something like this? the enemas have been given slowly enough and at the right temperature with the right amount, the right kind of fluid with the right tubing and the right psychology it will be successful we used to get sick of our little spiel and our surefire righteousness seems to be about the truth at that oh I've remembered it
Transcript auto-generated from the video’s audio for accessibility and study. Educational content only — not medical advice.
Video Overview
From our Clinical Skills collection: Suturing, injections, catheterization, IV insertion and OSCE-style examination techniques demonstrated step by step. Browse all Clinical Skills videos →
Medical Videos
Free medical and surgery videos for patients, students and professionals — trusted since 2007.
Founded by Dr. Mohamed Ibrahim, MD, PhD — physician-scientist.
Follow us on Facebook · Instagram
SORT BY-
Top Comments
-
Latest comments