
- Procedures & Tests
- Symptoms A-Z
- Symptom Checker
- Kidney Diet
- First Aid
- Anatomy Atlas
- Ask MedicalVideos
- Drug Guide
- Lab Values
- Vital Signs
- Muscles A–Z
- Clinical Signs
- Medical Abbreviations
- Medical Terminology
- Physical Examination
- Surgical Examination
- Ophthalmology
- Clinical Skills
- Orthopedics
- Surgery Videos
- Laparoscopy
- Pediatrics
- Funny Videos
- Cardiothoracic Surgery
- Nursing Videos
- Plastic Surgery
- Otorhinolaryngology
- Histology and Histopathology
- Neurosurgery
- Dermatology
- Pediatric Surgery
- Urology
- Dentistry
- Oncology and Cancers
- Anatomy Videos
- Health and Fitness
- Radiology
- Anaesthesia
- Physical Therapy
- Pharmacology
- Interventional Radiology
- Cardiology
- Endocrinology
- Gynecology
- Emergency Medicine
- Psychiatry and Psychology
- Childbirth Videos
- General Medical Videos
- Nephrology
- Physiology
- Diet and Food Health
- Diabetes Mellitus
- Neurology
- Women Health
- Osteoporosis
- Gastroenterology
- Pulmonology
- Hematology
- Rheumatology
- Toxicology
- Nuclear Medicine
- Infectious Diseases
- Vascular Disease
- Reproductive Health
- Burns and Wound Healing
- Kidney Zone Podcast
- Other
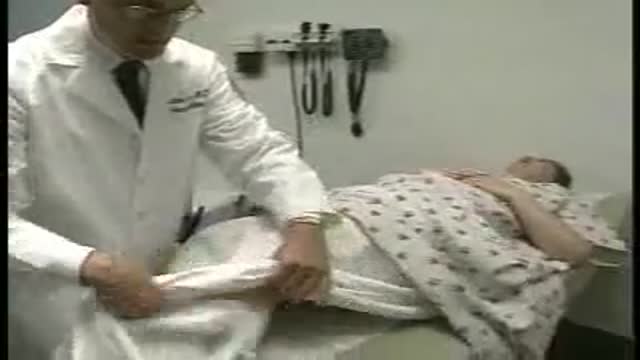
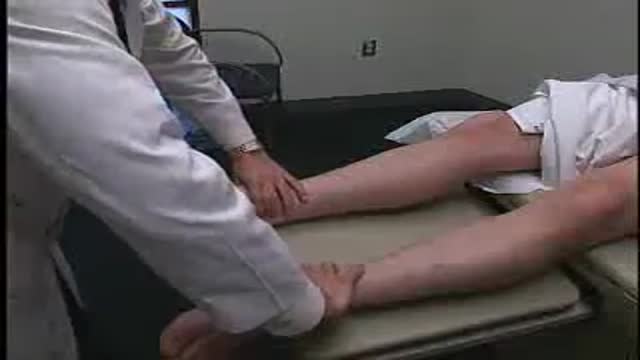



Loyola Female Exam Part 1

Educational only: videos on MedicalVideos.com are for general information and are not medical advice. Always consult your own doctor about your health.
Full examination of the female from head to toe by Loyola Medical School, Chicago part 1
This video in 30 seconds
Part one of Loyola's full female examination series, with an examiner working on a standardized patient. This part covers how to structure a head-to-toe exam, the equipment to lay out, general appearance, and the opening measurements of pulses, respiratory rate and blood pressure in both arms, before the upper extremities.
Key points
- The examiner explains how to structure a head-to-toe examination
- Equipment needed for the exam is laid out in advance
- General appearance is assessed during the history
- Pulses, respiratory rate and blood pressure in both arms are measured
- Upper extremity palpation, movement and strength are examined
Chapters
- 0:06 — Introduction and exam structure
- 1:11 — Equipment preparation
- 1:43 — General appearance and history
- 2:34 — Pulses and respiratory rate
- 3:02 — Blood pressure in both arms
- 5:14 — Upper extremity examination
Video Transcript
Part one of Loyola's full female examination series, with Dr. Michael Kohler examining a standardized patient, Nancy. This part covers how to structure a head-to-toe exam, the equipment to lay out, hand-washing, general appearance, and the opening measurements — pulses, respiratory rate, and blood pressure in both arms — before working through the upper extremities.
Read the full transcript
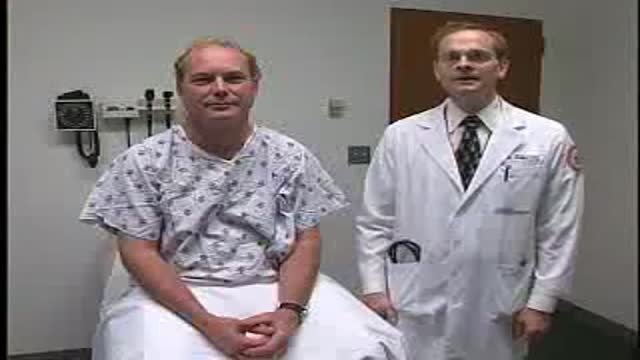
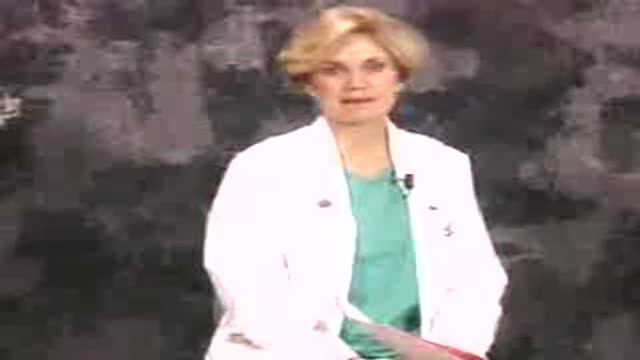
Hi, I'm Dr. Michael Kohler, and this is Nancy, one of our standardized patients here at Loyola. The purpose of this training video is to demonstrate an entire head-to-toe physical exam on a female patient, including a breast exam and an axillary exam for the lymph nodes. This training video should hopefully help you see how to transition from one organ system to another and how to put all those steps of the physical exam together in a smooth process. The purpose of this training video is not to show close camera angles and details of the exam steps.
So if you do need a little more attention about how to do an individual step, I'd refer you back to the prior exam series for that. We do want to pay attention to proper draping when doing the head-to-toe exam. And to pay attention to the patient's comfort, you don't want to have the patient move unnecessarily different positions if it's not necessary. The steps can be in any order that works for you, so don't worry about doing them in the order that you see in your IPM-2 binders or IPM-1 material.
The other thing I'd recommend is that you have all your material ready and laid out beforehand. For this exam, you'll need a tongue blade, a cotton swab, ear and nose speculums, reflex hammer, tuning fork, the ophthalmoscope, a notoscope, blood pressure cuff, a cup for water, a vision screener, as well as a straight edge to check for the regular venous pulsations. So you can make sure you have all that equipment ready ahead of time. And of course, before we begin any exam, we always wash our hands, so I'm going to go ahead and wash my hands.
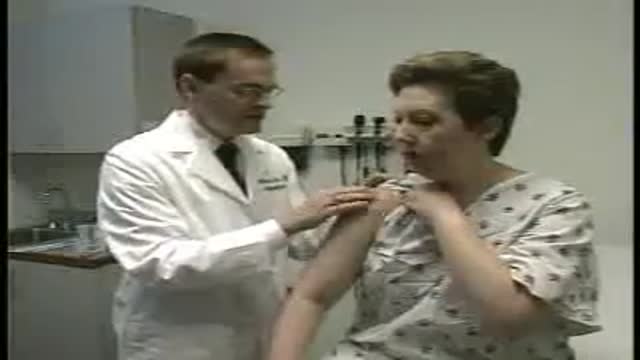
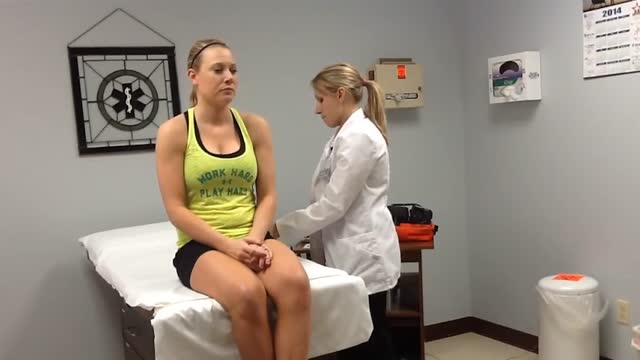
The entire time you are taking your history on the patient, you, of course, will be paying attention to general appearance. Nancy is 40 years old, and she certainly appears her state of day. There's no apparent pain or distress. There's no respiratory discomfort, no obvious deformities or scars. Of course, you wouldn't verbalize that while you're doing a physical exam, but all the time you're going to be paying attention to that. The first thing I'm going to do is go ahead and check the radial pulses, and I'm going to do that in both wrists.
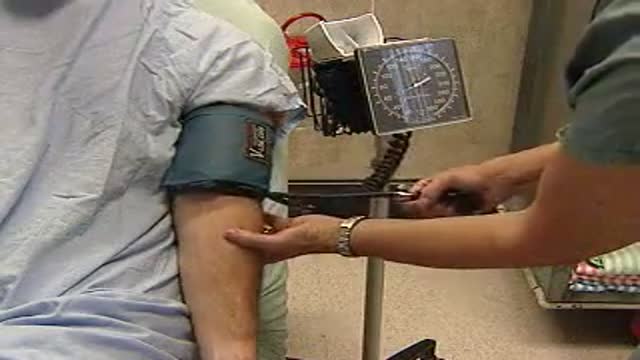
At the same time, don't forget you want to be checking the respiratory rate, but don't let the patient know that you're checking the respiratory rate. Nancy, your pulse is 68 in regular, and your respiratory rate is 14, which is both normal. And of course, the pulses are symmetric, too. The next thing I'm going to do is go ahead and check the blood pressure. You always want to, of course, make sure that your blood pressure cuff is the right size. Certainly the width of the blood pressure cuff should be at least 40% of the arm circumference than it is.
And the other part of the cuff should be 80% of the circumference of the arm, and it is, too. So it's a good size cuff. So for the actual arm, I'm first going to check for the systolic bipalpation in one extremity. I felt the radiopulse go away, so I'll slowly release the blood pressure cuff. There, and I felt the systolic blood pressure come back at 110. So I know that I only need to blow up the cuff to about 130 or 140 when I'm actually listening for the blood pressure.
The elbow fully extended here. And of course, I'm holding up Nancy's arm so she's not contracting any muscles. Good. And I get 112 over 80. I'm going to go ahead and the other side and check your blood pressure on this arm, too. Good. And I get 108 over 78, which is normal. For the next part of the examination, I'm going to go ahead and check the upper extremities. So first of all, Nancy, just hold out your hands. I'm going to palpate along the fingers for any abnormalities.
And let me know if any of this hurts, Nancy. Okay. Any pain over the knuckles there? No. Any pain over the wrist joints? No. Any problems over? Okay, good. I'm going to feel along the forearms for any subcutaneous nodules. Now I'm going to be pressing on various bony prominences of the elbows. Is there any pain or discomfort? Okay. Just a little bit higher. I'm going to be checking for any epitochloral lymph nodes. And I don't feel that. Okay, good. Next, I'm going to take passive range of motion in the upper extremities.
So just relax your arm. Let it lay kind of floppy and limp. Good. And come over and do the same thing on the other arm. Just let your arm be limp. Good. And there seems to be a normal passive range of motion. I'm answering, would have you do a couple things, spread your fingers apart, back together, make a fist, good. Arms in, arms out, and pull your wrists up, pull them up and down, and it's outside, and then in. Good. So both the passive as well as the active range of motion appears normal.
So next time I'm going to text, strengthen the upper extremities. And so you can grab by fingers and squeeze. Pull me towards you. Good. Okay. Make muscles, pull in. Good. Now push out against me. Good. Maybe you hold your arms out, wrists up, hold them up real strong. Good. Now put your wrists down. Don't let me push out. Good. And last thing I have to do too is your arms up. Don't let me push down. So the strength in the upper extremity appears normal. Next, we'll move to the head and the scalp region.
So I'll have the same example.
Transcript auto-generated from the video’s audio for accessibility and study. Educational content only — not medical advice.
Related reading
Medical Videos
Free medical and surgery videos for patients, students and professionals — trusted since 2007.
Founded by Dr. Mohamed Ibrahim, MD, PhD — physician-scientist.
Follow us on Facebook · Instagram
SORT BY-
Top Comments
-
Latest comments